As is so often the case with anything relating to Home Assistant what I’m writing about today is nothing new. But this post will collate all the materials required to get a vacuum card in your Home Assistant dashboard working with a Roborock vacuum (an S5 in my case) flashed with Valetudo firmware.
UI configuration
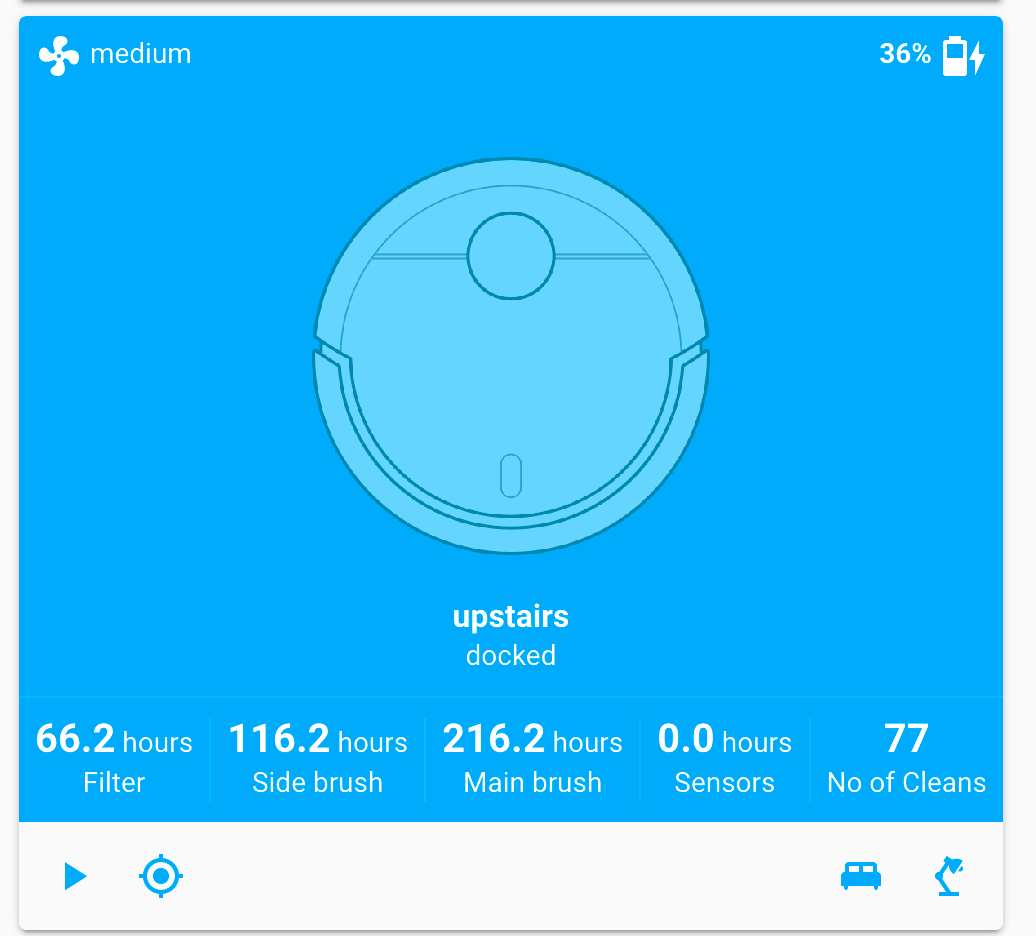
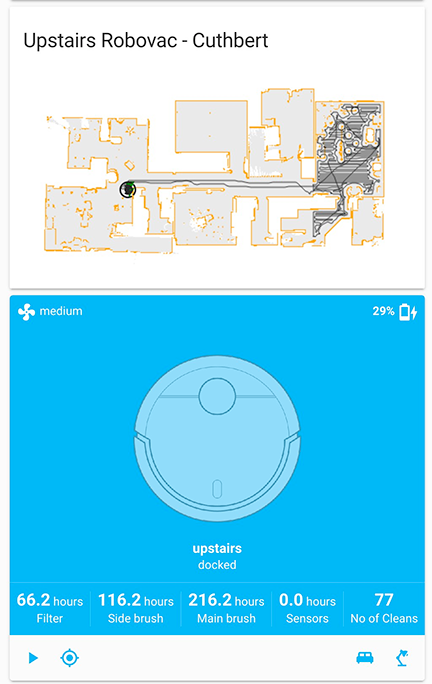
I am using three Lovelace cards to create the interface you see below. They are:
- Vertical Stack
- Custom - Valetudo Map Card
- Custom - Vacuum Card
Both of these custom cards are available for installation using HACS.
One the cards are installed you will need the following YAML.
cards:
  - crop:
      bottom: 50
      left: 60
      right: 0
      top: 50
    entity: sensor.valetudo_map_upstairs_rest
    map_scale: 1
    min_height: 0
    name: Downstairs
    rotate: 0
    title: Upstairs Robovac - Cuthbert
    type: 'custom:valetudo-map-card'
  - actions:
      - icon: 'mdi:bed-king'
        name: Clean living room
        service: script.clean_master_bedroom
      - icon: 'mdi:desk-lamp'
        name: Clean kitchen
        service: script.clean_study
    compact_view: false
    entity: vacuum.upstairs
    image: default
    stats:
      cleaning:
        - attribute: cleanArea
          subtitle: Cleaning area
          unit: m2
        - attribute: cleanTime
          subtitle: Cleaning time
          unit: minutes
      default:
        - attribute: filter
          subtitle: Filter
          unit: hours
        - attribute: sideBrush
          subtitle: Side brush
          unit: hours
        - attribute: mainBrush
          subtitle: Main brush
          unit: hours
        - attribute: sensor
          subtitle: Sensors
          unit: hours
        - attribute: cleanCount
          subtitle: No of Cleans
          unit: null
    type: 'custom:vacuum-card'
type: vertical-stack
Load up Home Assistant and click the 3 dots in the top right followed by ‘Configure UI’.
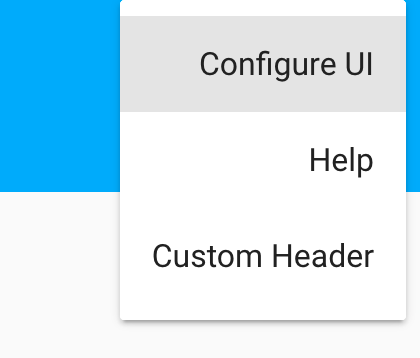
Once there click the + in the bottom right hand corner and find the ‘Manual’ card. Paste the above YAML into the card, change the bits you need and click save.
The map and other valetudo information is published by the vacuum to MQTT and Home Assistant picks this information up from there to populate things like sensor clean times, etc.
Scripts
One of the nice things about this vacuum card is that it supports actionable icons which allows us to execute scripts when clicked. In my case I have Master Bedroom and Study cleanup buttons.
This is the relevant snippet from my scripts.yaml file.
clean_master_bedroom:
  alias: "Roborock Upstairs Clean Master Bedroom"
  sequence:
    - service: vacuum.send_command
      data:
        entity_id: vacuum.upstairs
        command: zoned_cleanup
        params:
          'zone_ids': ['MasterBed']
clean_study:
  alias: "Roborock Upstairs Clean Stufy"
  sequence:
    - service: vacuum.send_command
      data:
        entity_id: vacuum.upstairs
        command: zoned_cleanup
        params:
          'zone_ids': ['Study']
Note the name of the script. clean_study for example and note how this is called in the Lovelace card under the actions section. Change these to whatever you like!
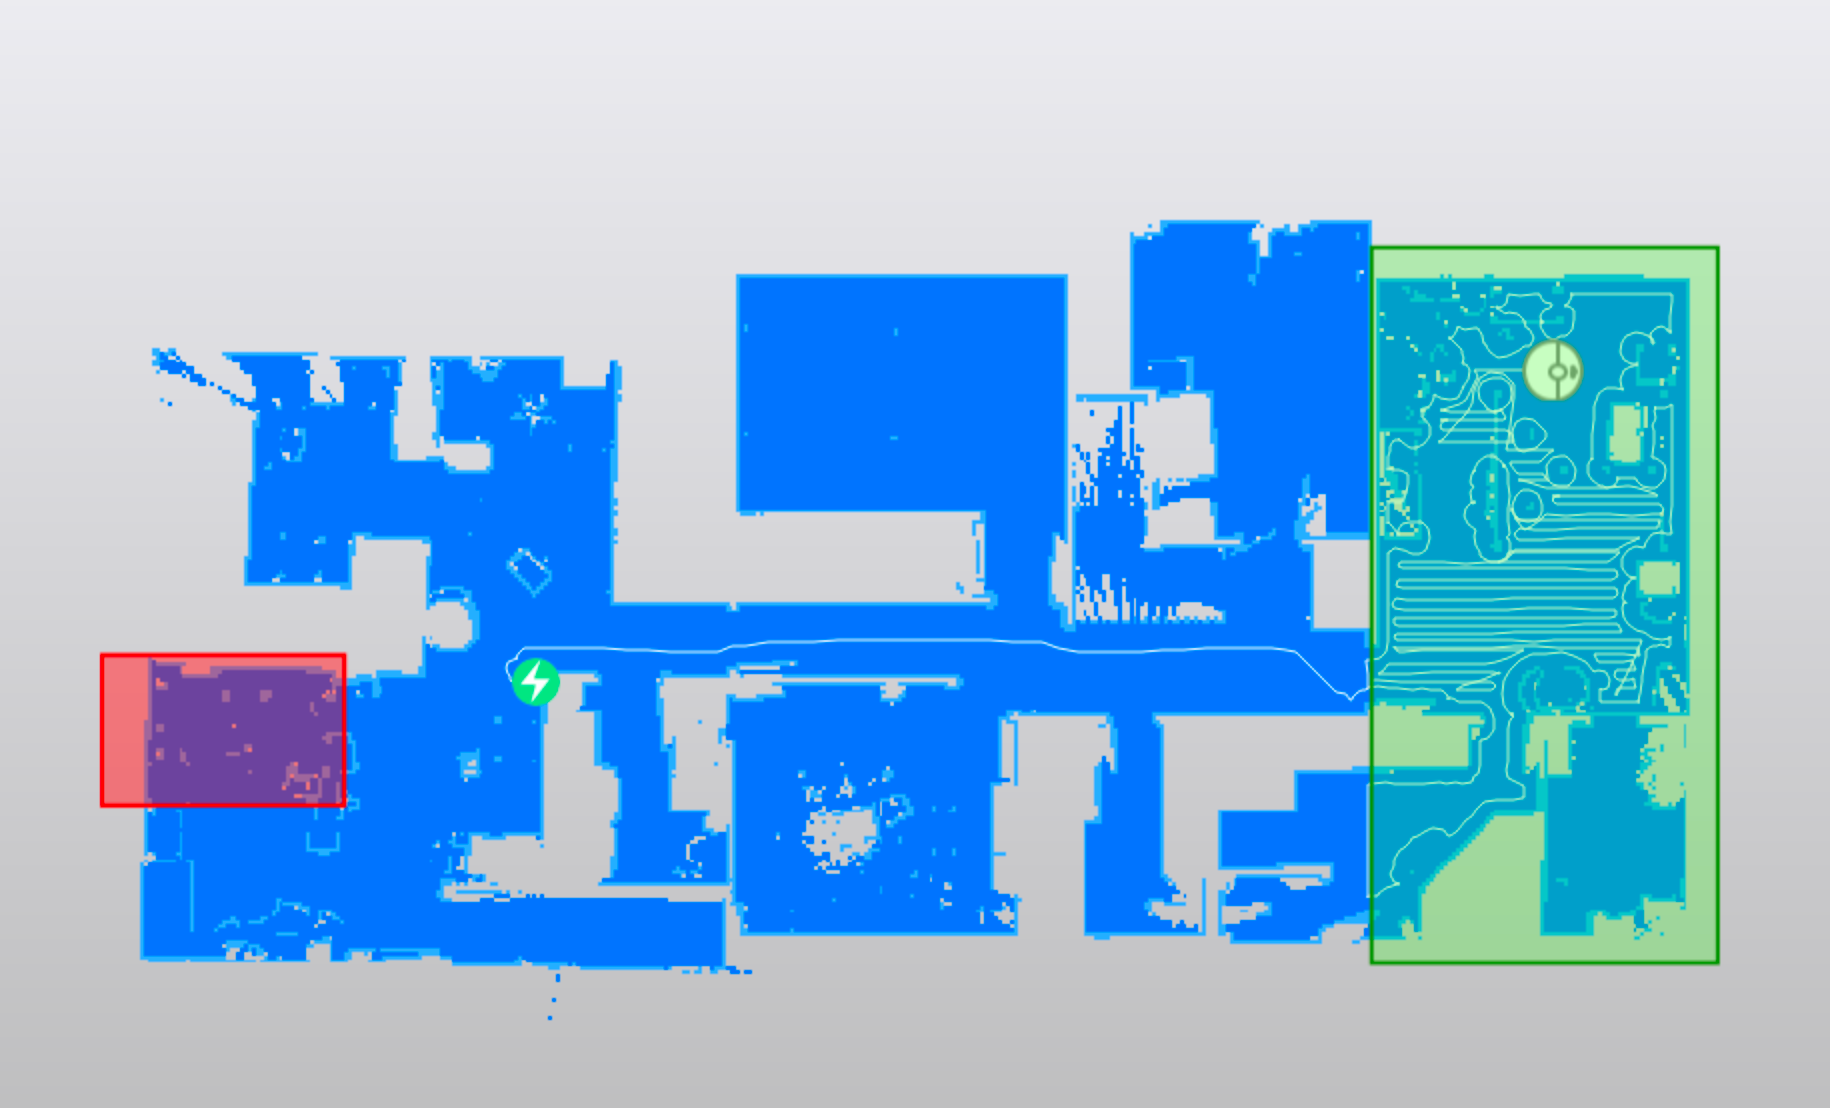
Valetudo zone configuration
Zones are the final piece of the puzzle and are quite easy. Log in to your valetudo web interface using the IP of the vacuum. Click on zones at the bottom and add a rectangle over the area you want to be covered by this zone.
We reference the name you give the zone in the script. I usually try to avoid spaces in this type of thing just avoid confusion.
And with that you should be able to hit the button on the Lovelace card and dispatch the Robovac to wherever you please! Very useful if a door was shut and a specific room got missed or something like that.