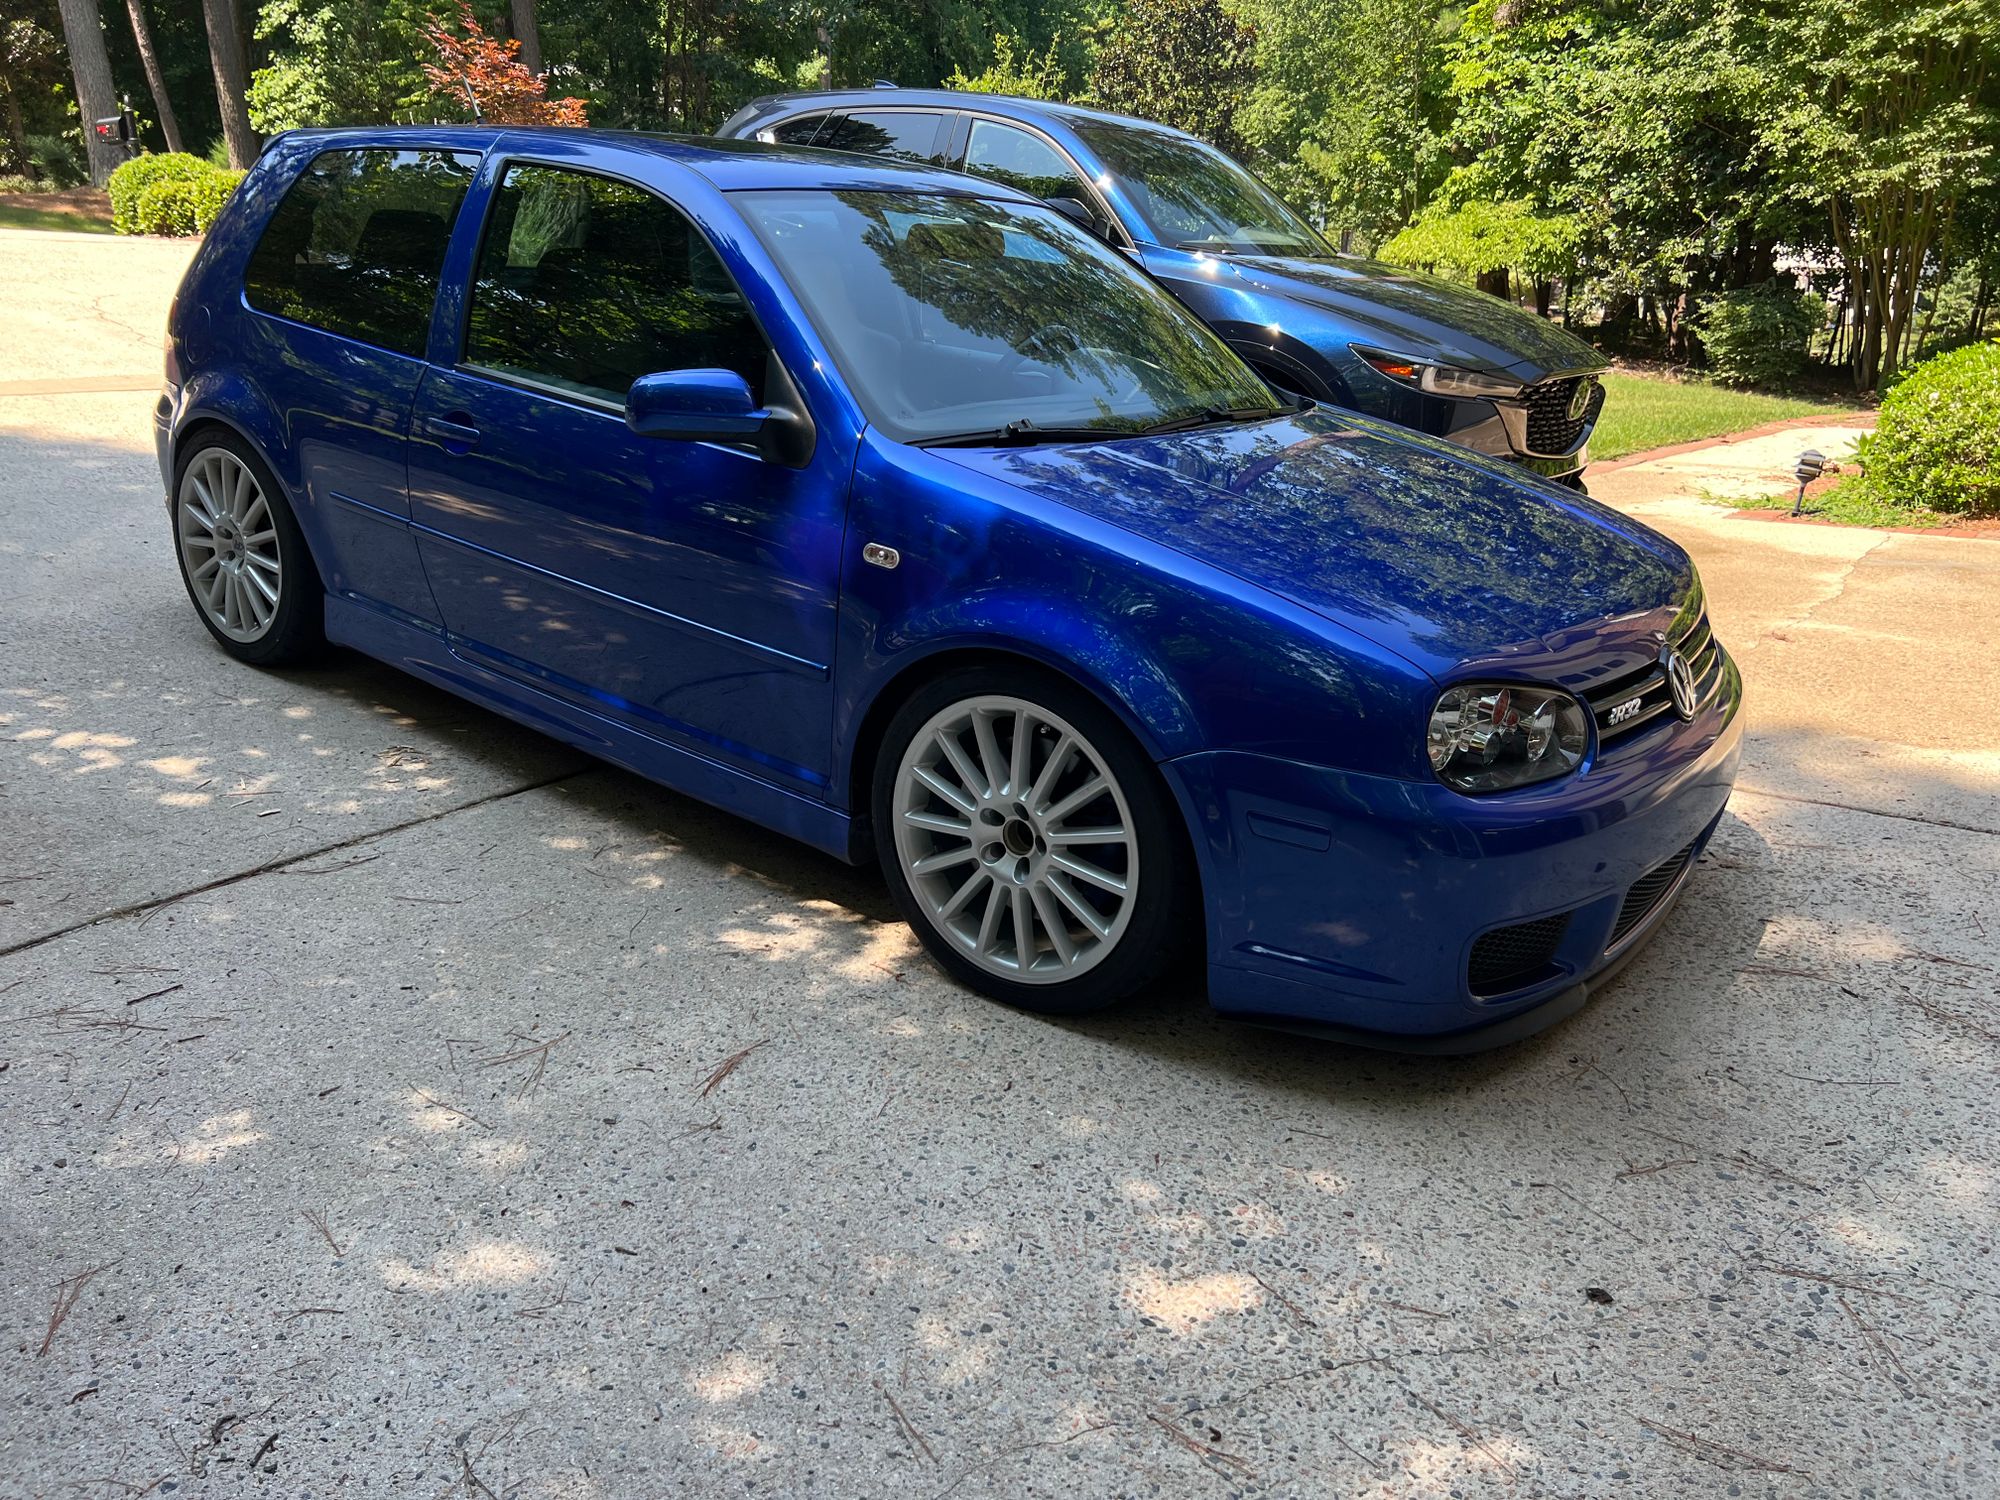
I recently acquired a VW Golf Mk4 R32 from 2004 with 136k miles on the clock. All things considered it’s in great shape but there are a few spots which need some love. This tag will document each project I undertake on the car throughout the many projects I have planned for it.
Know that I’m new to this and very much a novice mechanic. Join me on the journey to knowing just enough to be dangerous.
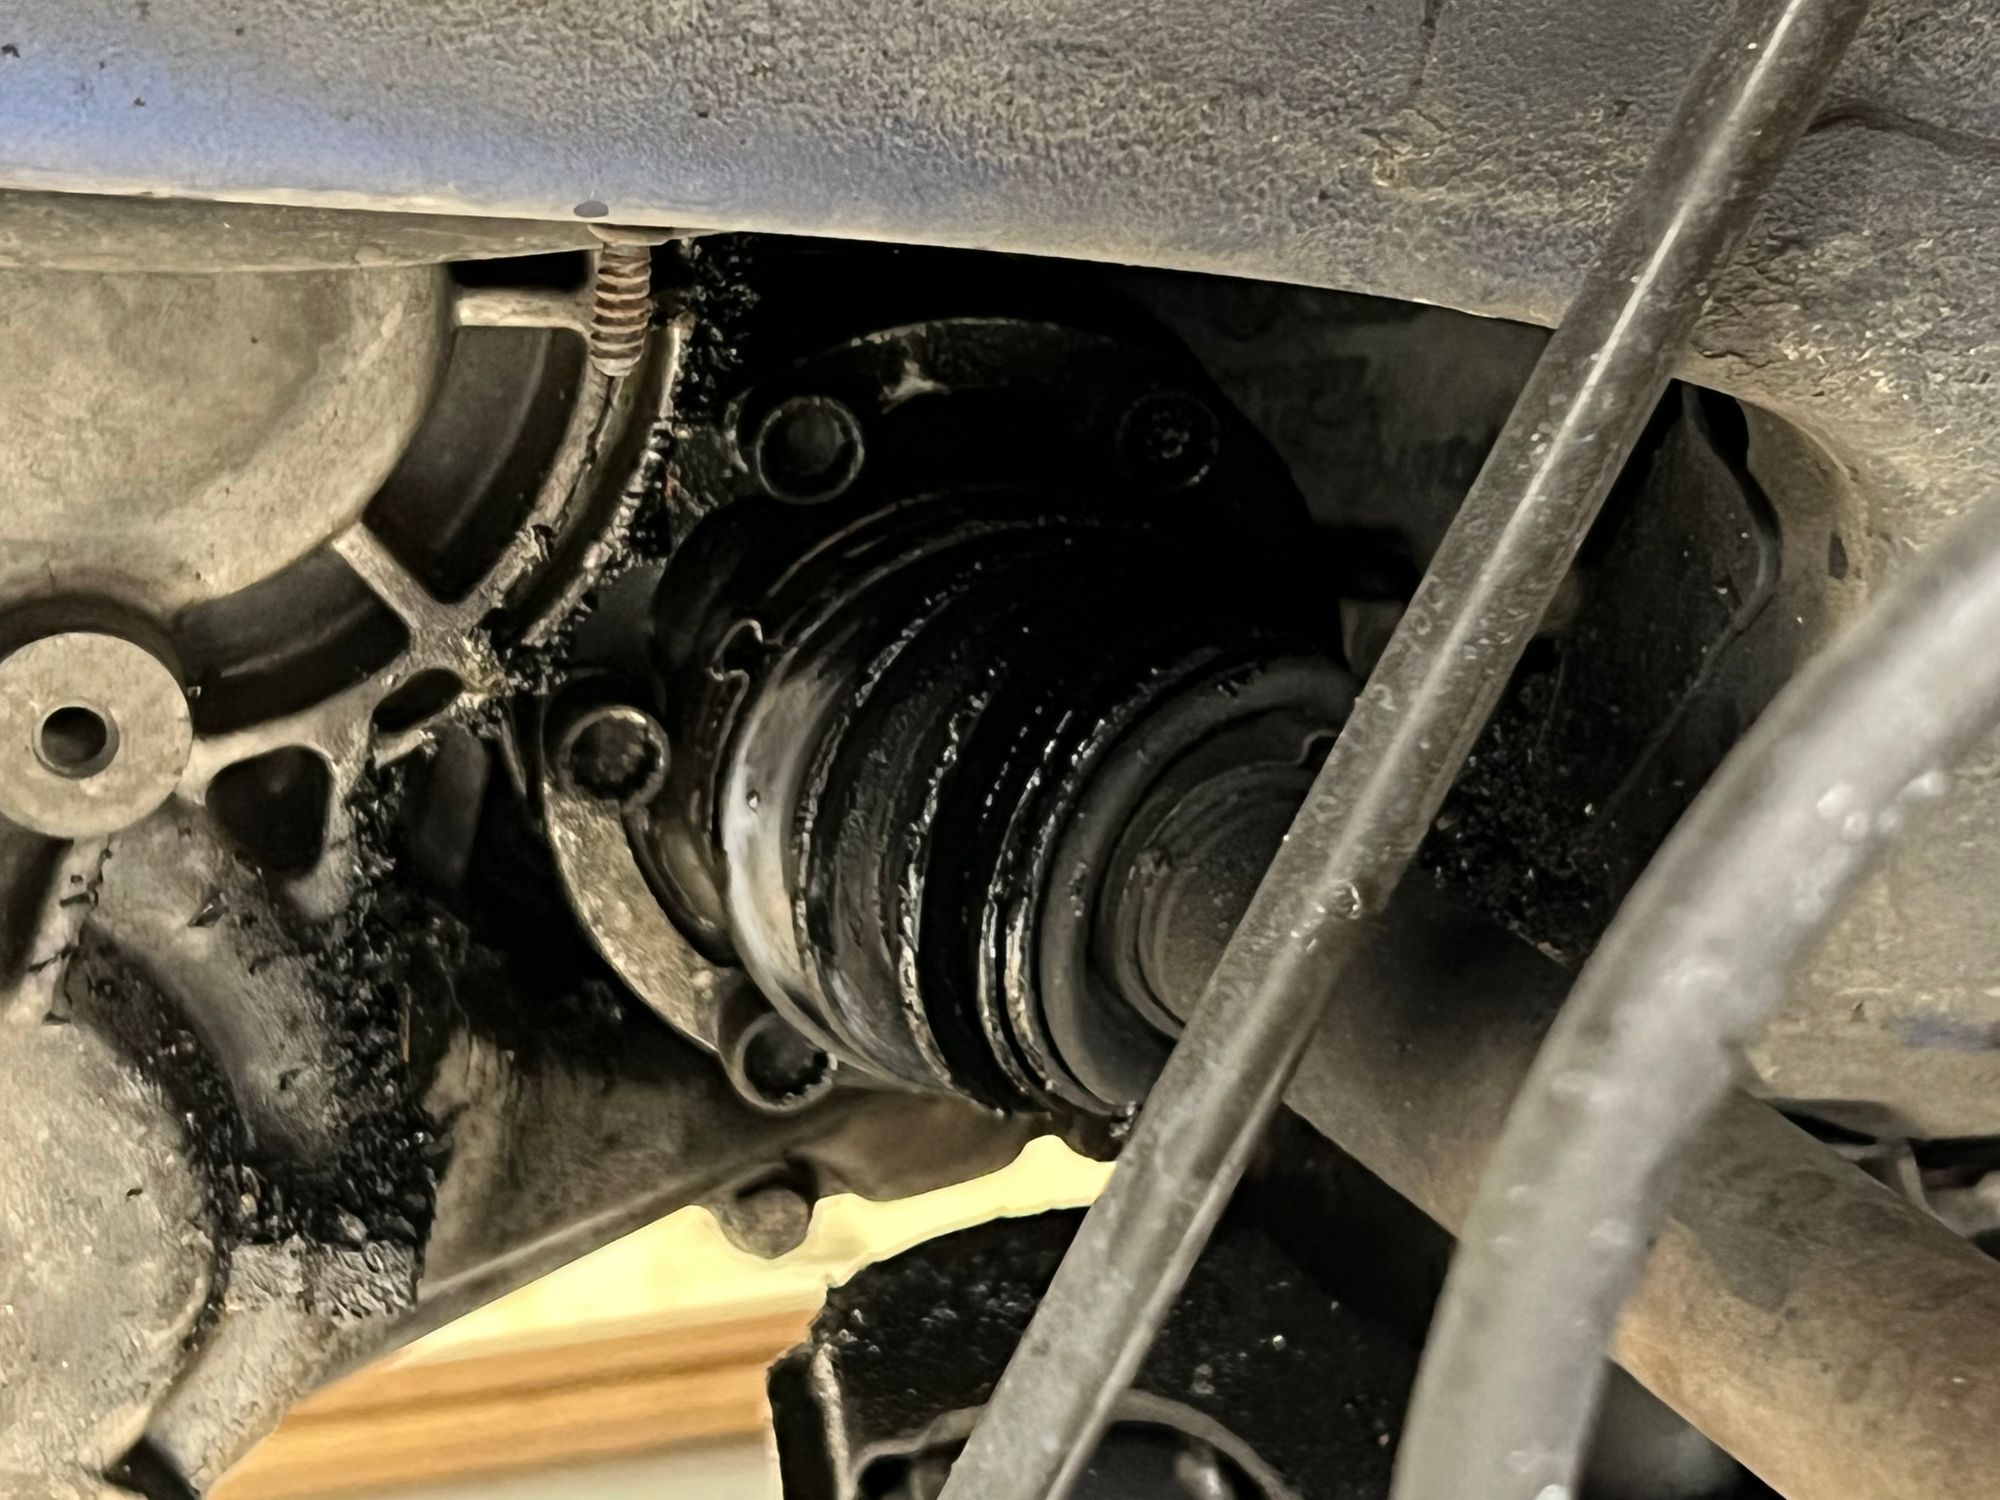
The front axle CV boots were torn on both the driver and passenger sides of the vehicle. The drivers side was torn on both sides and had sprayed grease all over the place inside the wheel and the gearbox. The passenger side axle was much better with only the outer boot being torn. Whilst at full lock there was some knocking which is a sign the joints are not healthy and it’s time for new ones.
Whilst it’s technically possible to replace just the boot and/or the CV joints I opted to go for the easier as less messy option of buying two new front axles from Raxles. They have a good reputation in the community and are of a much higher quality than the reground stuff available in most auto parts stores. I paid $759 shipped for the two axles which includes all the required hardware and return shipping of the old axles (which are a core part). They provided a helpful guide here.
Removal steps
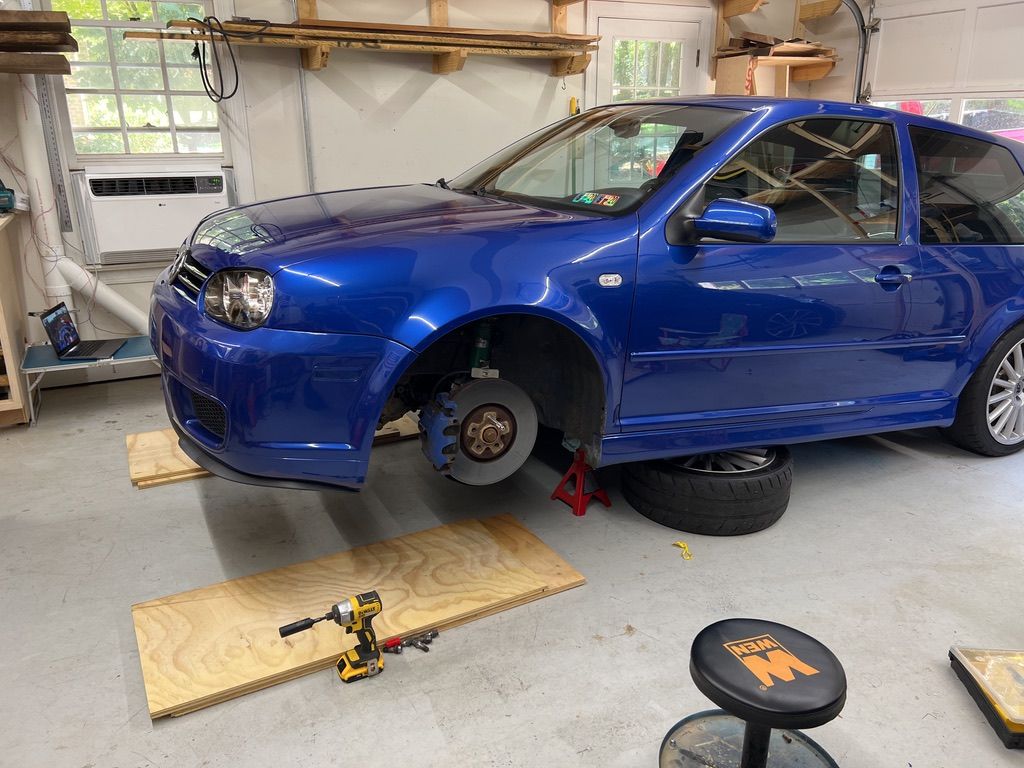
It’s important for the car to be raised for this procedure, jack stands at a minimum are a good idea.
The car should be on level ground and placed into neutral to allow the front wheels to rotate. You’ll want to apply the handbrake and chock the rear wheels to prevent unwanted movement of the vehicle.
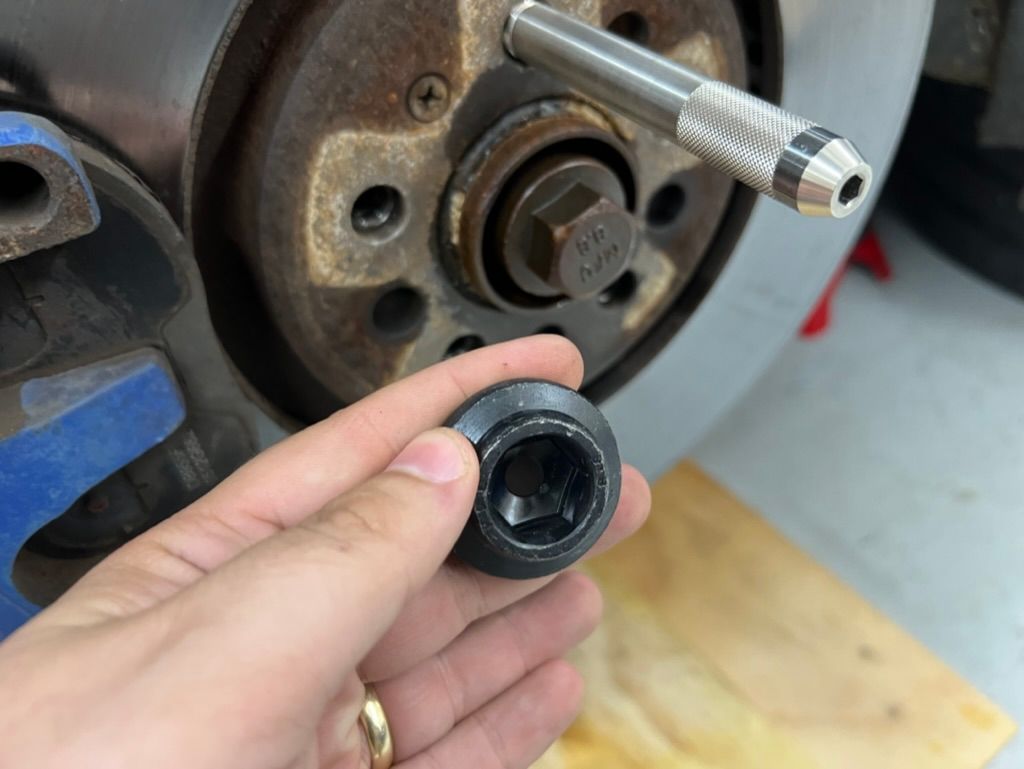
Liberally apply penetrating oil to your Axle nut. In my case I believe this to be the original 6 point 27mm nut. VW has a few different types so you might see references online to a 30mm 12 point nut too, mine was a 27mm. The new bolt supplied by Raxles takes a 17mm allen.
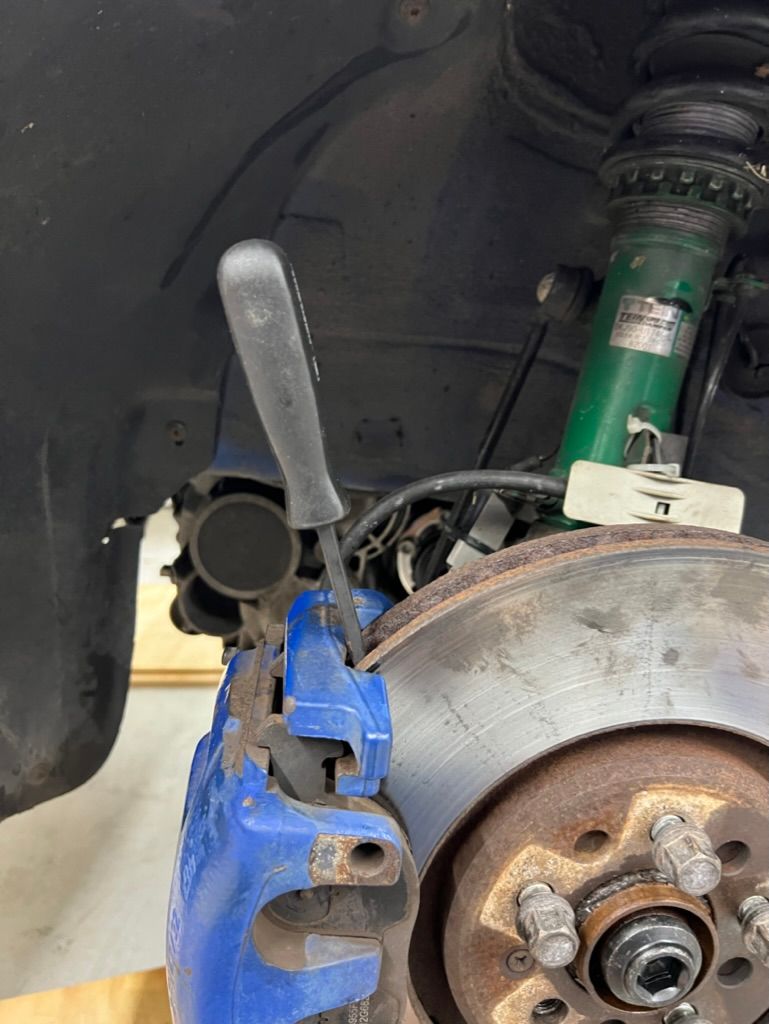
Cracking the axle bolt loose really took some force using a 4ft breaker bar so be prepared for that. A strong impact gun would probably help but I don’t have one (yet) so brute force was required. You’ll probably want to use the screwdriver jammed into the rotor trick several times on this install to stop the hub from spinning as you apply torque to the various bolts.
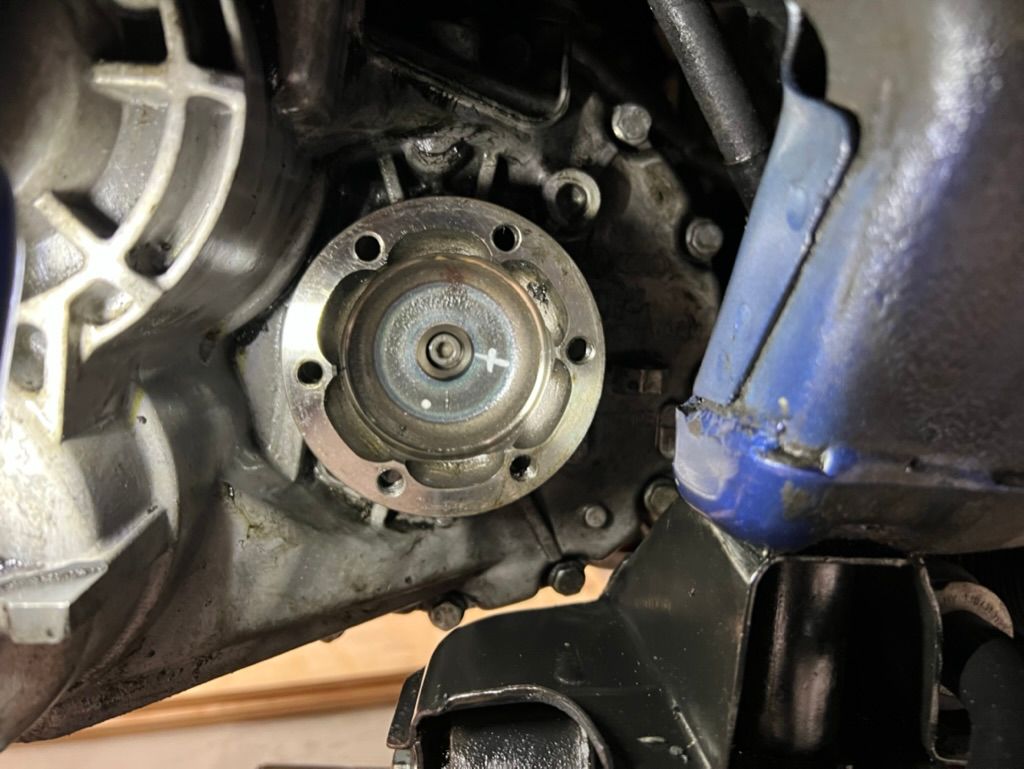
You can use this same trick to crack the bolts loose that attach the axle to the transmission. The factory bolts required a 12mm triple square and the new ones supplied by Raxles required a 10mm triple square bit.
You need to disconnect control arm from the ball joint. There are 3 13mm bolts on the under which in my case were quite stubborn. I let some PB blaster soak in for 30 mins and then gave them the breaker bar treatment to crack them loose. Once the nuts are removed, push down on the control arm and lift the assembly out of the way. I found a large pry bar useful here.
The old axle should now not be connected to the car and just held in with friction. Some guides call for removing the sway bar and disconnecting the tie rod ends but I didn’t find this to be necessary.
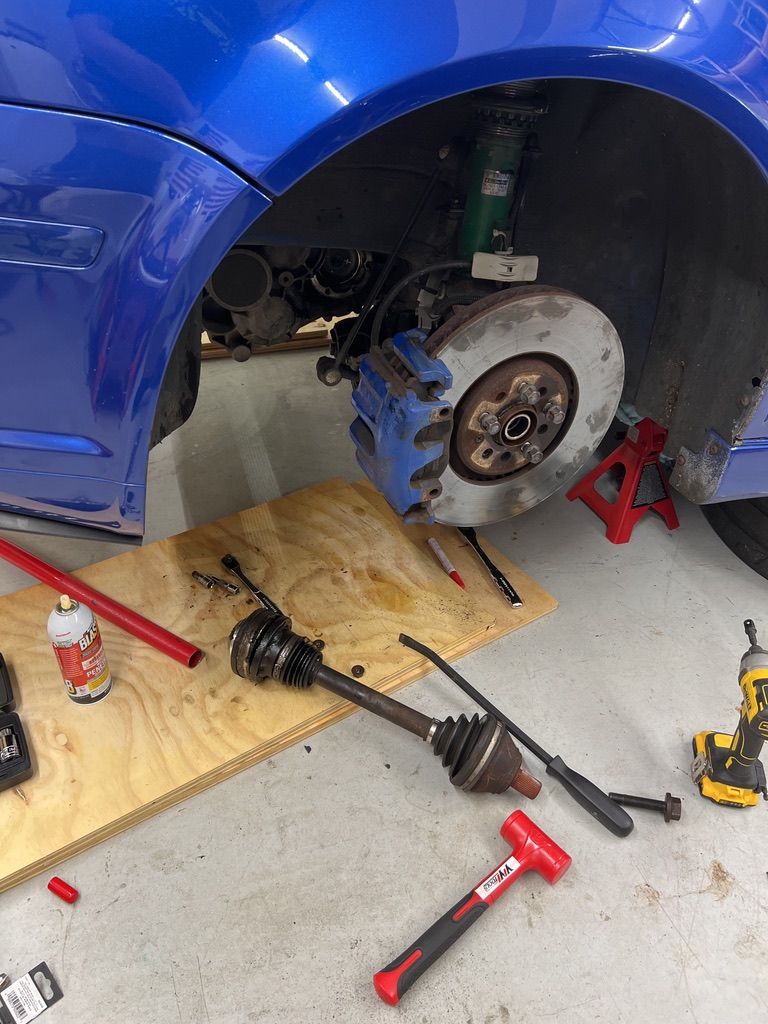
I screwed the axle nut into the threads on the end of the axle by a few mm and used a dead blow mallet to gentle persuade the splined end out of the wheel hub. Disconnecting from the transmission side was easy enough.
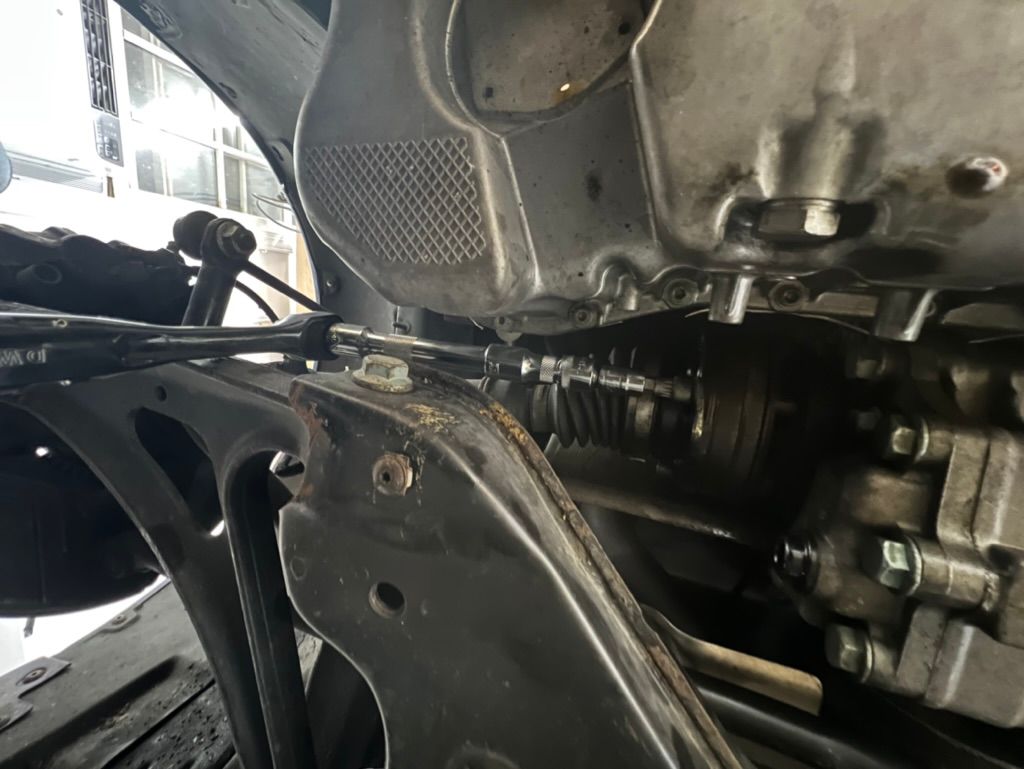
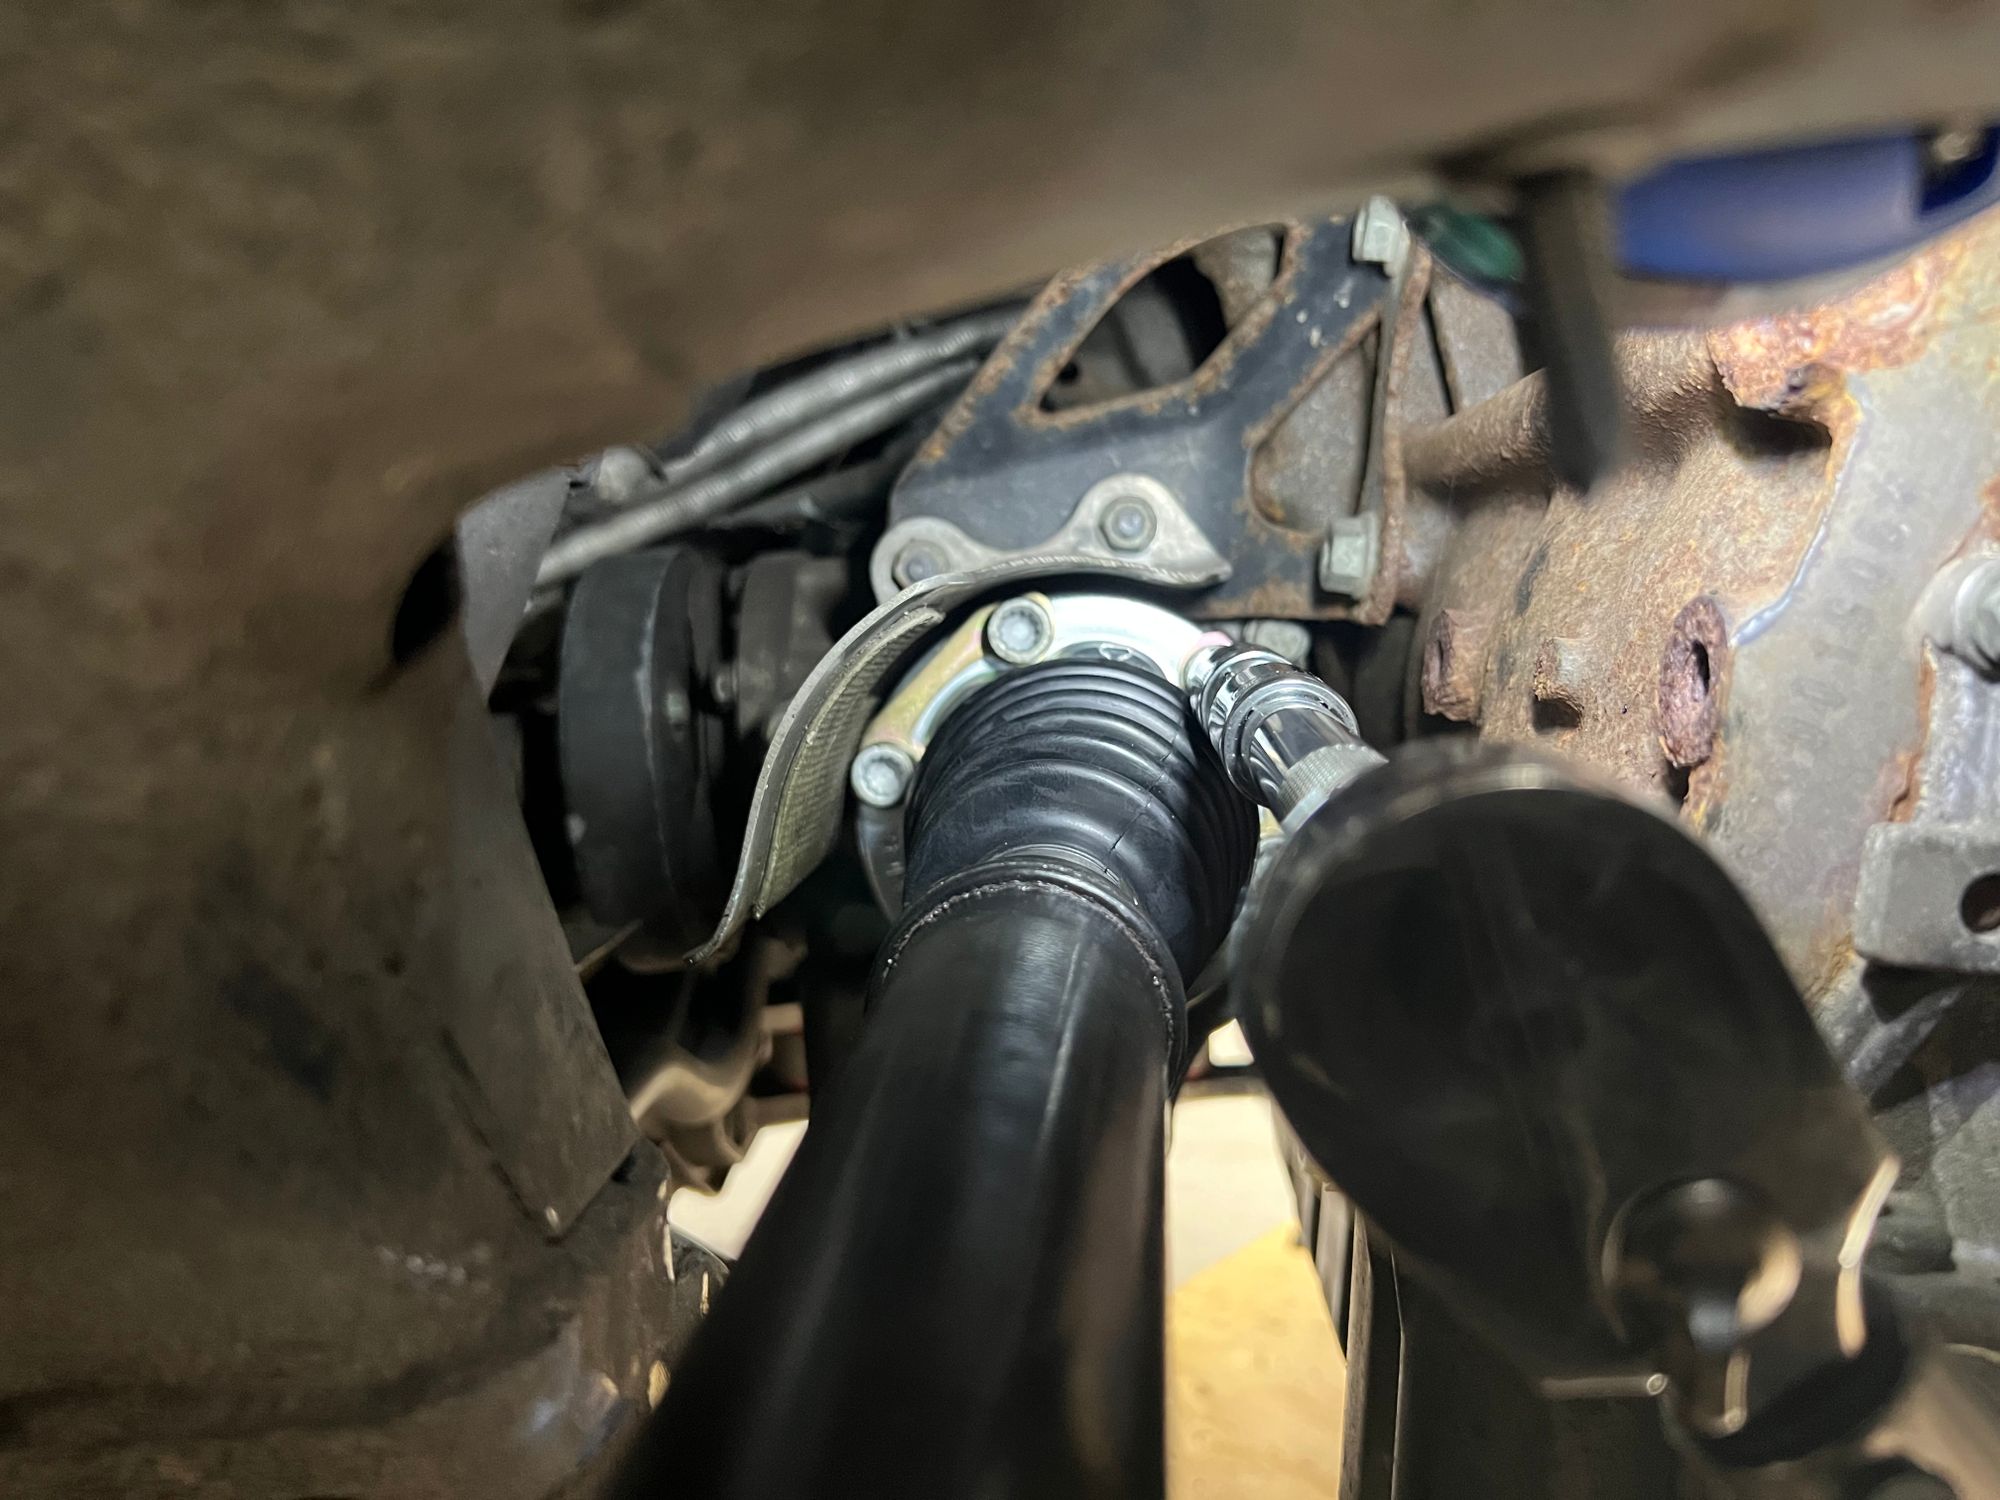
On the passenger side the axle is connected to the transmission in a more difficult to reach spot. It took me a while to get it right but once I figured out the I needed a set of extensions long enough for the ratchet handle to clear the oil pan but short enough not to foul the sway bar (maybe I should have removed it on this side) it was easy enough.
Installation
Installing the new axles is pretty much just the reverse of removal but there were a couple of points to note.
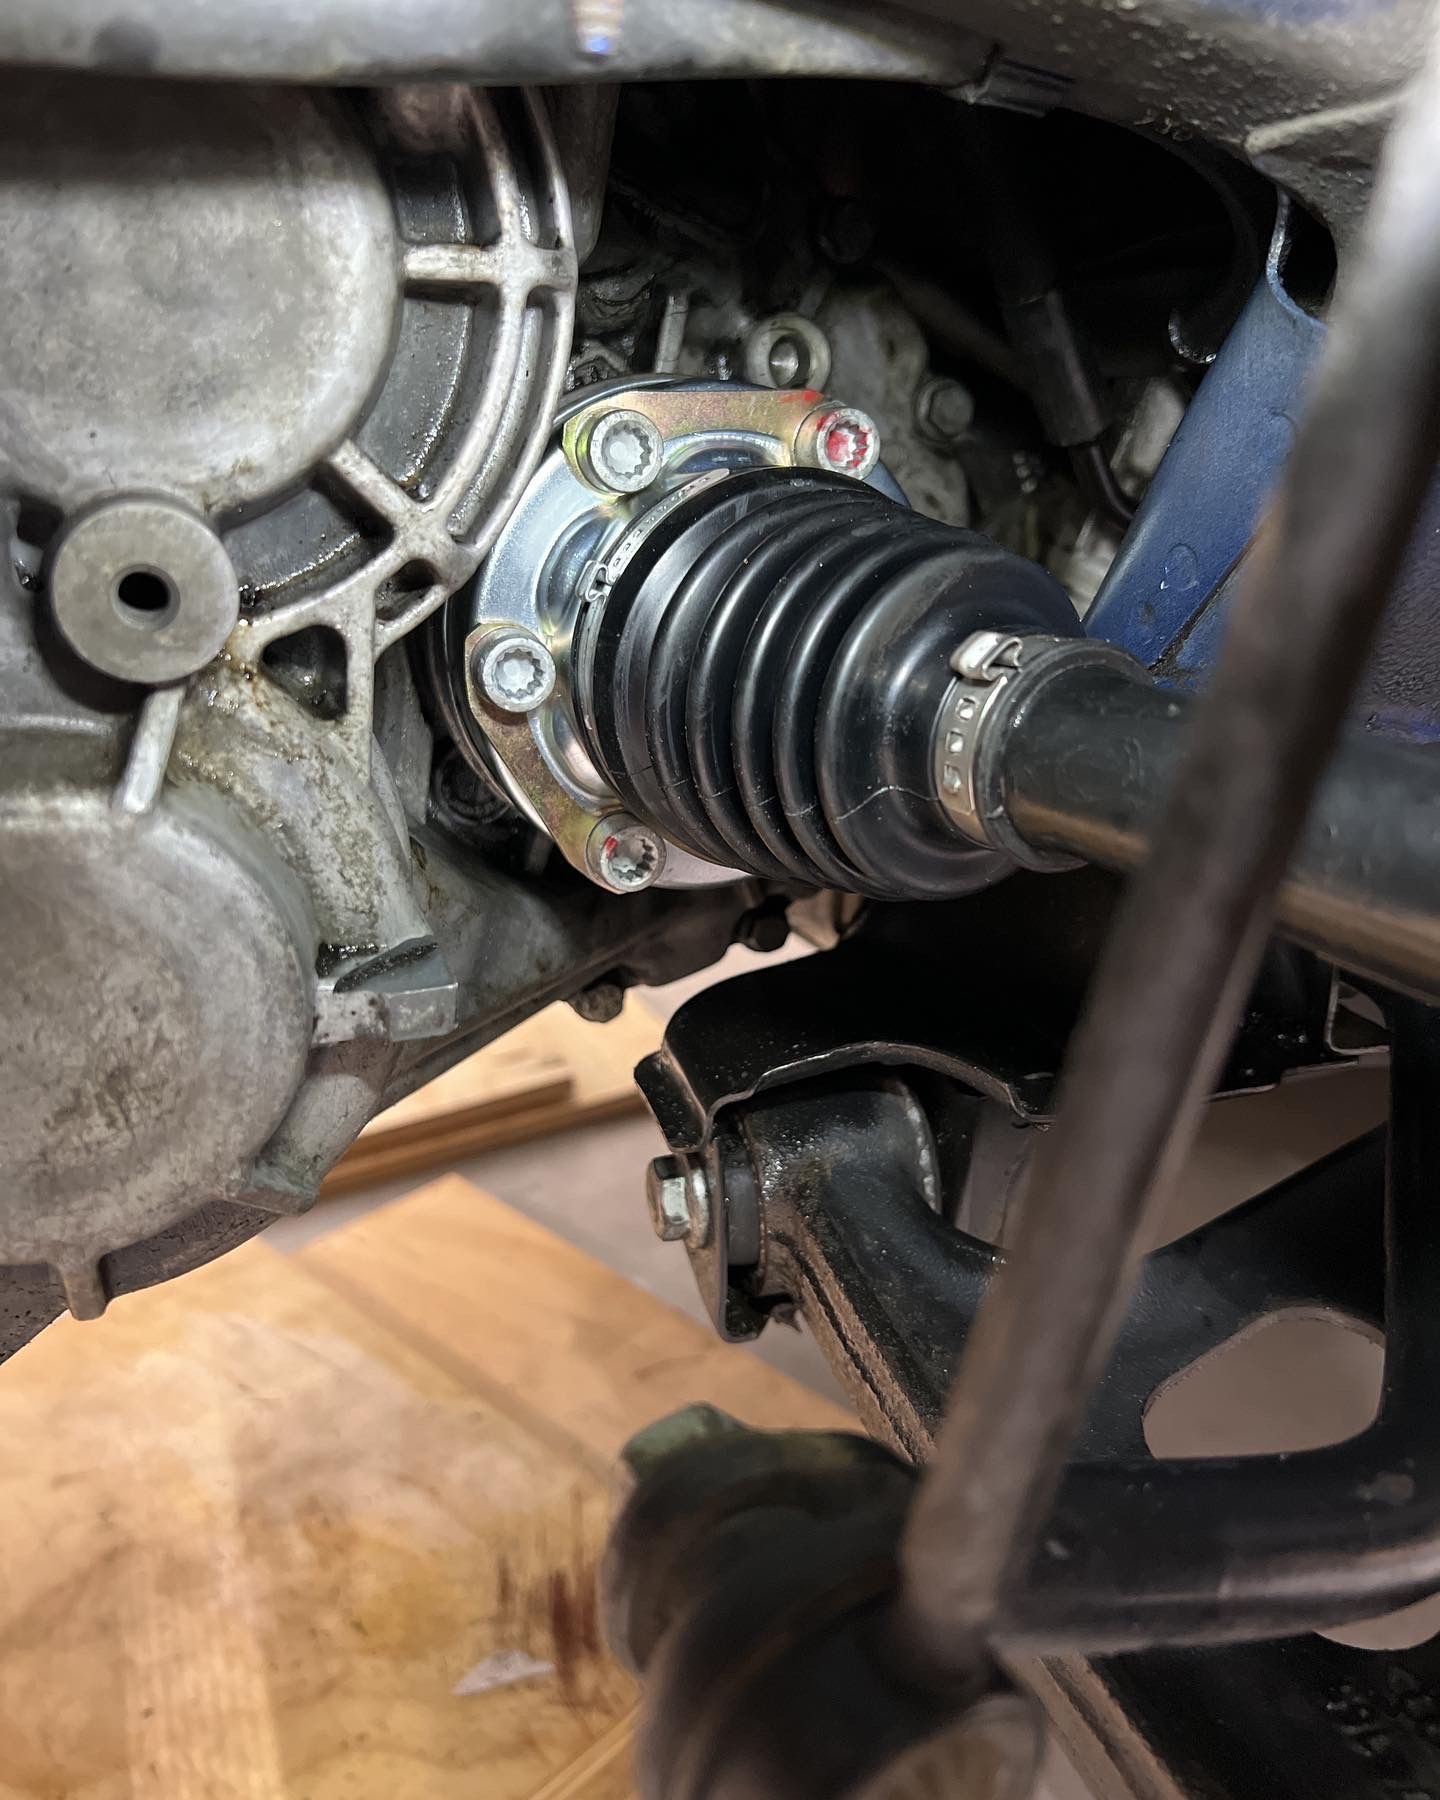
First is that Raxles ship a small BLACK (why invisible BLACK?!) plastic plug in the end of the axles which you must remove before you can screw the axle nut back in.

Second was to make sure not to force anything. Take your time and line up the splines as best you can in the wheel hub so as not to damage the bearing or ABS sensor. Same on the transmission end, take your time and line up the first bolt and then in a star pattern work your way around to bring them up to the 59ft/lb torque spec.
I found it helpful to use a paint pen on the bolts once they had been torqued so I didn’t lose track.
I took the time to thoroughly clean as much grease off the surrounding engine components and wheels as possible before putting the wheels back on and lowering the car.
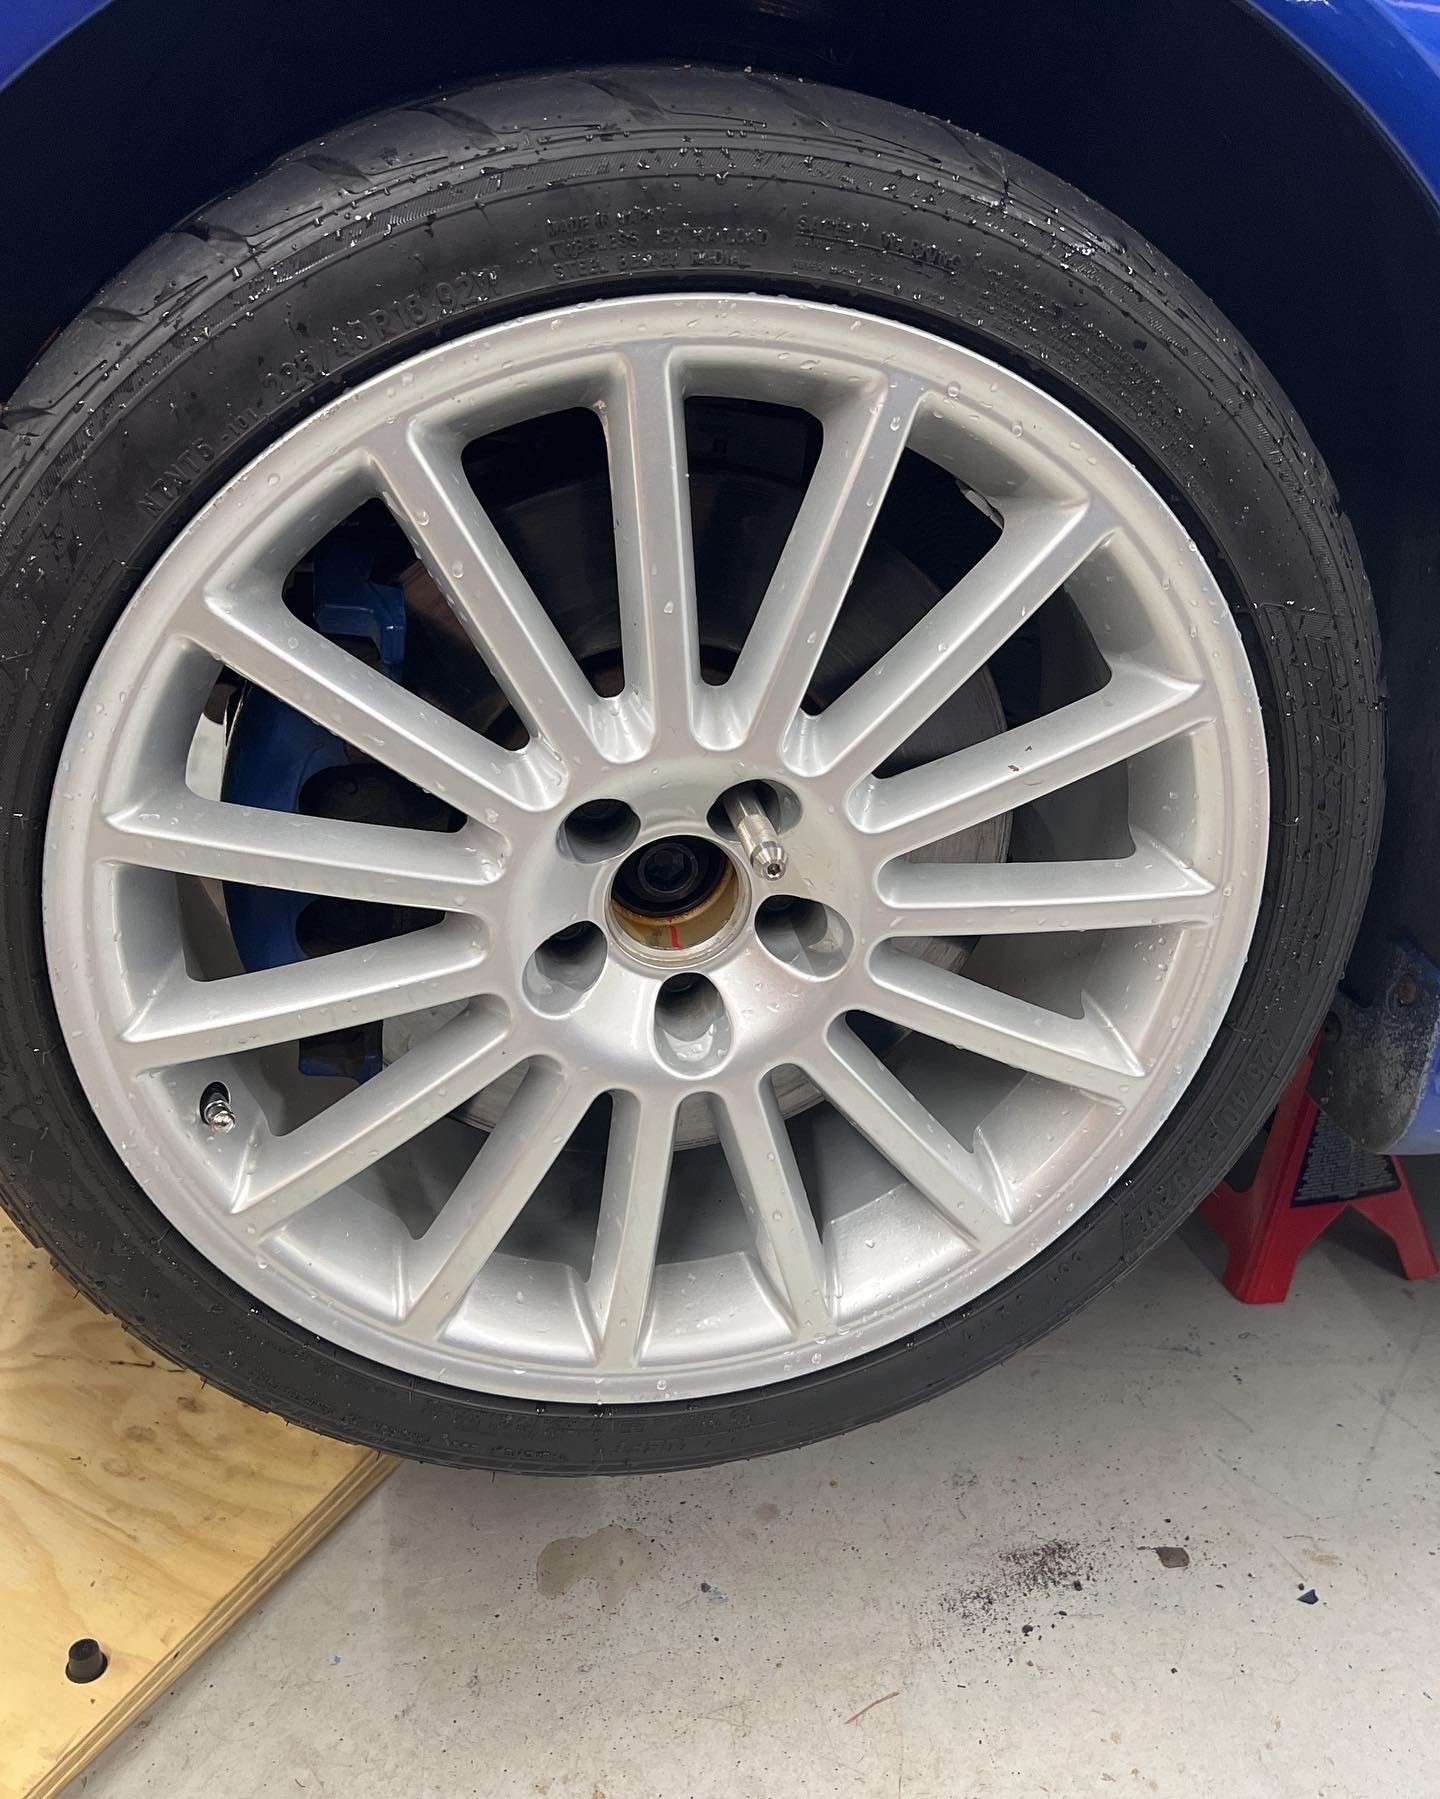
I took the central hub cap off the stock Aristo wheels in order to gain access to the axle bolt once the car was back on the floor again. Applying crazy torque like you need to on an axle bolt whilst the car is up in the air without impact tools makes me very nervous.
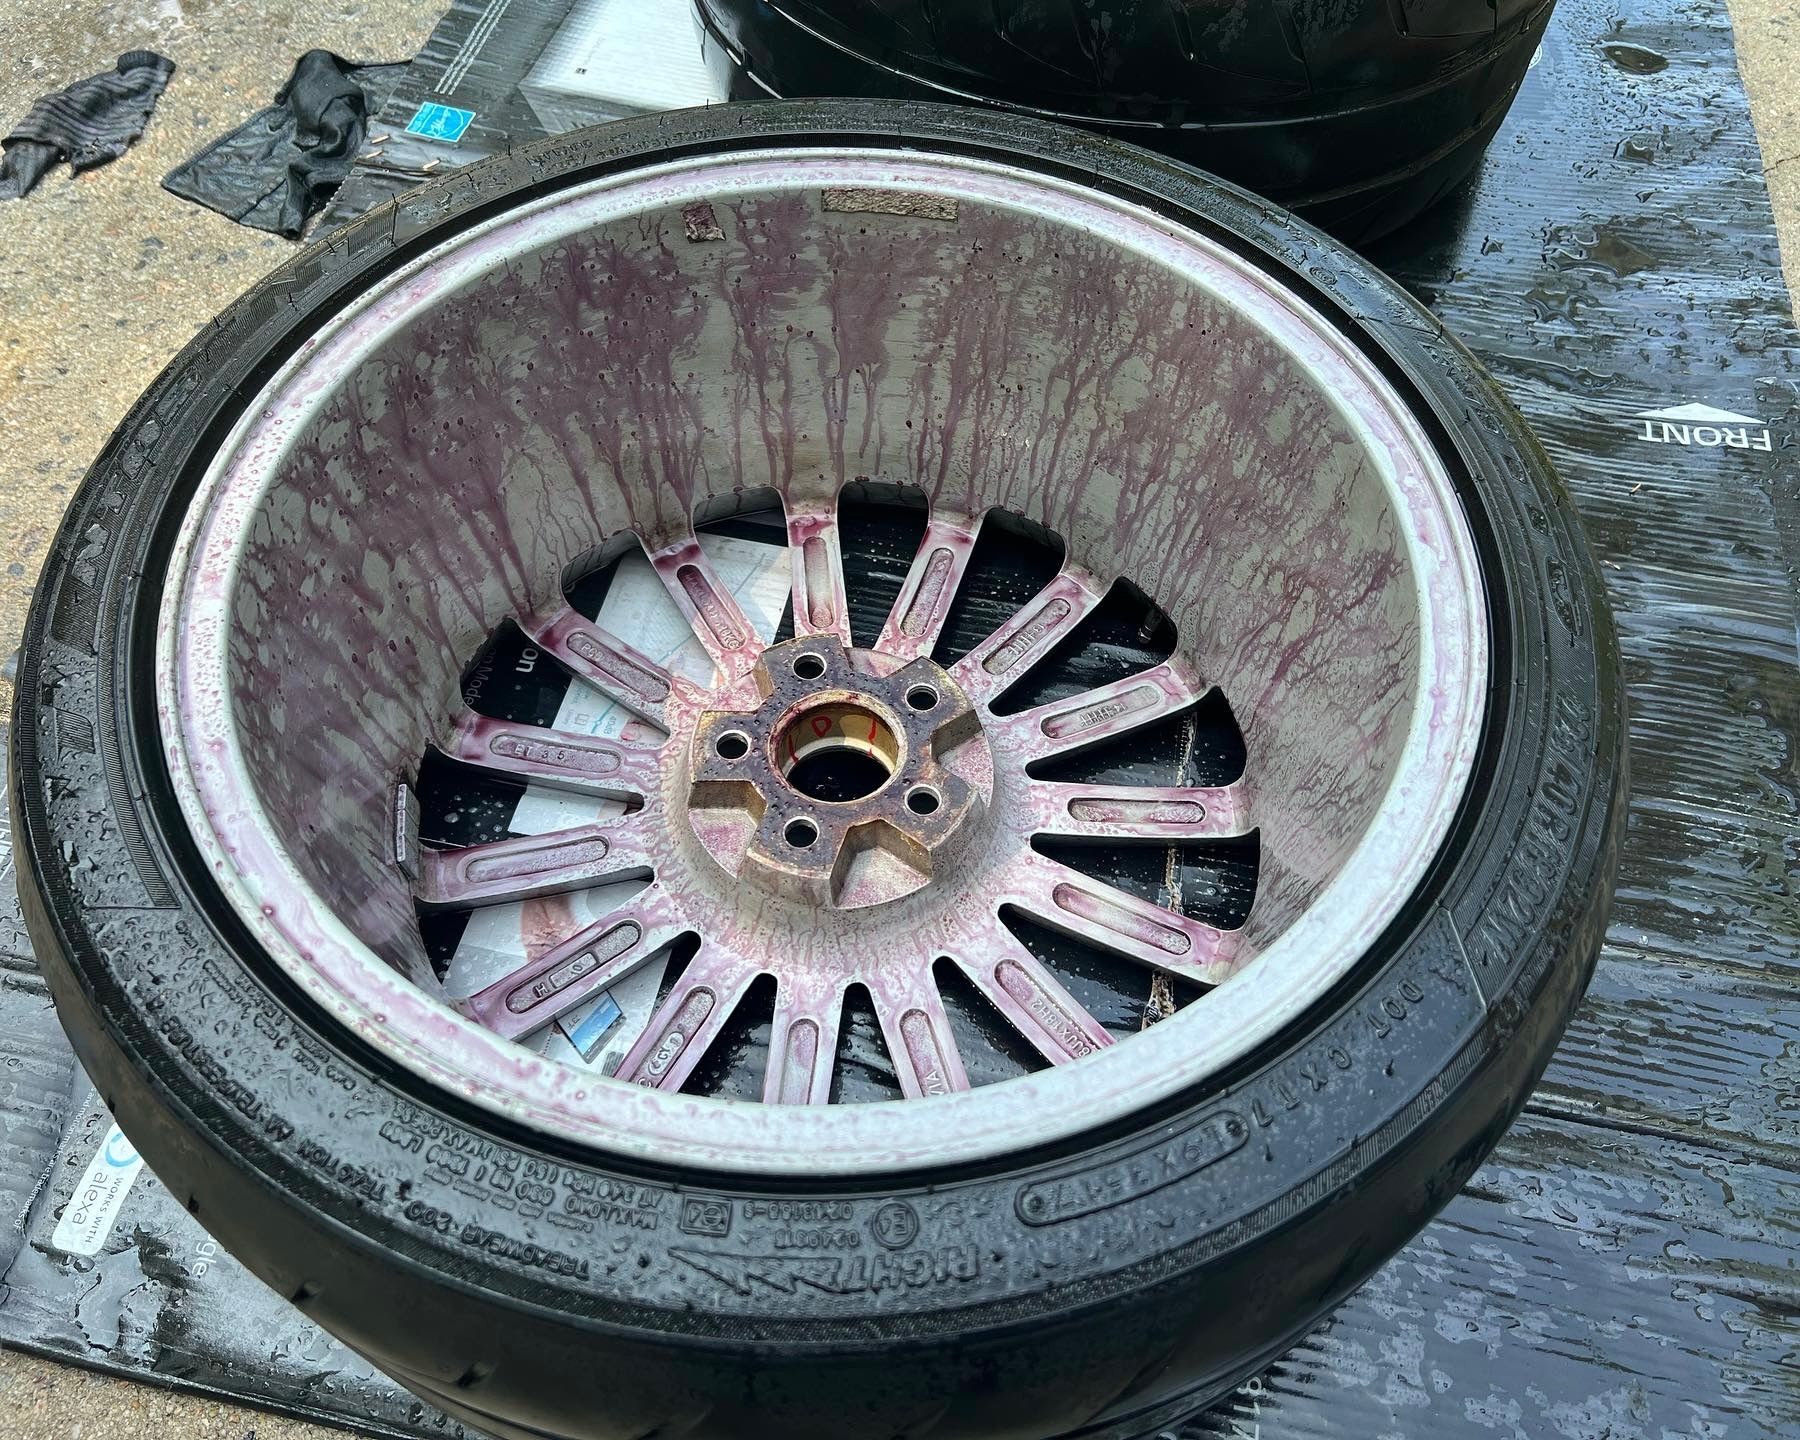
Cleaning the grease off the wheels took about an hour per wheel but I got to use all sorts of fun stuff like iron removers and degreasers. The pink residue is the iron remover at work, best example I’ve ever seen of it in action!
Wrap up
Once everything was put back together again which didn’t really take very long, I took the car out for a very gentle shakedown run to the nearest tire shop I could find that was open today that could do an alignment. It’s recommended to get an alignment after replacing the axles due to messing with the control arm bolts.
Even for a total novice like myself this was actually a surprisingly simple job. The biggest surprise was that the axles were a different length on each side. The required tools list wasn’t too bad either. It’s not a job I hope to be repeating on the regular but it’s nice to know it’s not as intimidating as it seems.