I recently switched from Proxmox to ESXI for my primary Hypervisor due to better support for automation tools like Ansible and Terraform plus better integrations with Red Hat Satellite. I didn’t fancy rebuilding some of my VMs and instead wanted to find out how to migrate them instead.
If you were using qcow2 images for your KVM VMs this will also work from any KVM based system, not just Proxmox.
First step is to convert your qcow2 image to a vmdk file that VMWare uses. I ran these steps on my laptop running Fedora, any Linux box should do here though. You can run the conversion thus:
qemu-img convert -f qcow2 -O vmdk quassel.qcow2 quasselog.vmdkThen you’ll want to enable SSH on your ESXI box in order to utilise vmkfstools on the hypervisor itself.
Firstly, you’ll need to locate where images are stored. This will be different from everyone depending on the datastores you have set up. /vmfs/volumes contains symlinks to your datastores and you can use scp to copy your VMDK there for processing.
[root@awesomo:~] cd /vmfs/volumes/
[root@awesomo:/vmfs/volumes] ls -la
lrwxr-xr-x    1 root     root            35 Sep 24 18:23 860evo -> 5d80ea2d-f02fde58-9186-902b343139aa
lrwxr-xr-x    1 root     root            35 Sep 24 18:23 kingston120 -> 5d81524d-2af38afe-f897-902b343139aa
lrwxr-xr-x    1 root     root            35 Sep 24 18:23 mx1tb -> 5d815104-446d1bb2-734b-902b343139aa
lrwxr-xr-x    1 root     root            35 Sep 24 18:23 spc500 -> 5d815137-92da855a-b842-902b343139aa
Then, using scp (or any other tool to copy files around your network) run:
scp quasselog.vmdk [email protected]:/vmfs/volumes/5d80ea2d-f02fde58-9186-902b343139aa/After the file is copied, you’ll need to use vmkfstools and run the following:
cd /vmfs/volumes/your-datastore
vmkfstools -i quasselog.vmdk -d thin quassel.vmdk
You’ll see some messages about cloning disk and things whilst this is progress. Next we’ll go into vcenter or esxi itself and create a new VM.
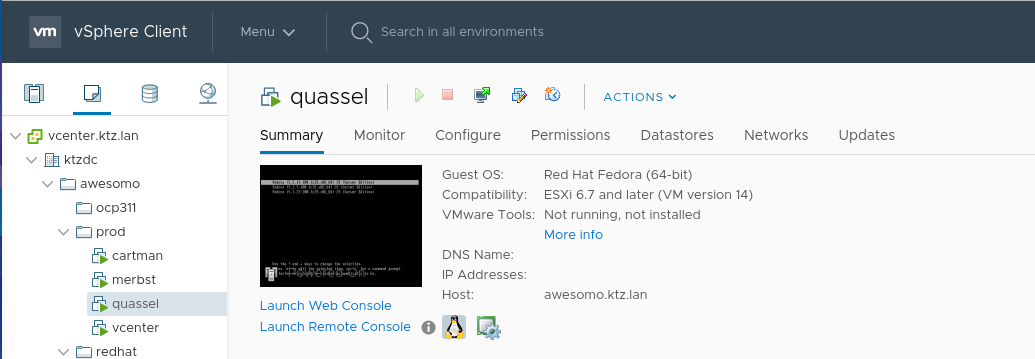
In vcenter I did the following:
New Virtual Machine -> Create a new virtual machine -> gave it a name -> selected a compute resource -> selected storage (not important) -> selected any compatibility (6.7 and later) -> selected my guest OS -> customised hardware (I left everything here as default except cpu and memory - do not change disk yet) -> finish.
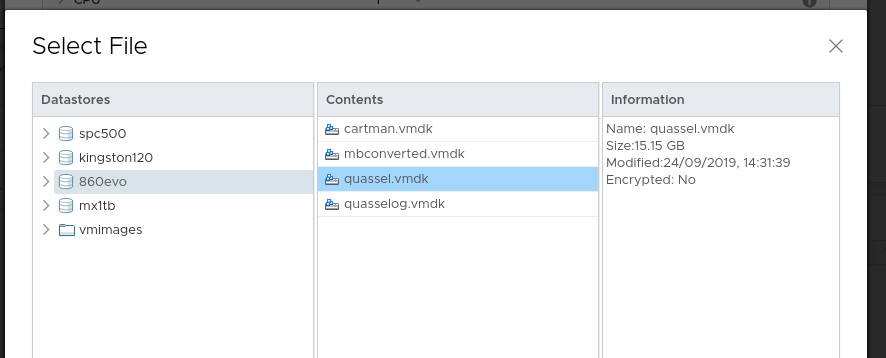
Your VM should now be created with a blank, useless hard disk. Time to attach the correct one. Edit settings for the VM and add a new device -> existing hard disk -> then select the vmdk we converted with vmkfstools above.
Make any other changes and you should now be good to go. Remember to install vmware-tools on the VM and possibly remove qemu-guest as well!