
You do like declarative configurations don’t you? Good!
For the longest time I’ve made do with clicking through the Opnsense UI to add static IP reservations via MAC address mapping. It’s been one of those minor friction points of network administration that I’ve put up with because automating the process seemed daunting.
This post will detail how I solved a few interesting problems as I fully automated DNS overrides and DHCP reservations using Pihole, and the program it’s built on top of Dnsmasq.
Some background and preamble
In most typical homelabber / self-hosting environments we aren’t afraid to roll our own firewall using software such as Opnsense. Often these types of firewall softwares act as a catch all for critical network services like a DHCP server or local DNS resolver and so on.
I’ve used pfsense since forever. My first foray with the software was in High School combining multiple cable modems together back in the good old days of Docsis 2.0 mac cloning. More recently (5 years ago!), I switched to the fork - Opnsense. In large part due to a more modern BSD base and Wireguard support (not to mention Netgate being a company with business practices which are hard to like). And I’ve been extremely happy.
However, the biggest ding against Opnsense (and pfsense) is that it’s underpinnings are very old. Stable, but old.
The configuration mechanisms for these softwares revolve around XML files which do not lend themselves well to API driven updates or automation based approaches for simple tasks like updating an IP address / MAC address mapping. As an automation enthusiast, this hurts. There is an API in the works for Opnsense but it lacks many of the endpoints to customise what I need.
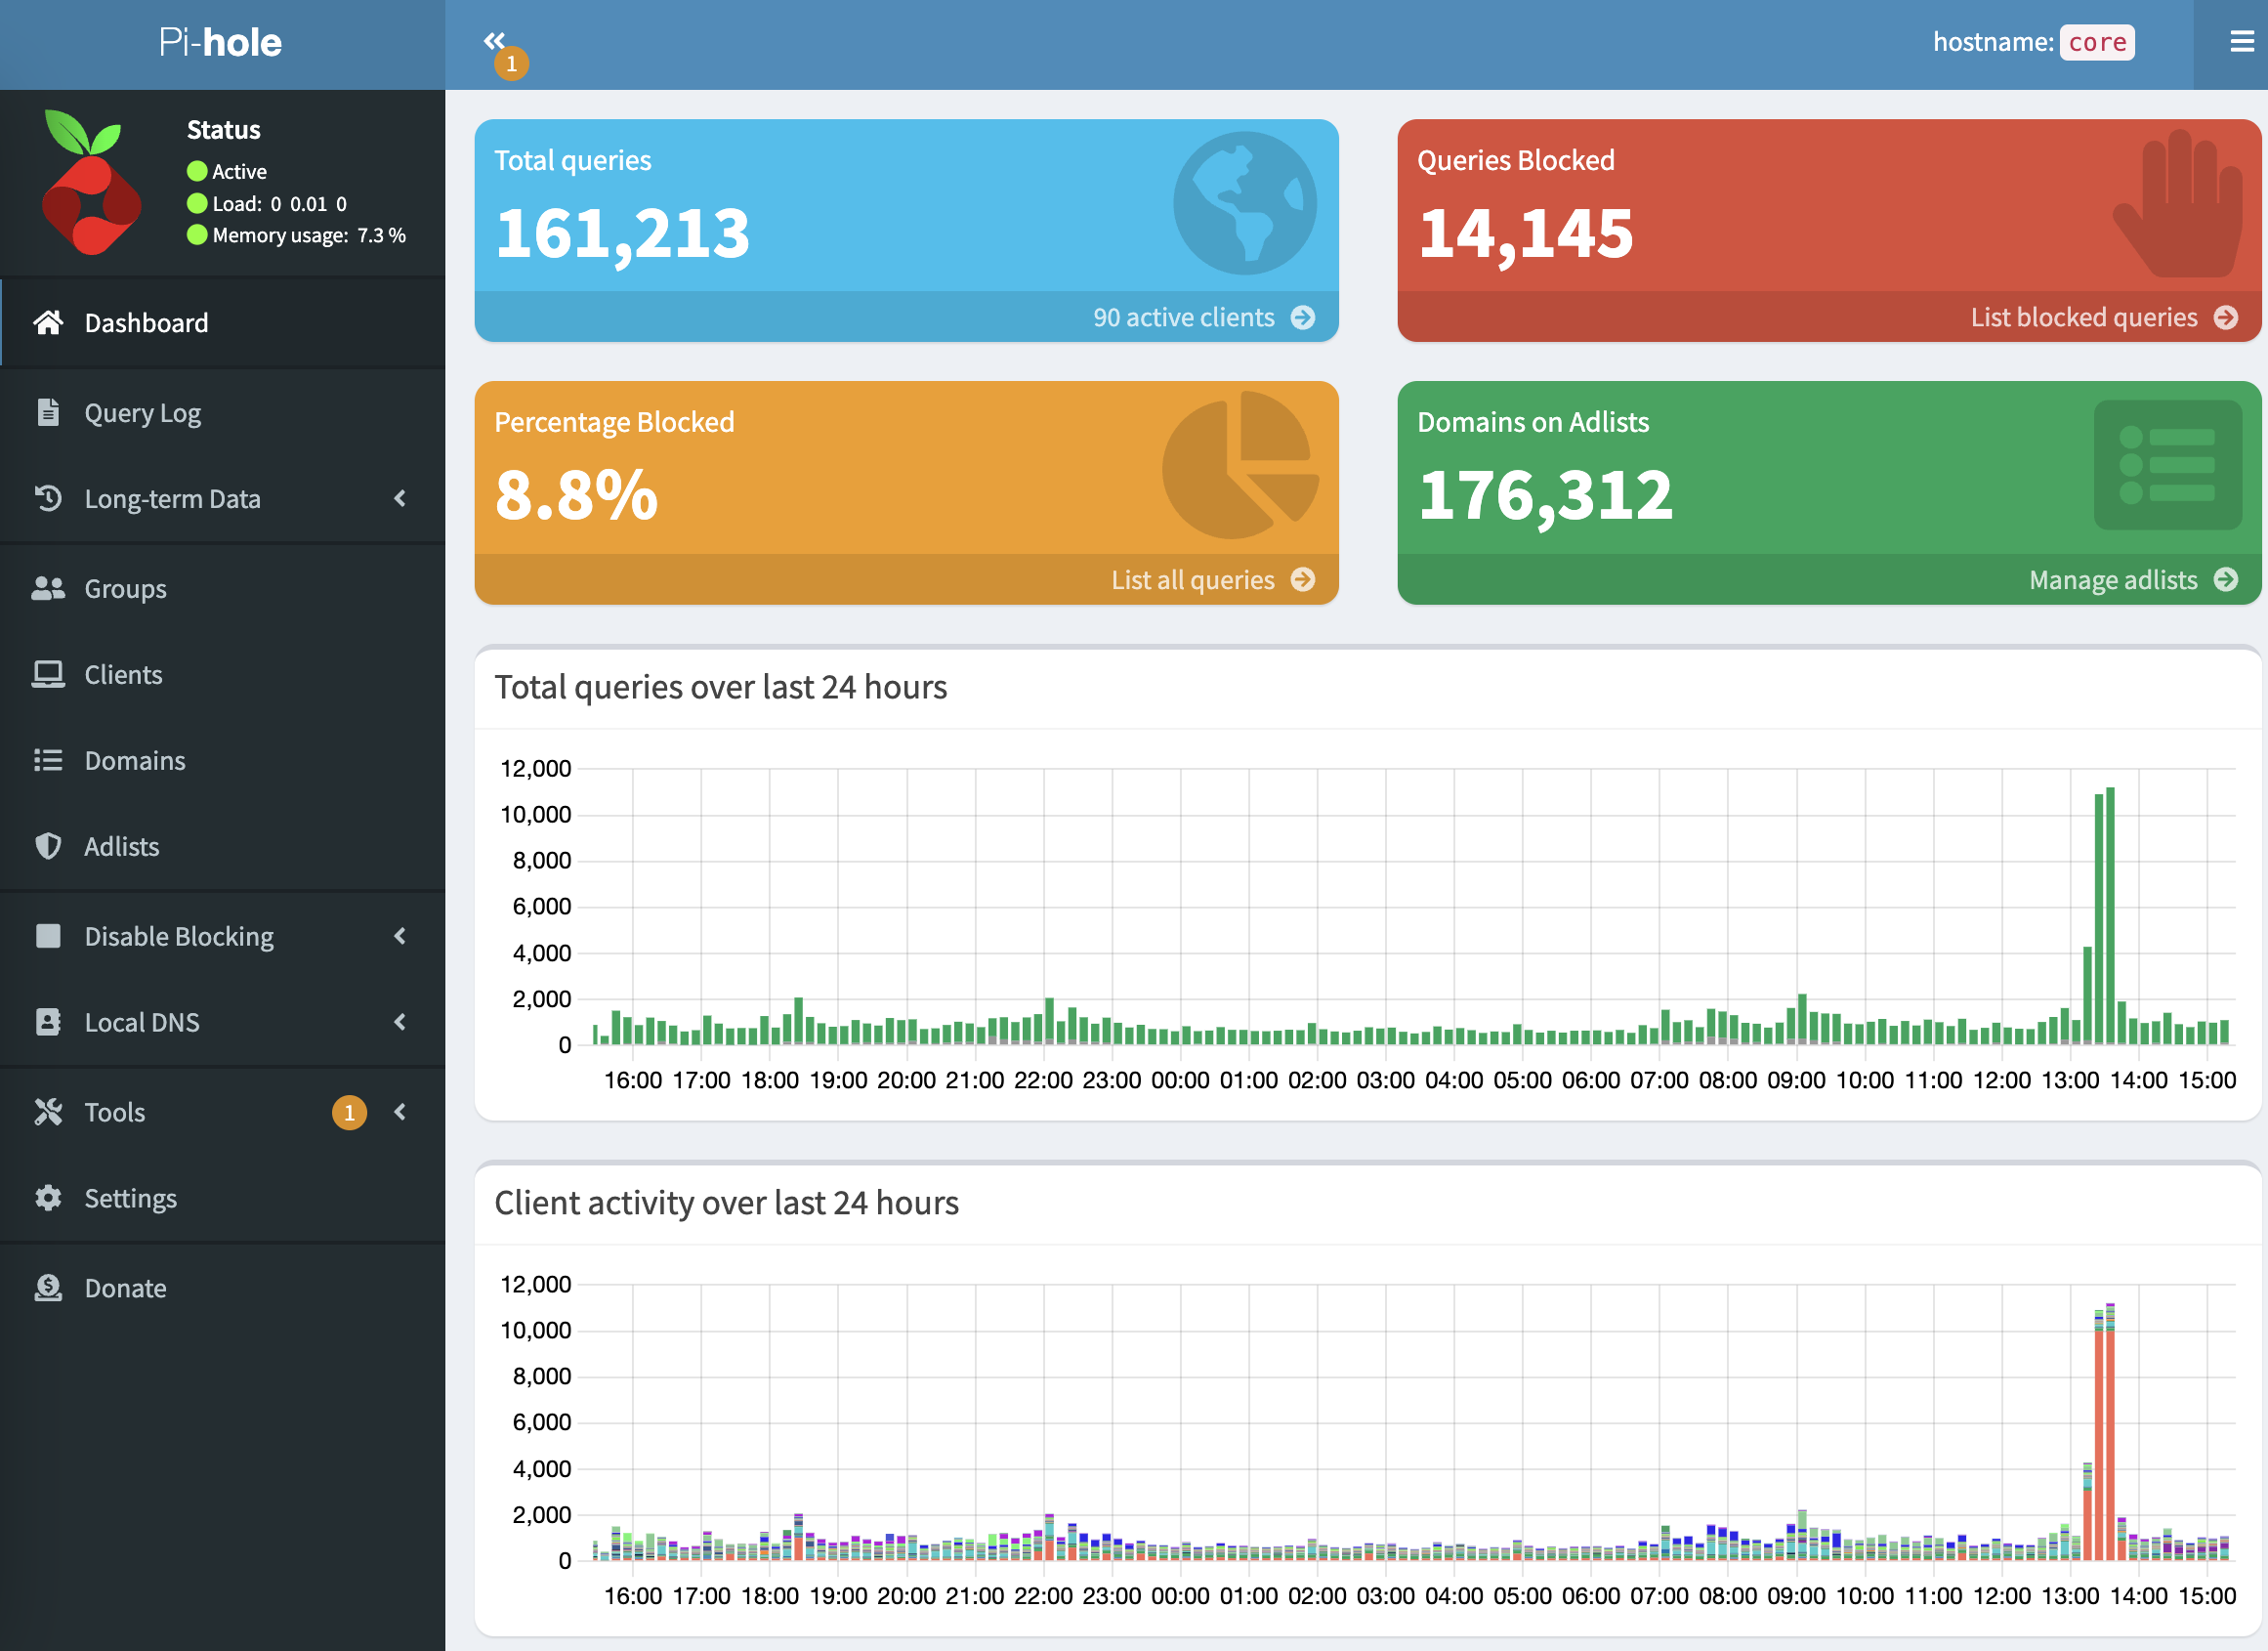
Pi-hole
You’ve almost certainly heard of Pihole by now, the network level ad-blocker. The name implies it’s only suitable for use on a Raspberry Pi but this isn’t true. There are images for multiple architectures and the software runs extremely well on x86 hardware.
Pihole is built atop of Dnsmasq. The project describes itself providing “network infrastructure for small networks: DNS, DHCP, router advertisement and network boot.”
Digging under the hood of Pihole a little, there’s actually a surprisingly small amount of customisation to make it function as an ad-blocker compared with a vanilla installation of dnsmasq. Like most Linux programs dnsmasq is configured using text files with easily templatable values. This means we can easily use Ansible and Jinja2 templating to configure it.
Adguard Home is another popular option in this space. You could most likely adapt the principles discussed here to work with its underpinnings as documented here. I recently switched away from Adguard to Pihole and in daily usage haven’t noticed a big difference. We discussed the switch a little more in episode 90 of my podcast, Self-Hosted.
Quick Overview
We are going to use Ansible to create a data structure to store the core values required to configure DHCP and DNS like so (full example here):
 dhcp_reservations:
  - {mac: e4:5f:01:08:89:ca, ip: 10.42.1.50, hostname: octopi-bricktop} #pi4 4gb
  - {mac: e4:5f:01:08:be:cb, ip: 10.42.1.51, hostname: pi4-2gb} #pi4 2gb
  - {mac: dc:a6:32:b1:16:27, ip: 10.42.1.52, hostname: pi4-8gb} #pi4 8gb
  - {mac: b8:27:eb:2f:ee:4f, ip: 10.42.1.53, hostname: pi3} #pi3
Once you’ve gathered this information, we’ll plug a few other things into Ansible like DHCP ranges and local domains.
default_domain: "your.domain.example.com"
network_cidr: 10.42.0.0/20
dhcp_range_start: 10.42.15.100
dhcp_range_end: 10.42.15.250
dhcp_router: 10.42.0.254
dhcp_active: "true"
There are a few other bits to consider like one-off DNS overrides but we’ll come to those later on.

Once Ansible is ready to go we’ll run a playbook which will update several key files on the Pihole instance and configure dnsmasq appropriately. The playbook will automatically check for duplicates, apply changes and then restart the requisite services.
You could take this a step further and apply these changes automatically whenever you make a change but that is beyond the scope of this post.
Hardware and implementation details
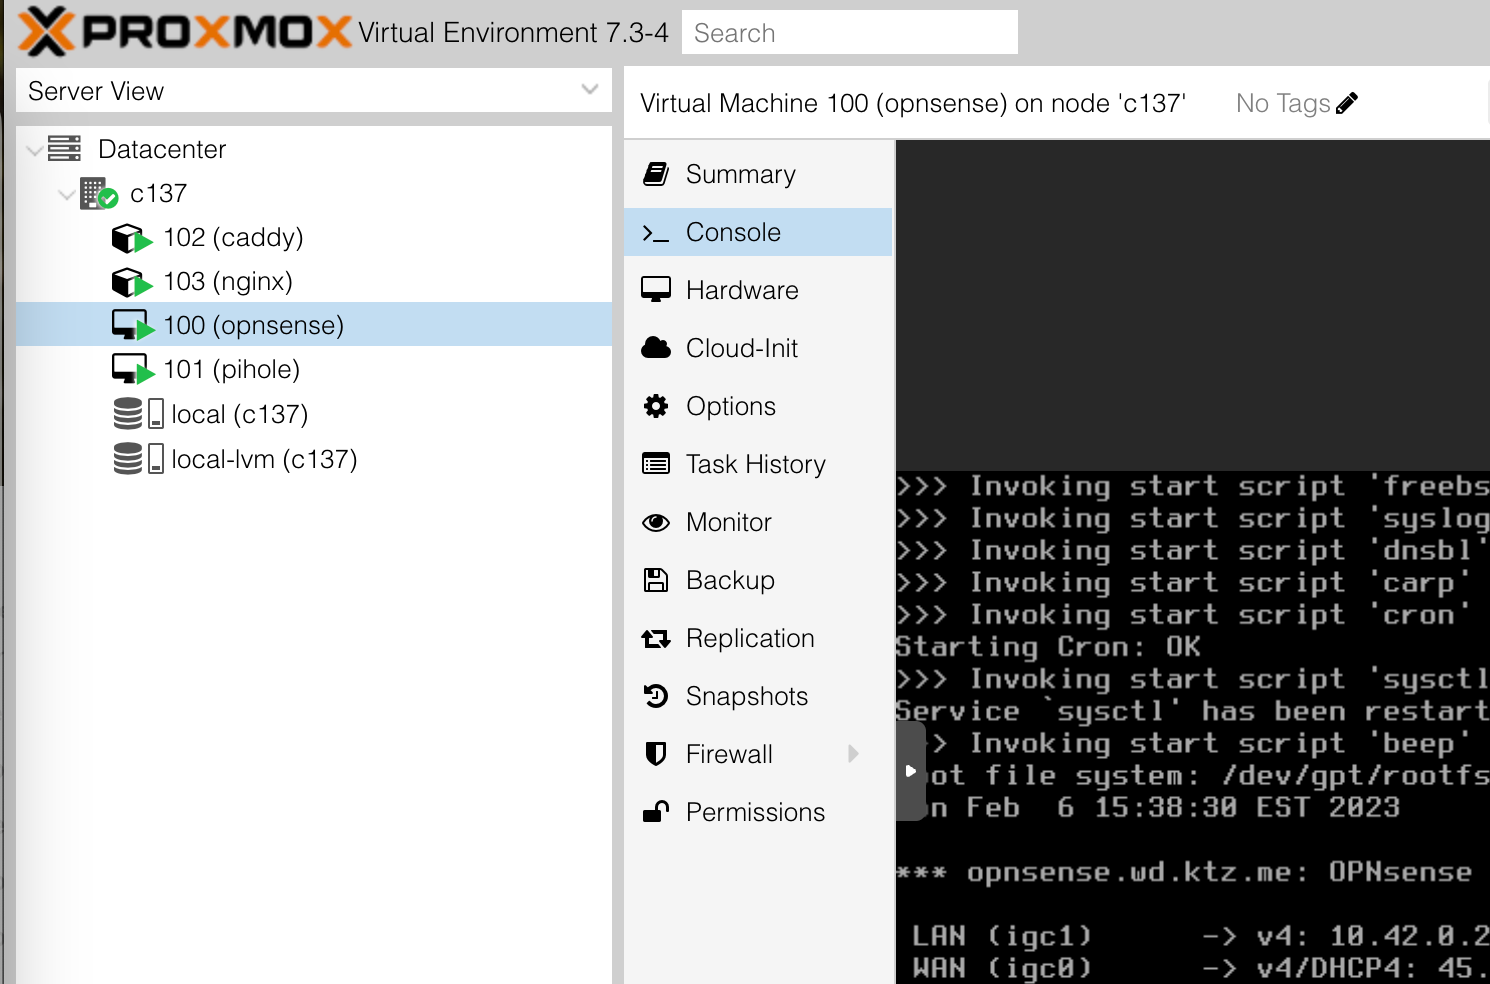
I’m choosing to implement this all on one Proxmox system. However, you’re free to spread these services out across your hardware however you like. I’m using LXCs, but you could just as easily use more traditional VMs or docker! The core of this post is discussing automating this solution, rather than giving you a boilerplate example you must copy letter for letter. The only constraint on your environment is that the services must be reachable by SSH for Ansible to connect in and configure them.
I recently purchased this fanless system with N5105 CPU and 4x Intel i226-v 2.5GbE NICs to use for this purpose. Using PCI passthrough with Proxmox I’m able to give the opnsense VM two physical NICs (1 WAN, 1 LAN) as if it were on bare metal. That leaves me two others for Proxmox. In reality I probably will only ever use 3 of these NICs. $288 shipped included 128GB NVME and 16GB RAM. Performance has been stellar for the last month but only time will tell if stands up to my needs.
The installation guide starts here
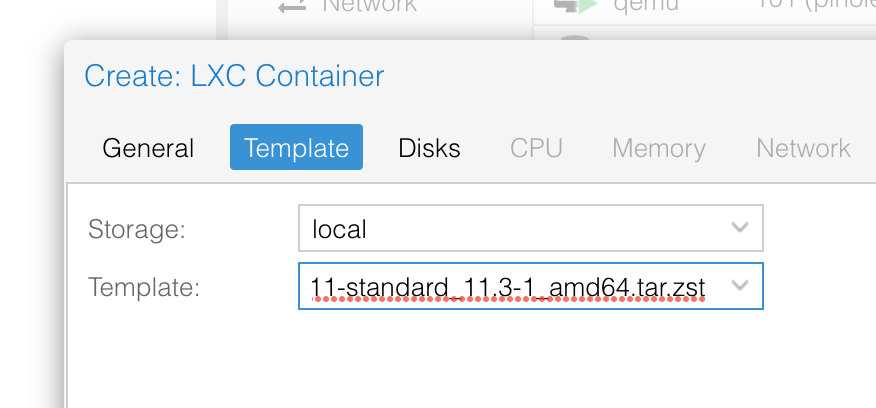
1. Configure a VM or an LXC
How you choose to run Pihole is up to you. I’ve had great success running it in an LXC on Proxmox using 512mb, 4gb of disk and 2 vCPUs. I won’t cover creating an LXC or installing an OS - plenty of coverage elsewhere for that - but the template I used was the Debian 11 one.
To be clear, you can run Pihole on a Raspberry Pi, in a VM, as an LXC, or on a potato for all I care. It really is up to you. Don’t let the whole Proxmox / VM / LXC speak here scare you away.
2. Install Pihole
Once your runtime environment is up the next step is to install Pihole. The project has documentation on how to do this but the TL;DR is:
# ensure you understand the risks of piping an internet script to bash
curl -sSL https://install.pi-hole.net | bash

# once the install is complete set a custom admin password with
pihole -a -p
3. Create Ansible configuration
For our purposes here you will need to configure several variables files to give Ansible the information it needs to substitute them into the dnsmasq templates.
You will need to create an appropriate variables files for the dhcp_reservations data along with other variables specific to this host. Out of habit I place mine in group_vars/dhcpdns.yaml but they probably ought to live in host_vars/pihole.yaml. The names arbitrary but Ansibles variable precedence can be something to watch out for.
Here’s a minimal example of what the variables file should look like:
# group_vars/dhcp-dns.yaml

default_domain: "domain.example.com"
network_cidr: 10.42.0.0/20
dhcp_range_start: 10.42.15.100
dhcp_range_end: 10.42.15.250
dhcp_router: 10.42.0.254
dhcp_active: "true"

dns_overrides:
  - {ip: 10.42.0.252, custom_dns: "local.domain.example.com"}
  - {ip: 10.42.0.252, custom_dns: "opnsense.domain.example.com"}

dhcp_reservations:
  ## firewall
  - {mac: 7C:2B:E1:13:84:D8, ip: 10.42.0.1, hostname: c137}
  #- {mac: 7C:2B:E1:13:84:D9, ip: WAN, hostname: opnsenseWAN} # WAN
  - {mac: 7C:2B:E1:13:84:DA, ip: 10.42.0.254, hostname: opnsense, custom_dns: ["opnsense.c137"]} # LAN
  ### c137 services
  - {mac: 7E:23:21:86:2C:43, ip: 10.42.0.252, hostname: caddy}
  - {mac: FE:31:84:32:25:A3, ip: 10.42.0.253, hostname: pihole}
  ## raspberry pis
  - {mac: e4:5f:01:08:89:ca, ip: 10.42.1.50, hostname: octopi-bricktop} #pi4 4gb
  - {mac: e4:5f:01:08:be:cb, ip: 10.42.1.51, hostname: pi4-2gb} #pi4 2gb
  - {mac: dc:a6:32:b1:16:27, ip: 10.42.1.52, hostname: pi4-8gb} #pi4 8gb
Just to help orientate you, here are the primary nodes for my network:
| Name | IP Address | Purpose |
|---|---|---|
| proxmox | 10.42.0.1 | VM host |
| caddy | 10.42.0.252 | reverse proxy host |
| pihole | 10.42.0.253 | dns / dhcp |
| opnsense | 10.42.0.254 | firewall LAN port |
So how does this work?
There are three main files that need configuring for pihole and dnsmasq. They are:
| File location | Purpose |
|---|---|
/etc/pihole/setupVars.conf | Configures pihole, DHCP and, LAN subnet settings |
/etc/dnsmasq.d/03-dns-overrides.conf | Manually configured DNS entris (e.g. A records) |
/etc/dnsmasq.d/03-static-dhcp.conf | A list of DHCP hosts and corresponding mac addresses |
setupVars.conf is a bit of pihole special sauce. For the most part though, you only need worry about plugging in some basic information such as DHCP range, subnet CIDR and so on. It’s also where we tell pihole we want to use it as a DHCP server.
03-dns-overrides.conf is where we specify DNS entries which aren’t tied to a specific hostname. Entries take the format:
address=/blah.wd.ktz.me/10.42.1.99My Ansible role takes values from the dns_overrides list variable and then from custom_dns dicts which are part of the dhcp_reservations variable. This is useful if you’d like to override a hostname to go to a reverse proxy, rather than the host itself.
For example, my firewall is at opnsense.wd.ktz.me but I want proxy requests through Caddy which handles my TLS certificates. So by adding a value to dns_overrides and a custom_dns value, I can have both a direct DNS entry pointing right to that host and a hostname pointing at my reverse proxy.
03-static-dhcp.conf gets all the girls at the party. Entries in this file are created solely via the dhcp_reservations variable and take the format:
dhcp-host=7C:2B:E1:13:84:DA,10.42.0.254,opnsenseAnsible takes care of the final step which is to revoke existing dhcp leases by deleting the file /etc/pihole/dhcp.leases. This ensures when a host comes back asking for a new DHCP lease it gets the new IP you just configured rather than an old one.
Reverse proxies - optional!
Running a reverse proxy is optional for the end goal of automated DNS and DHCP but it makes life easier. When we have automated DNS, why not use real FQDNs for everything?
I actually run two reverse proxies:
- Traefik on my primary docker host with its automatic service discovery
- Caddy running an LXC container on Proxmox for non-dockerised services
There is an Ansible role in my infra repo which should give you a jumping off point for configuring Caddy automatically. Over time I’d like to improve the integration of the ktz-caddy and ktz-dhcp-dns roles because for right now there are some hardcoded values. Likely this would involve extra params in the dhcp_reservations list variables mapping the reservation to a Caddyfile entry. If you have suggestions on how to improve this area I’d be very grateful for comments down below and/or PRs on github.
Conclusion
We set out to automate the configuration of DHCP and DNS using infrastructure as code principles. Using a couple of Ansible roles and some Jinja templating on the backend to take a list of variables and create the config files required by Pihole we have the tools we need to do this.
I’ve yet to implement gitops for my infrastructure but it would be a logical next step. Imagine making a change to your code base, pushing that code to a git server those changes are automatically picked up and applied. Ansible runs as part of a CICD process - perhaps the upcoming Gitea actions feature would be perfect for this.