
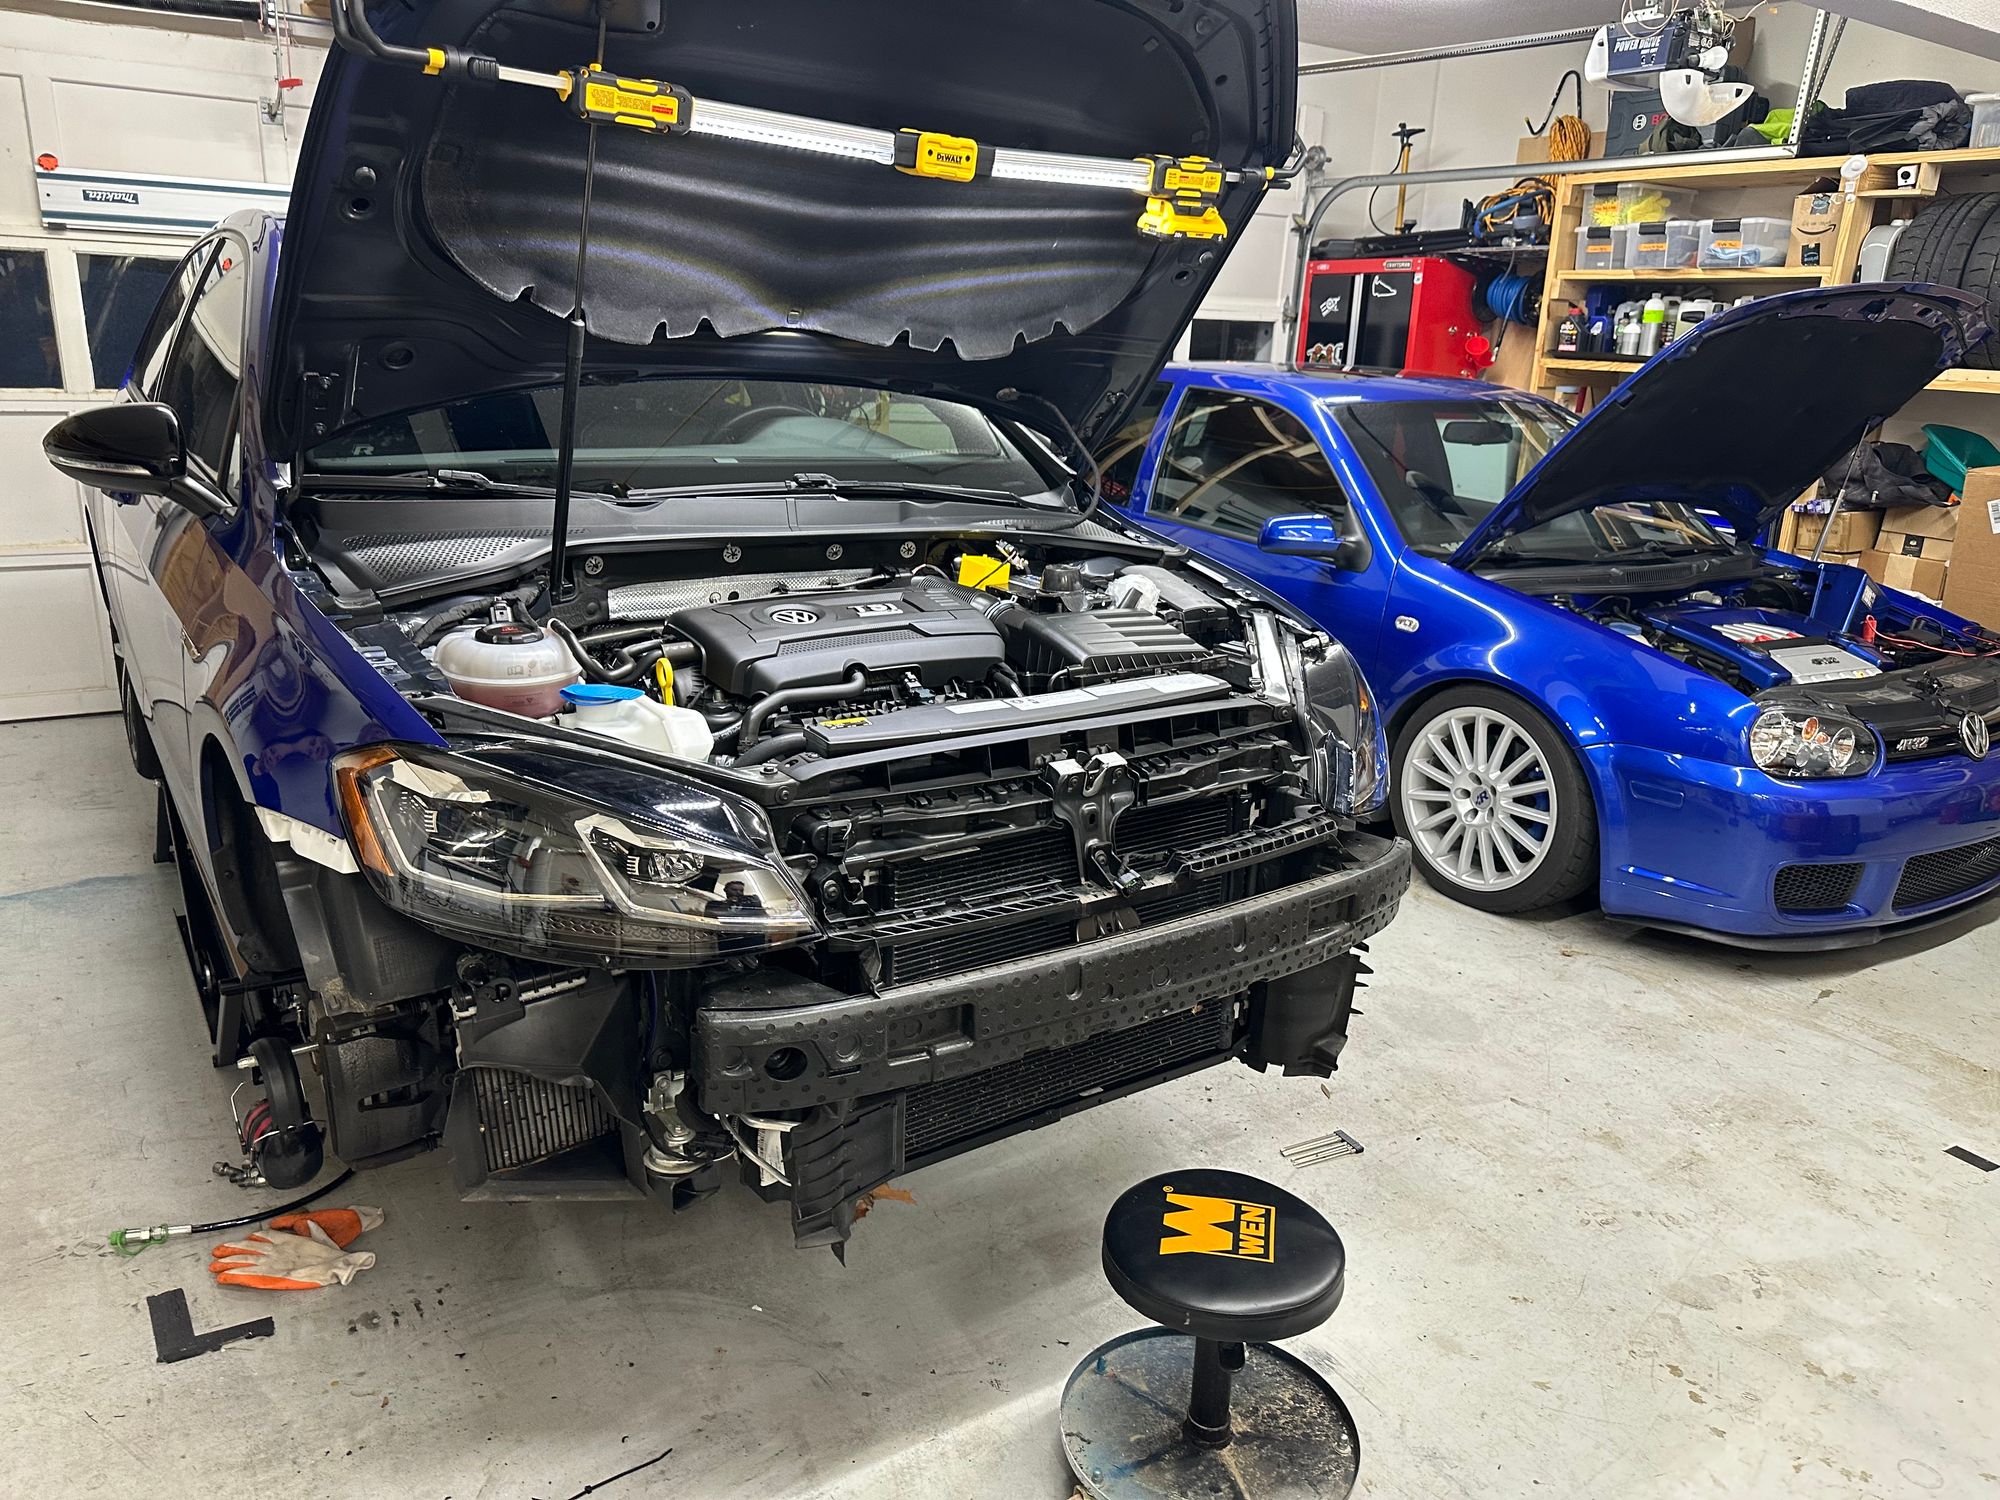
3 months ago I'd never even done a brake job. I just finished replacing my intercooler on the R and so far everything seems so good! It wasn't hard per-say, just a little tedious. The whole job took me, a total novice, around 7 hours total. And the only thing I broke was a $3 hose clamp (more on that later!).
This post was originally written over at golfmk7.com - thread link.
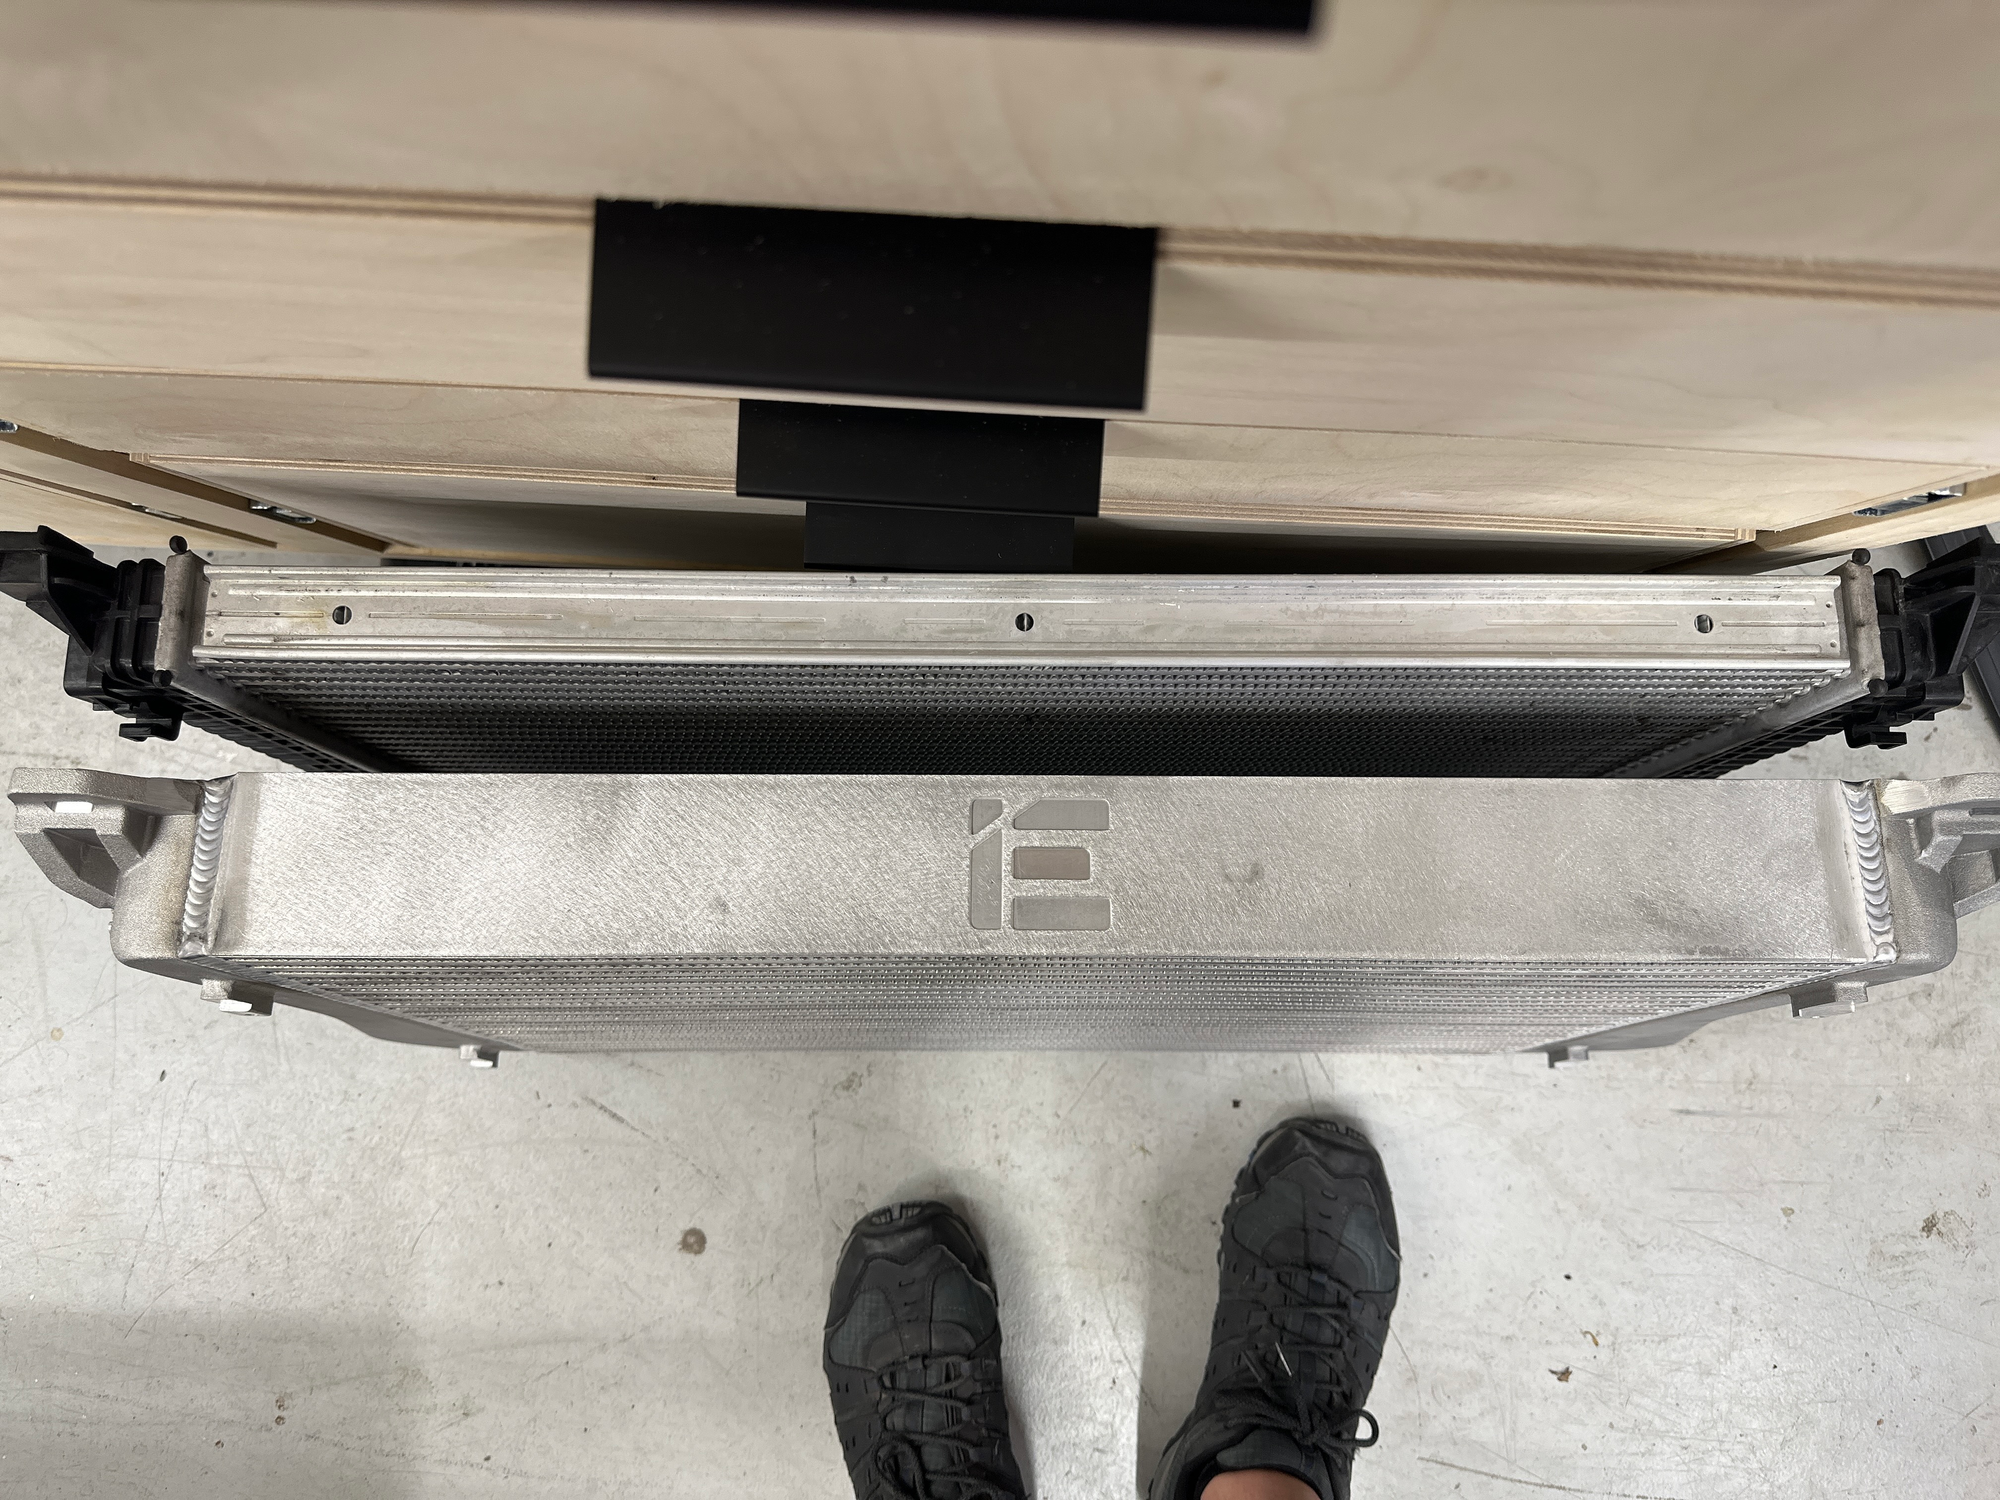
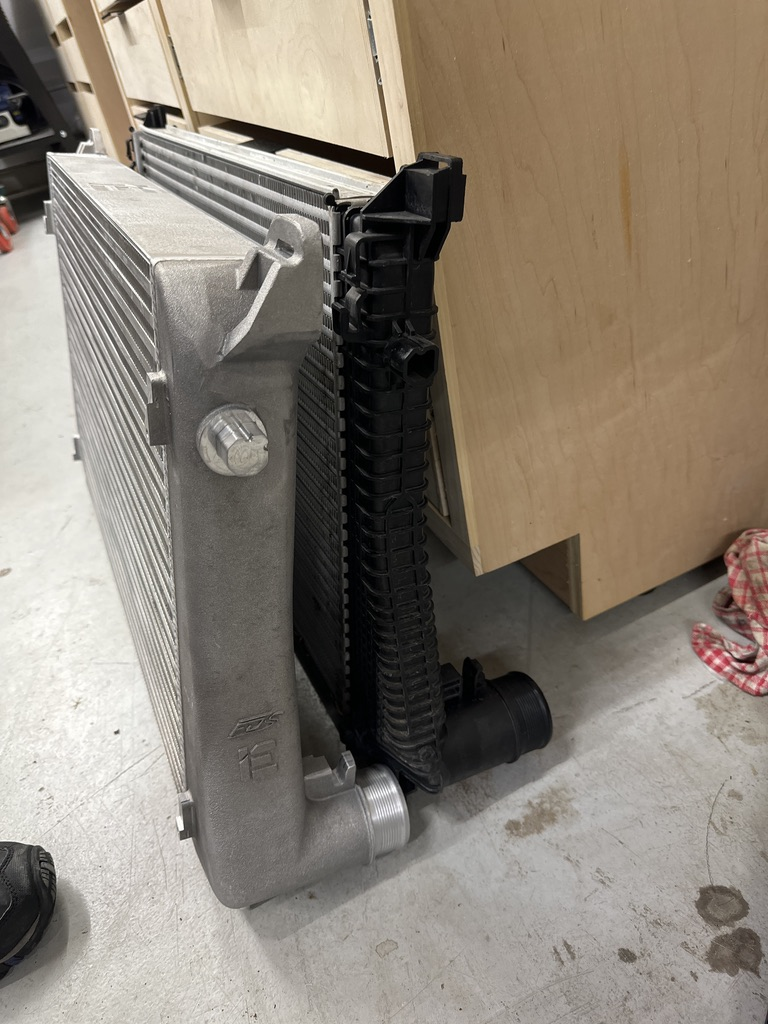
The intercooler I went with was the Integrated Engineering V2 unit due to shipping times for the DO88. Performance wise, there isn't much to choose between these aftermarket ICs, with some having better flow and others having better cooling. This IE unit is certainly a HUGE upgrade over the stock unit. Just look at the difference in thickness!
I followed a combination of videos from CPO, HumbleMechanic and VA-Guh. Each video had a certain bit that was useful when it came to certain clips.
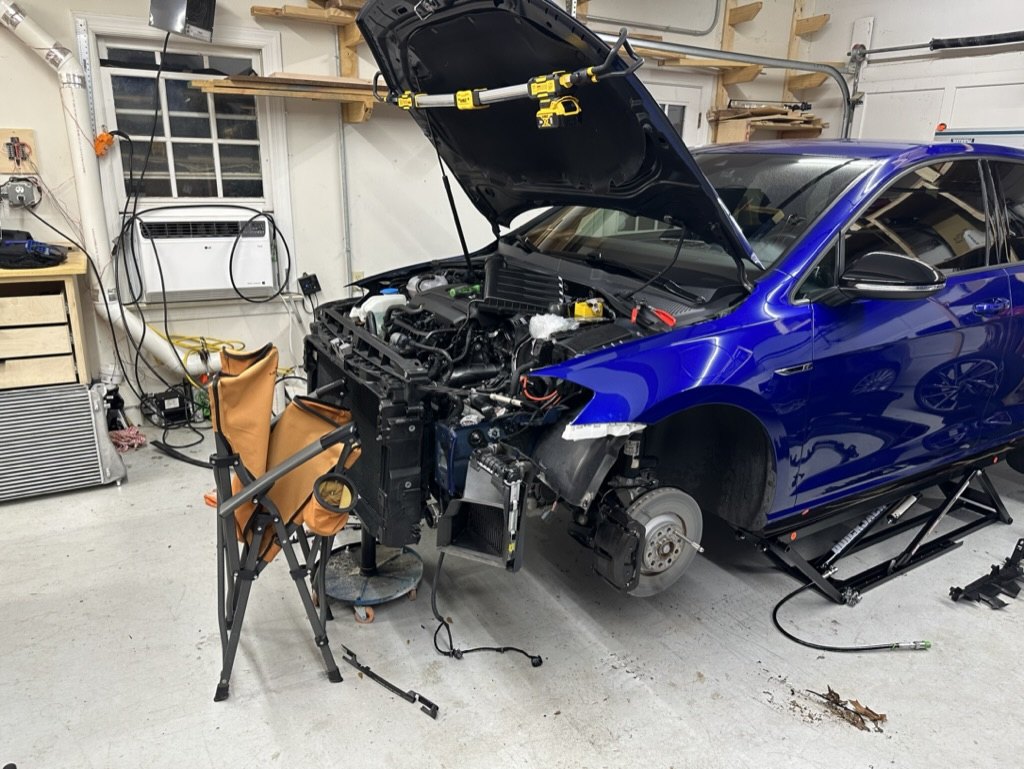
I decided to do the CPO method by taking the front end off the car and slide everything into the radiator - IC - AC condenser sandwich without having to drain any coolant or refrigerant.

Taking the front bumper off was extremely daunting until I actually did it. Wanting to try and avoid the ACC needing a recalibration, I disconnected the battery for the duration of the job. In the end I took my time and went nice and slow and didn't break any clips or have any real issues doing it. Charles's video was best for removing the front bumper and the white plastic intercooler clips.
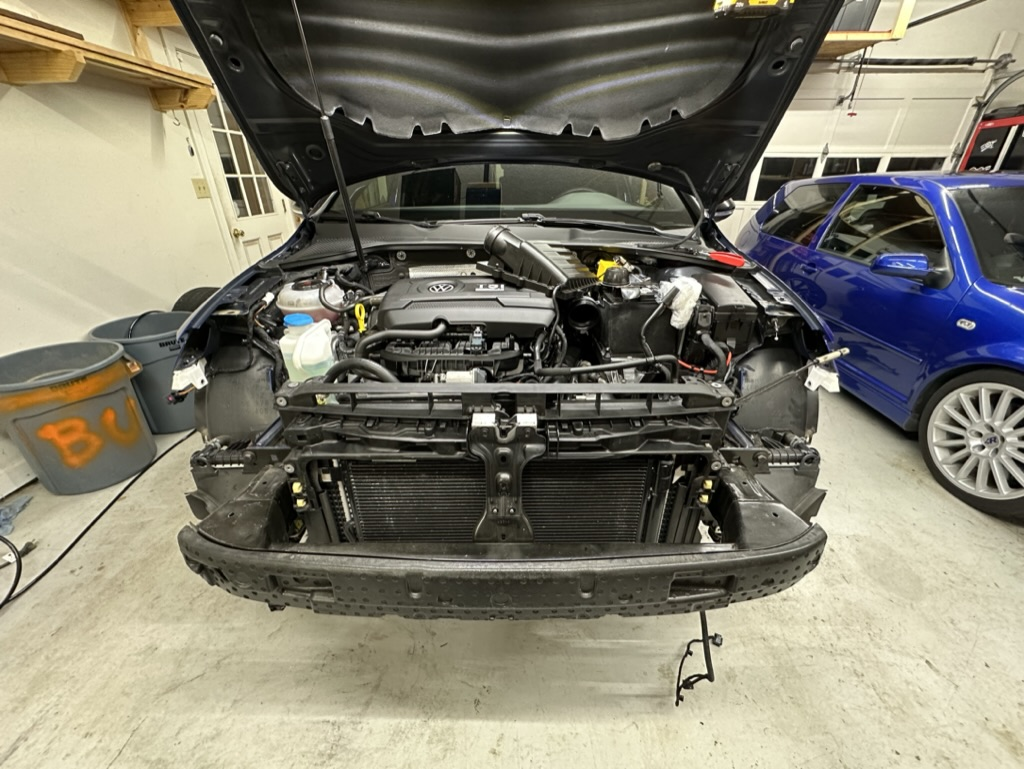
Next was removing the front crash structures, air intake baffle and headlights. Removing both lights was perhaps a little overkill but it is only a couple of minutes per light so if I did this job again I'd probably still do that. One of the more difficult parts was releasing the hood latch from the driver side front brace, that kinda stinks but you gotta do it. Notice the mechanics stool at the ready to support the weight of the rad sandwich as I began to undo the bolts that supported that to the vehicle.
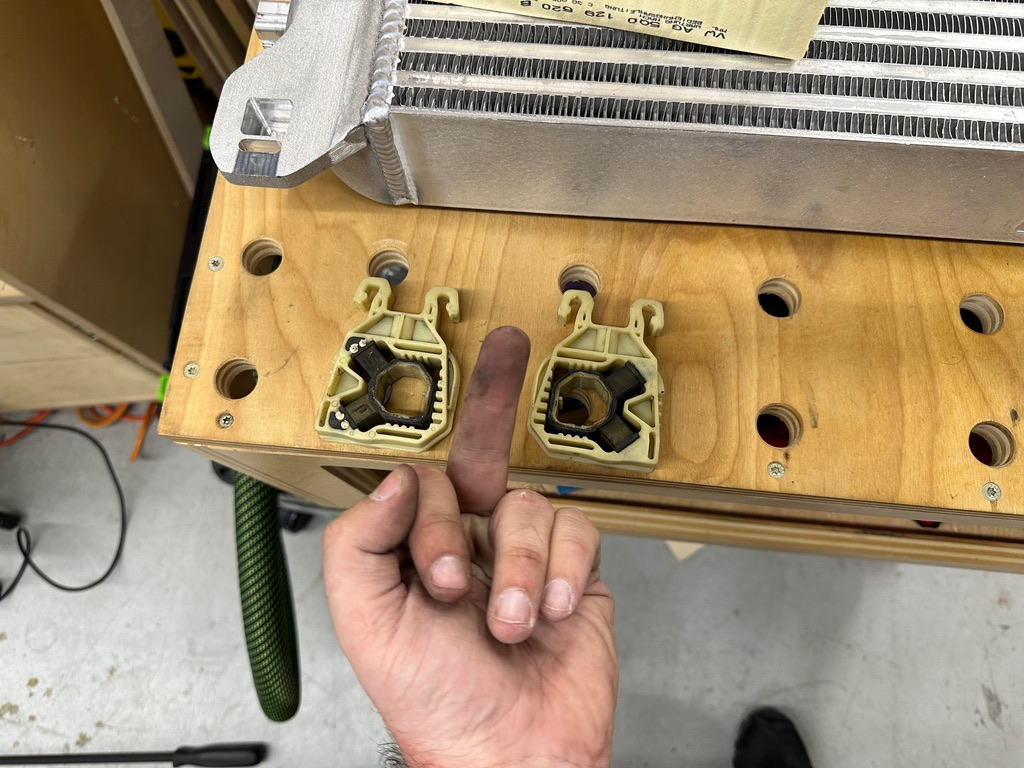
The most difficult part of the entire job is removing these white plastic clips. Folks say to just cut them and replace but the part number for the R shows these clips as being about $50 so I made some effort to try and not break them. Once I figured out how and where to pry it was quite easy with a couple of flathead screwdrivers. Removing these clips probably took about 40 mins in total. I got them both out without breaking.
Once these were unclipped it was time to coax the factory intercooler out of the sandwich. Disconnecting the boost pipes was easy enough but undoing a couple of the clips around the rad / ic connection were quite delicate. Just take your time and it'll be OK.
Elapsed time to this point was about 4 hours and 11.30pm. So this is how I left the car overnight. The AC condenser and rad balanced on my mechanics stool with the folding chair there as extra support during the IC removal. The AC condenser rested on the chair and the rad on the stool with the IC wiggling out the middle. I don't have any pictures at this point as a third hand would have been useful as it was!
The next day I came back to finish the job and began by putting the new intercooler into position. Finagling the IC back in the plastic carrier shroud thing was a bit fiddly, as was attaching the AC condenser at the front. Make sure to hook up the bottom left pin first as it gets blocked by AC lines when the other pins are in place. The other tricky-ish part was making sure the metal locating pins on the bottom of the IC located fully into the rubber grommets on the plastic carrier bracket as well as being careful to line up the rad into the receiver brackets on the IC. Again, not difficult just requires some patience and mechanical sympathy.
Most of the rest of the job was just the total reverse of the deconstruction. There was nothing really of note during that process. Just make sure to remember the reconnect all the connectors including ones you can't see behind the front bumper and the two little yellow crash sensors - they're easily missed.
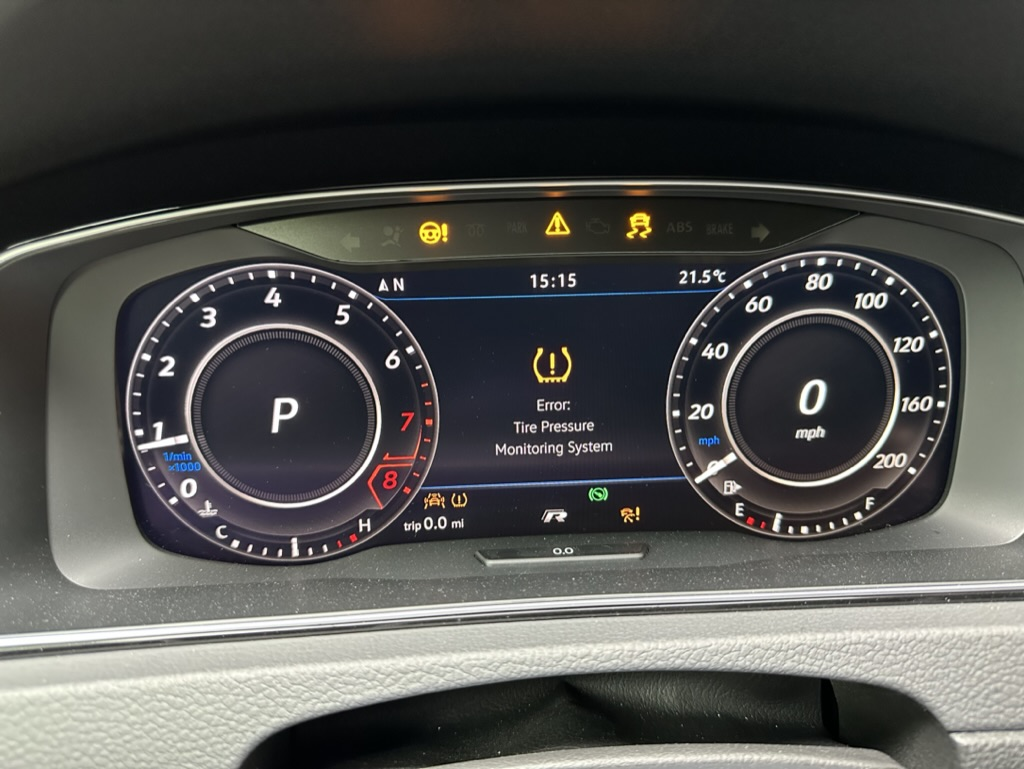
On first start up of the car, the ACC system lost its damn mind. I took the front grill off and on again which did the trick after a full power cycle with the battery disconnected and reconnected again as well. I guess the grill with the sensor wasn't quite seated right. Always a fun time to see your dash light up like a christmas tree after a big job like that!
Now remember I said one of the boost pipes caused an issue? Well... it was my fault. One of the hose clamps on the hot side of the IC broke when I was taking it off the factory IC. I went to Advance and got a new clamp for $3, but before I went I thought, "I'll just take the whole boost pipe with me to get the right size". I loosened the other clamp on that boost pipe, but the pipe itself was on there good and tight so I just left it loose. I forgot to retighten it afterwards, didn't I?
With the whole car buttoned up and put back together nice and methodically, I took the car out for it's first test drive and on the first application of throttle which requested more than 25psi boost there was an almighty POP as the hot side boost pipe I forgot to tighten, flew off. I limped the 2 miles home again with my tail between my legs hoping I hadn't broken anything too badly (I had half a clue what I'd done).
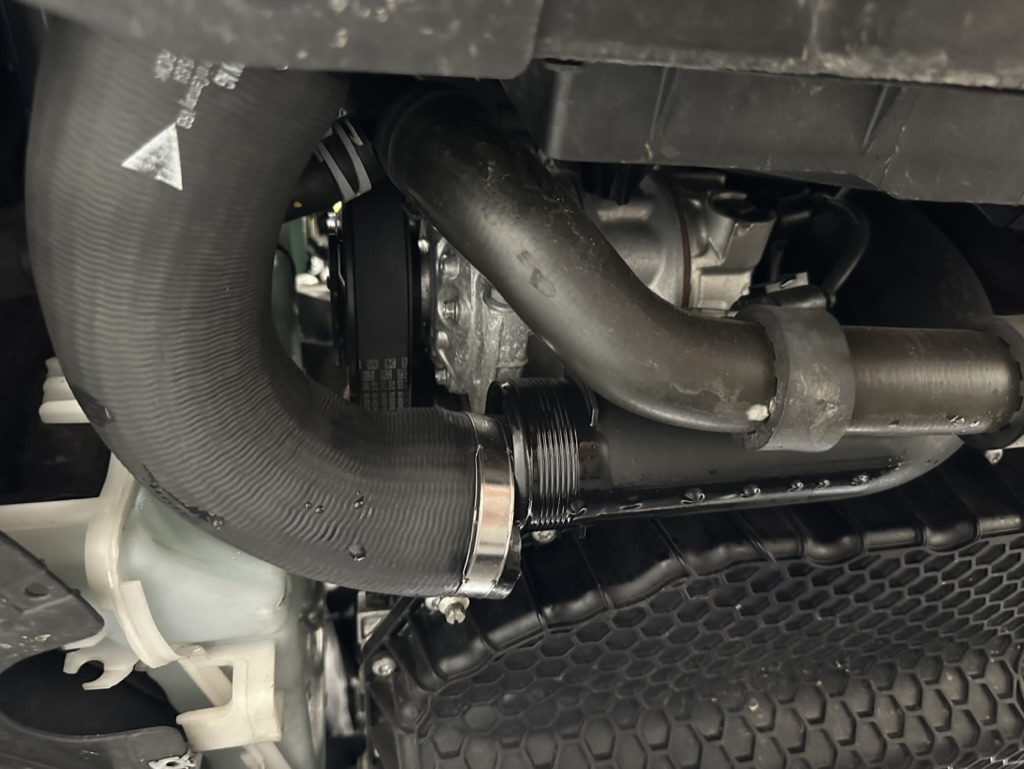
I wiped off the slightly oily water that you can see in the picture, reattached the pipe, *tightened* the clamp this time, and so far so good. I've driven about 25 miles and done 6-8 WOT pulls and it seems to be holding just fine and the engine seems to be performing fine as well. (edit: and now several days on track and it's totally fine).
Overall, a really fun job to tackle even for a novice. So far I've noticed absolutely NO real world difference but I'm at the track again soon and that's where the upgrade should make itself apparent.
Update: The intercooler upgrade is an absolute for reliable track performance. Even with the stage 1 tune the car can now just pull all session in all ambient temps. Great stuff!