
As 2020 progresses I'm making tremendous progress through project lists and this post will detail my build of a Paulk inspired Smart Workbench. Back in 2015 I was renovating a house and planned on building the original Paulk workbench 2, but our circumstances changed and my work took me to London. Being London, space for a workshop was at a major premium and the project went on the back burner.
At last, I've finally built it. I made some modifications for my own purposes as it's going to be a largely permanent fixture in my garage, there were no need for Ron's sawhorses.

Shop projects are an opportunity to practice using new tools and techniques. I've recently invited several new tools into my shop and got a chance to use all of them in this project. Those tools include a Fuji Mini-Mite4 HVLP sprayer, a Festool Domino 500, Makita Tracksaw and an 8" Grizzly Jointer.
Building the Frame
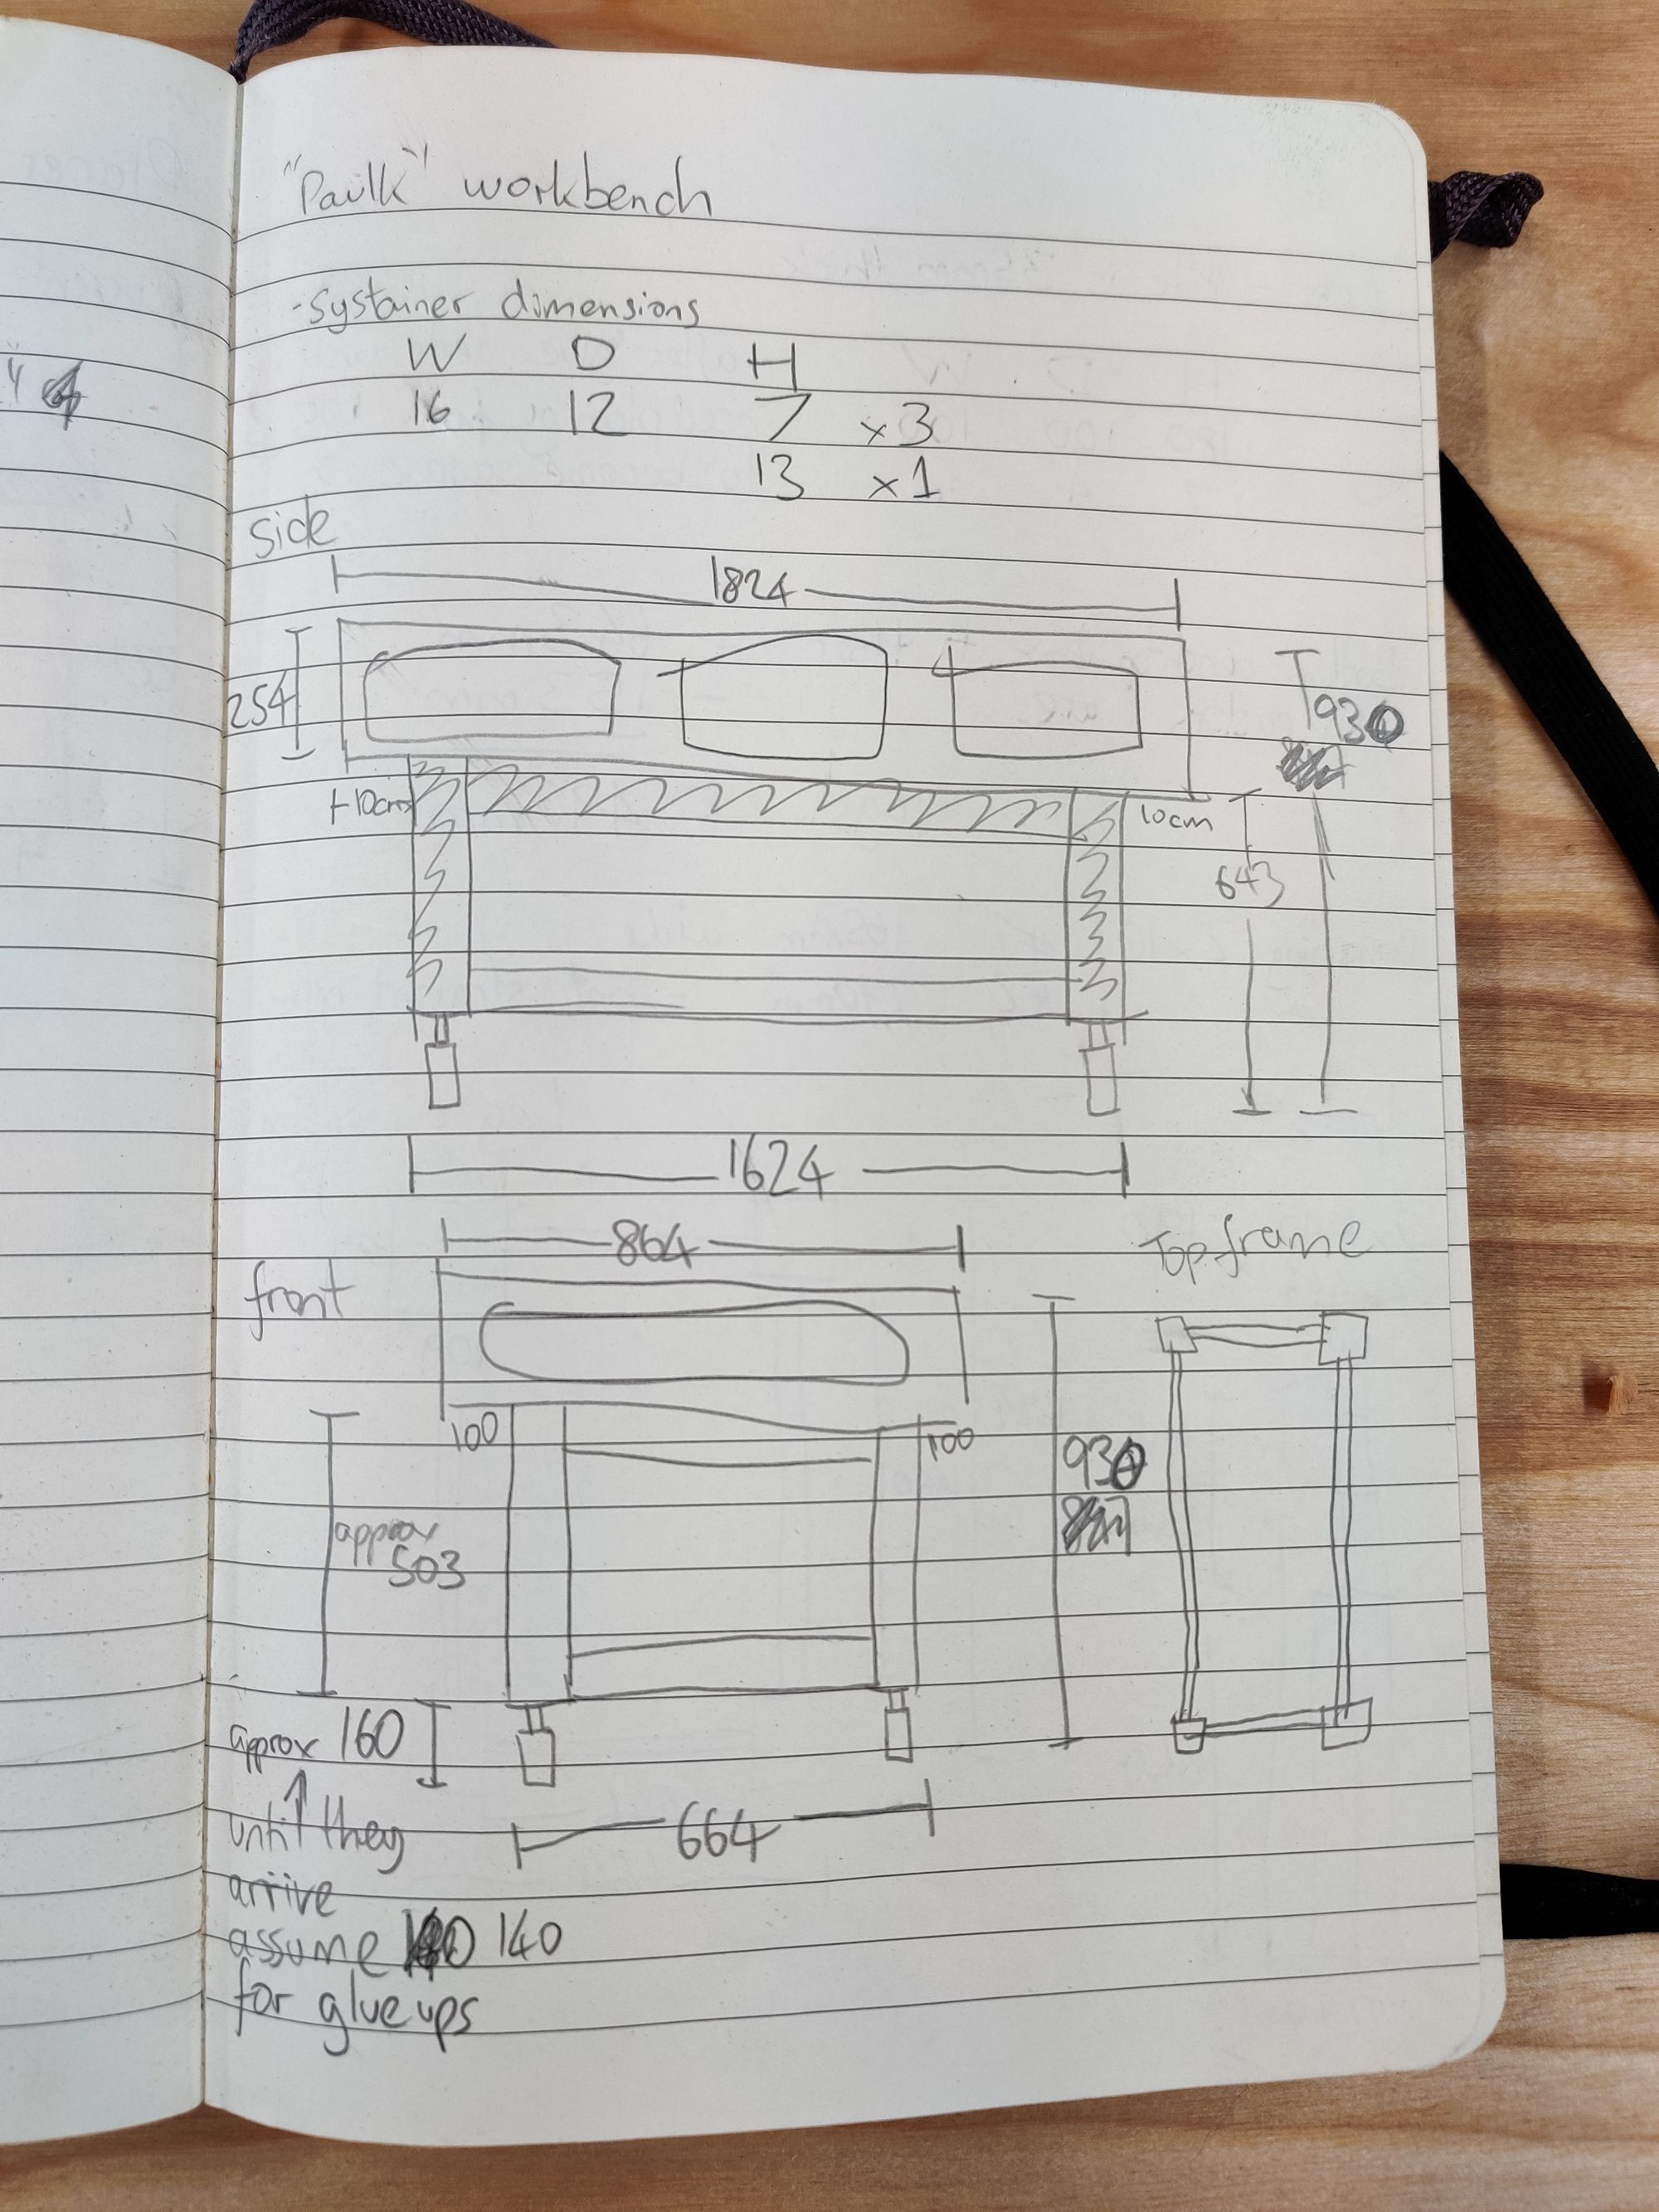
I designed a simple frame which was fabricated out of Southern Yellow Pine. Lumber prices due to Covid are a little higher than usual so I purchased several, approximately straight, 2x12 SYP boards from Home Depot.
It seems like a good idea to me to have all the horizontal surfaces in the shop at the same height. My Ridgid R4512 Table Saw stands at around 36" so this dictated the total height for the bench. The aim was to be around 2-5mm under the table saw so that if I ever wanted this bench to pull double duty as an outfeed or support table, it would never snag on material being pushed through the Table Saw.
This bench will be a mobile assembly table in my workshop, I'll be building a 'real' workbench later. 5" castors seemed like a good idea as they'll roll easily over everything. Taking into account the height of the castors minus the height of top torsion box assembly gave me the height for the leg pieces.
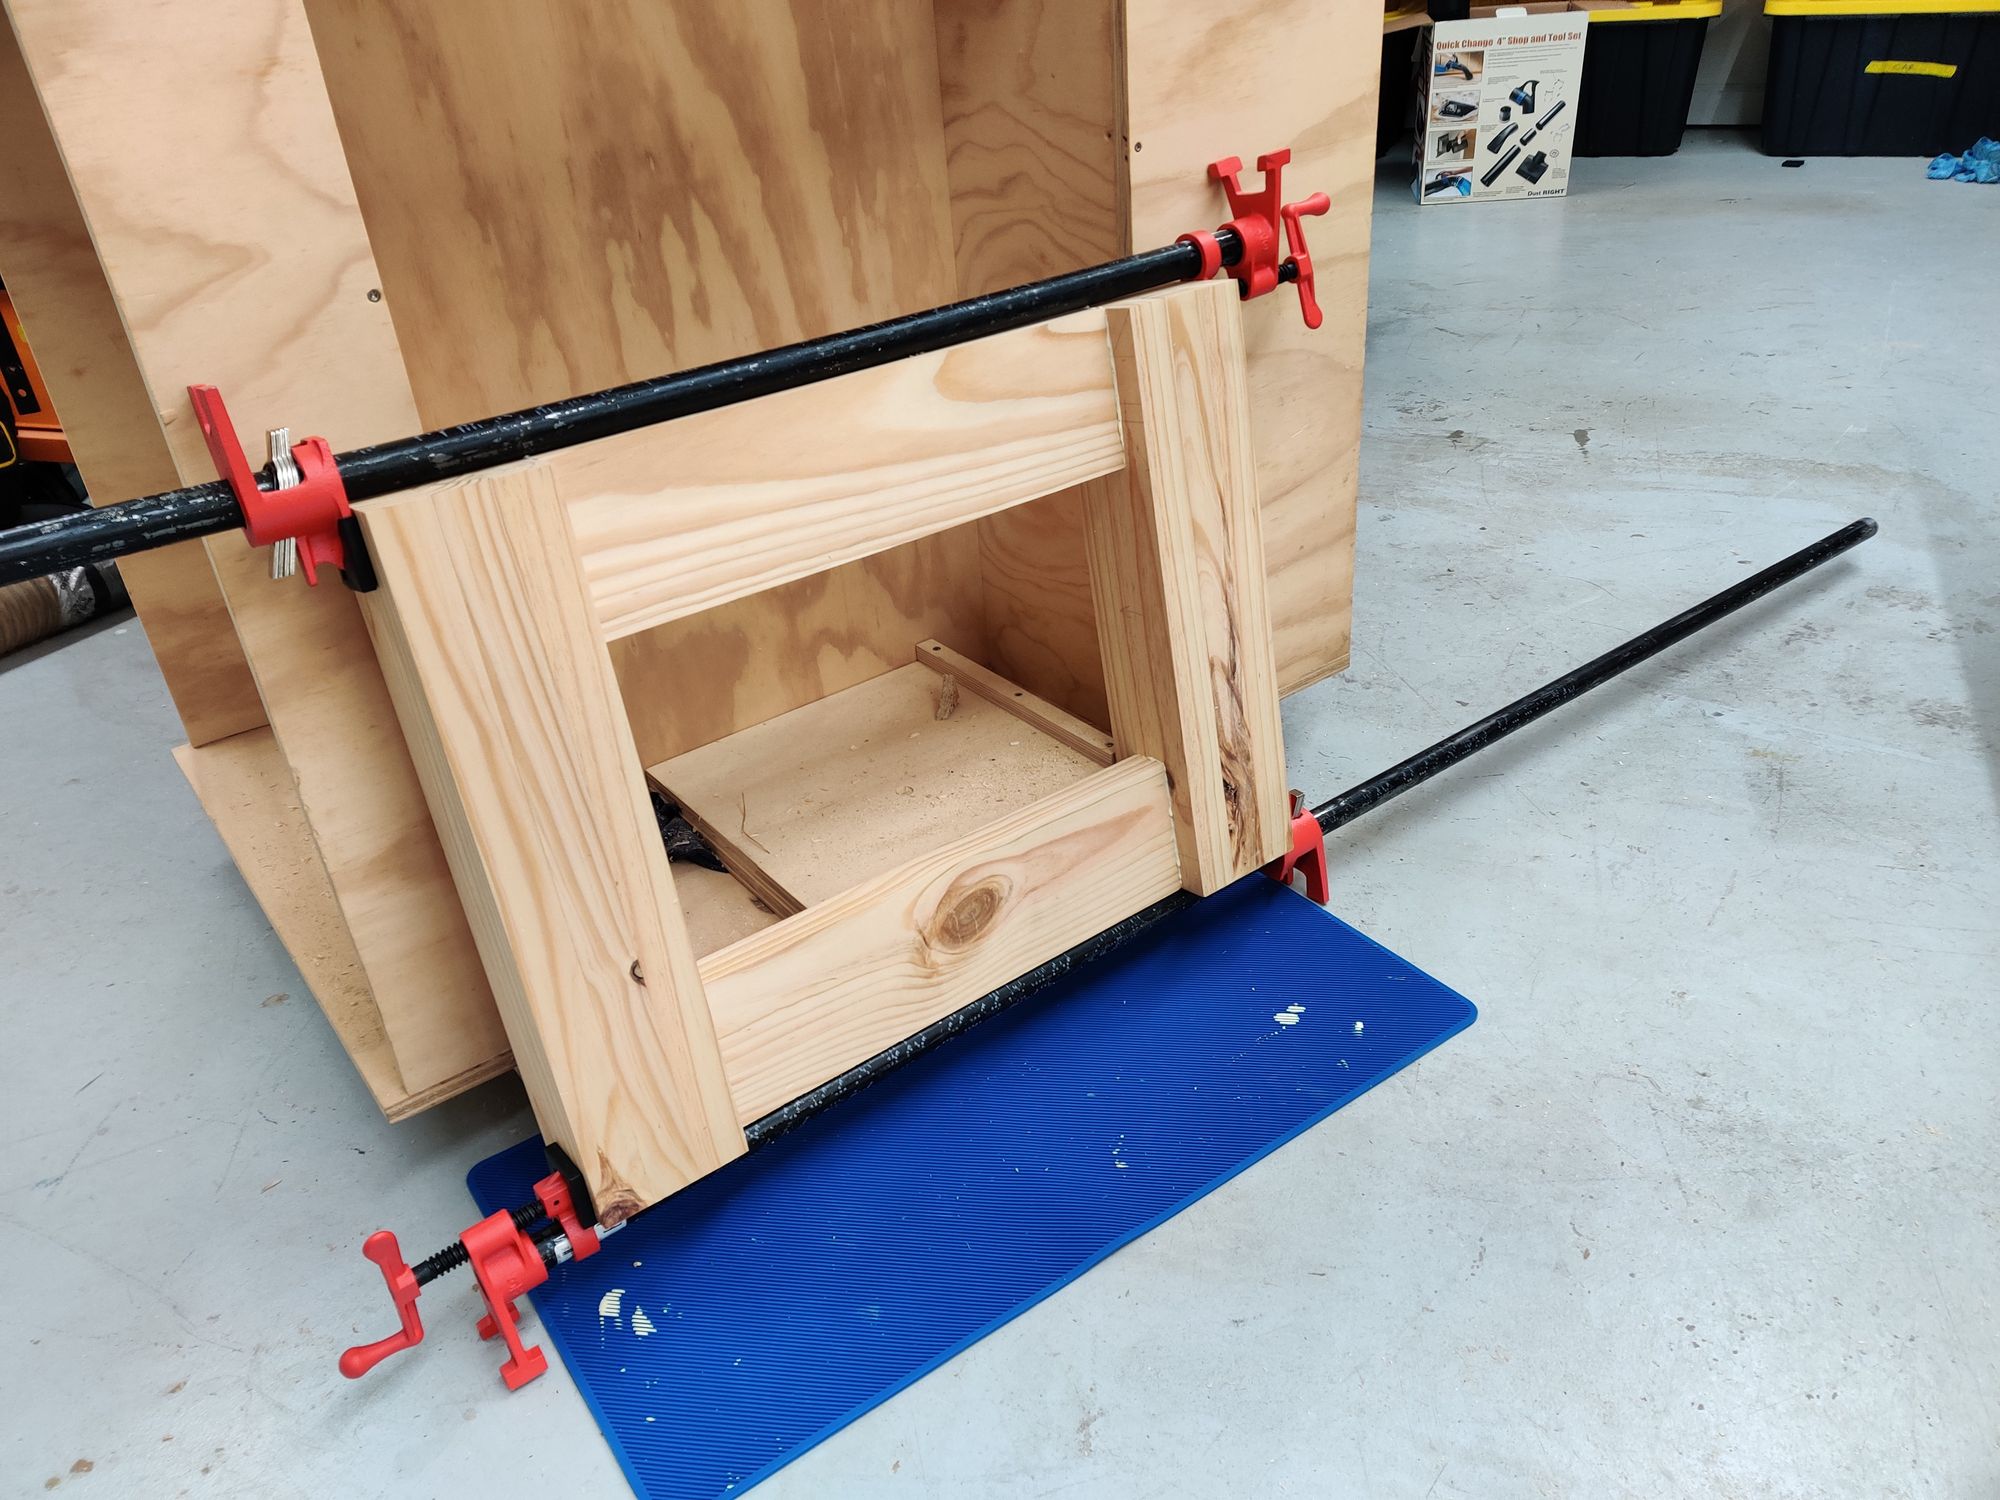
I laminated 3 pieces of SYP together to form the legs after jointing, planing and cutting to an oversized length.
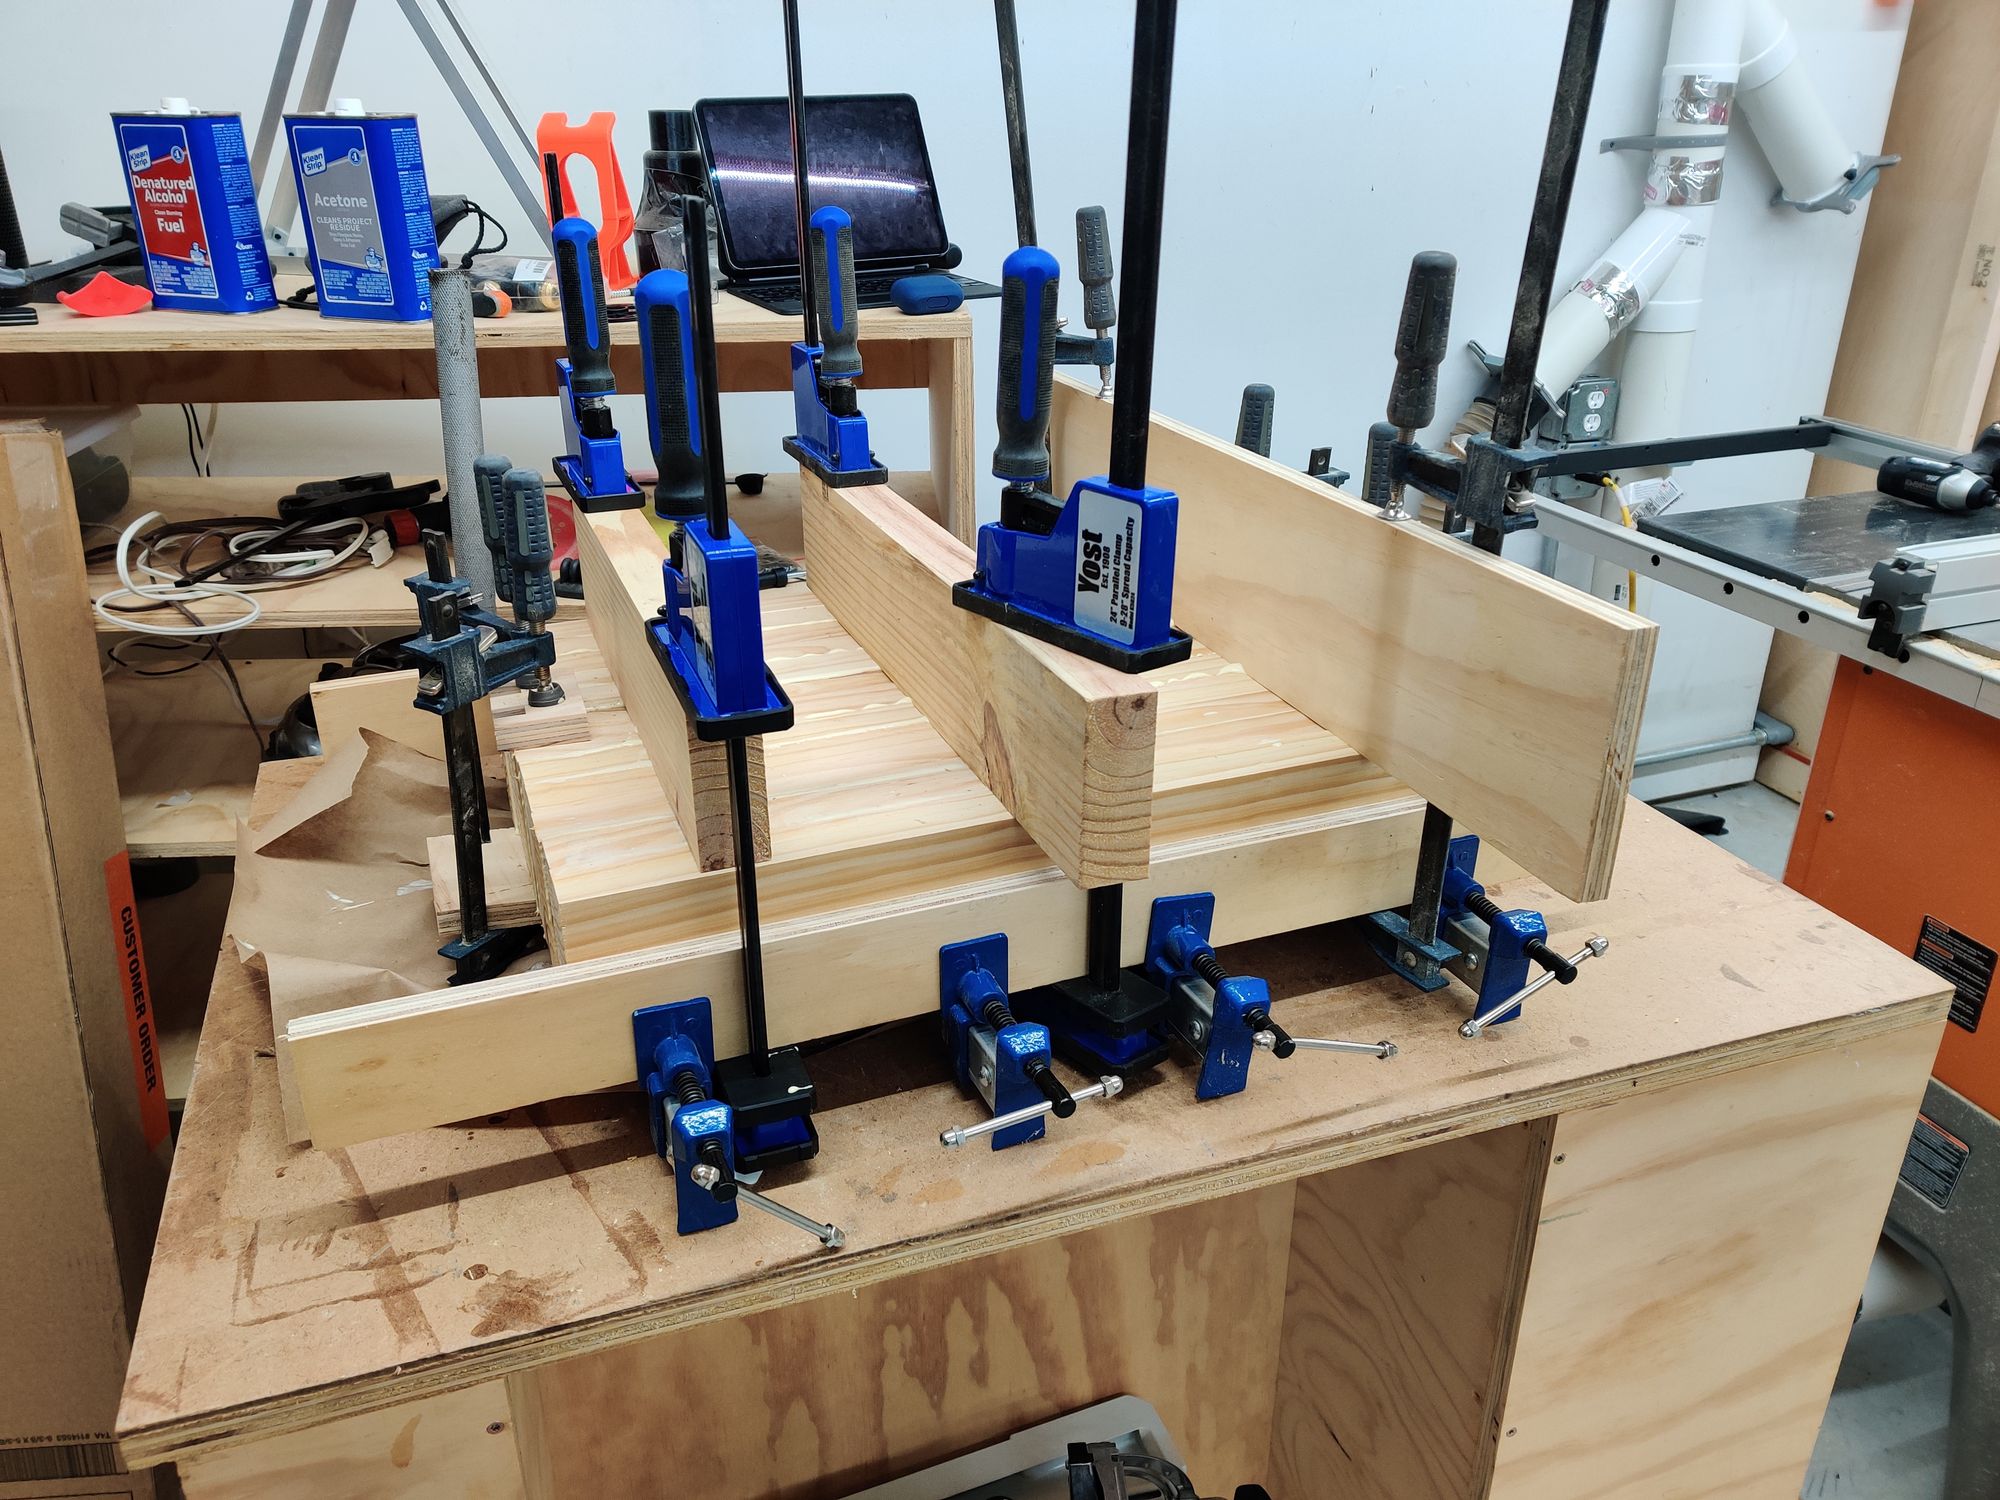
Proof if ever it were needed that one can never have too many clamps. After the glue had set overnight, I ran the resulting legs across the jointer and was astounded by the quality of the finish already (remember this jointer is new to me).

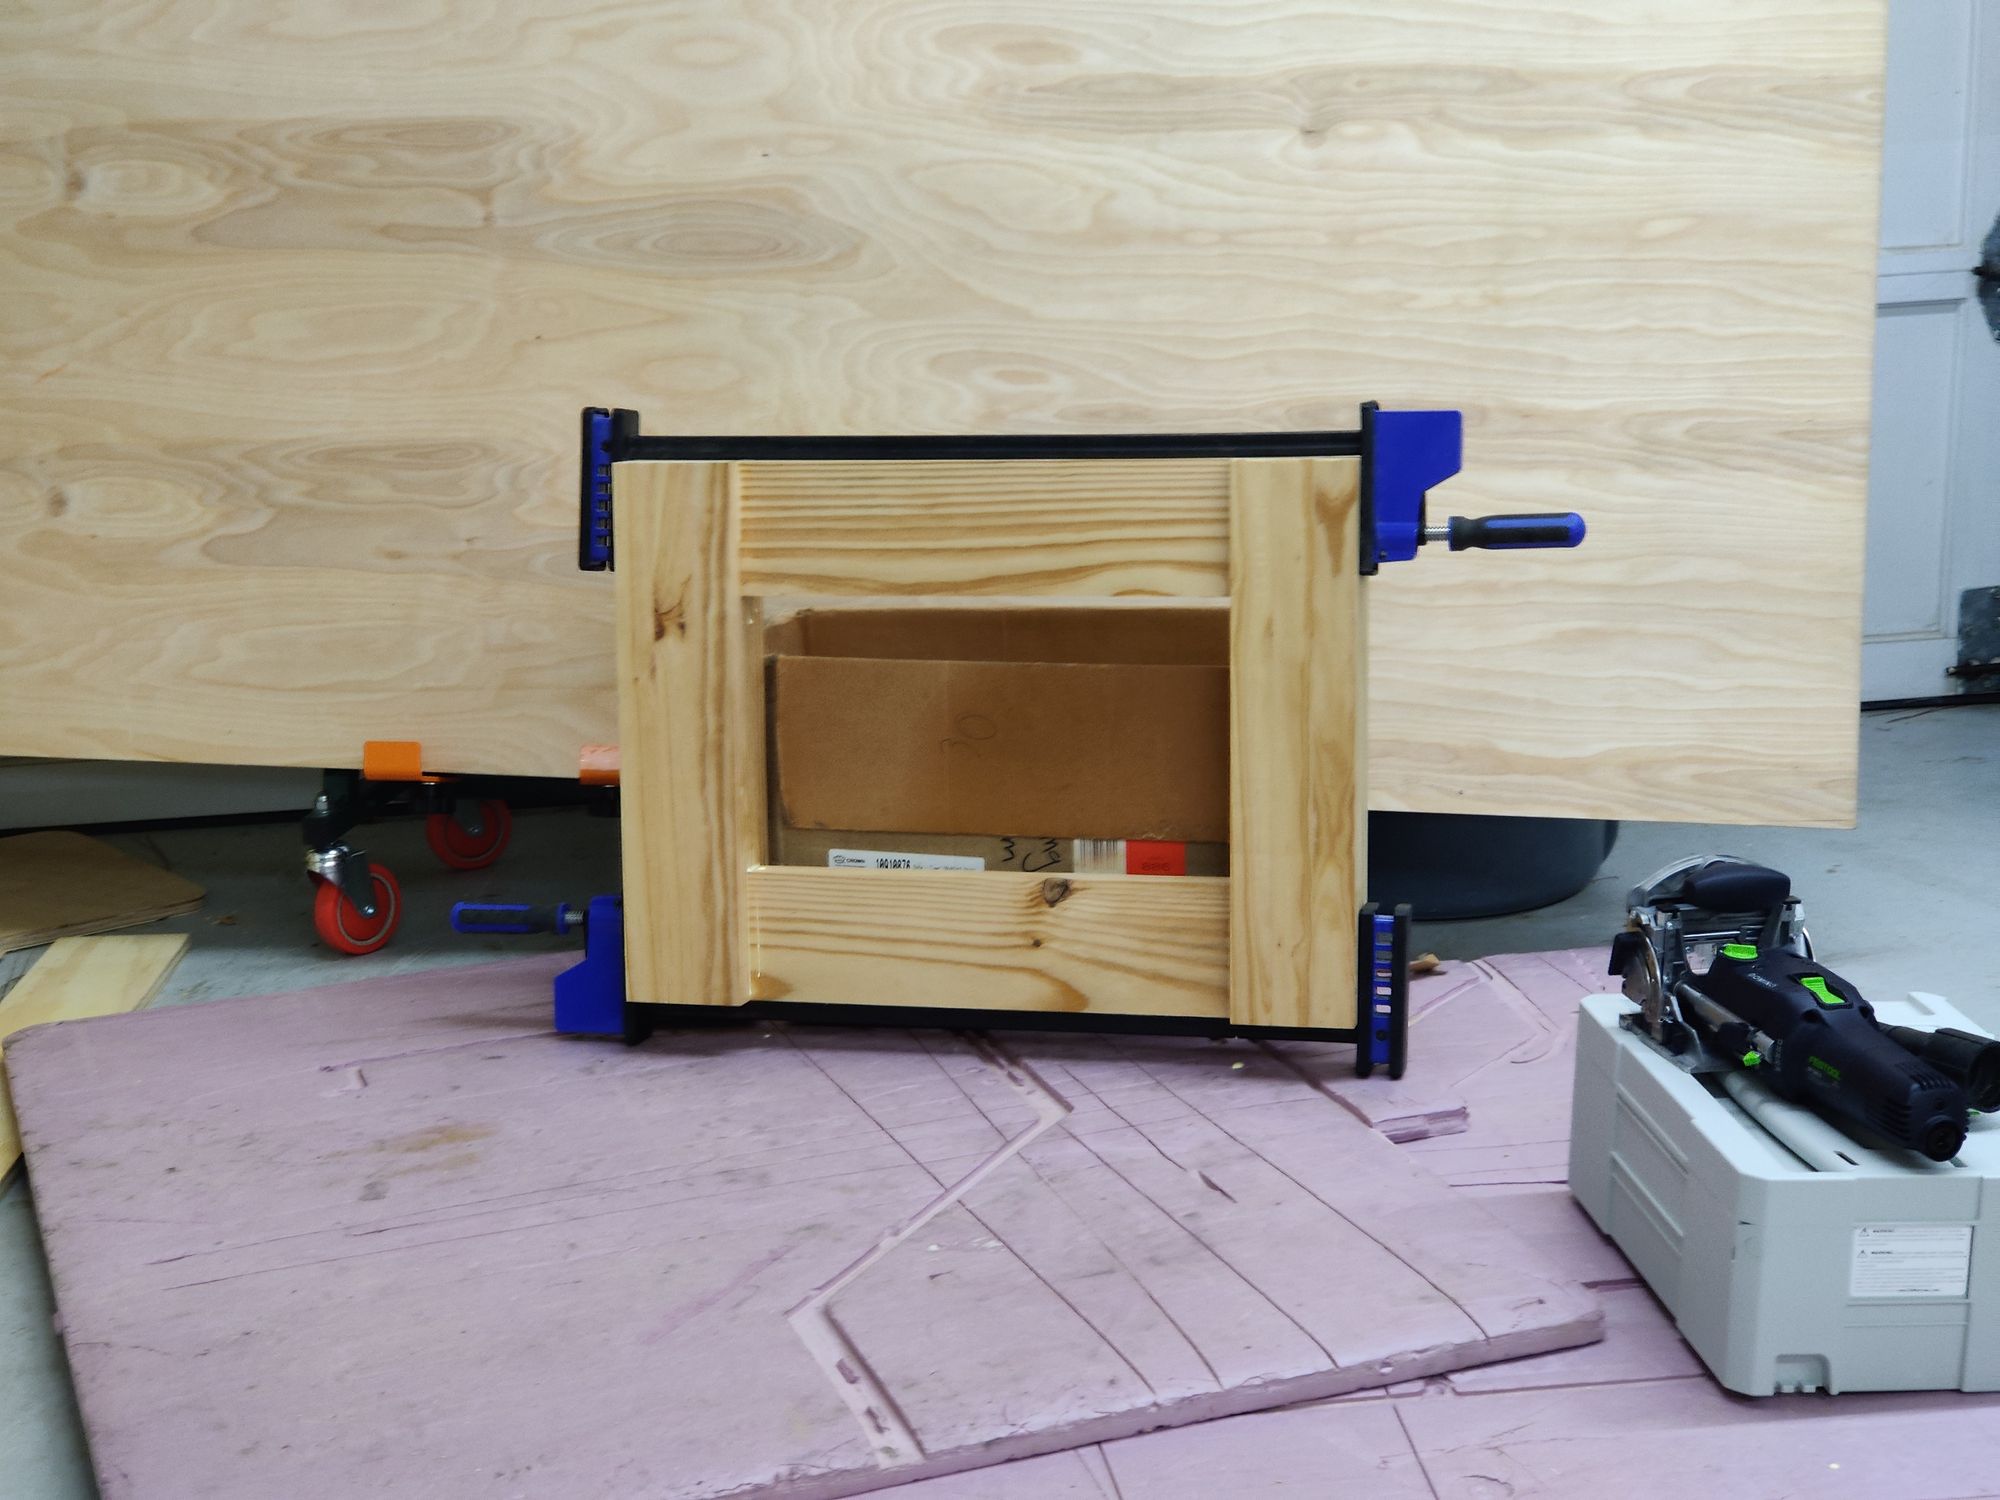
With the legs glue up and now square it was time to cut them to length and glue up the two H sections that form either end of the frame structure. But first, it was domino time.
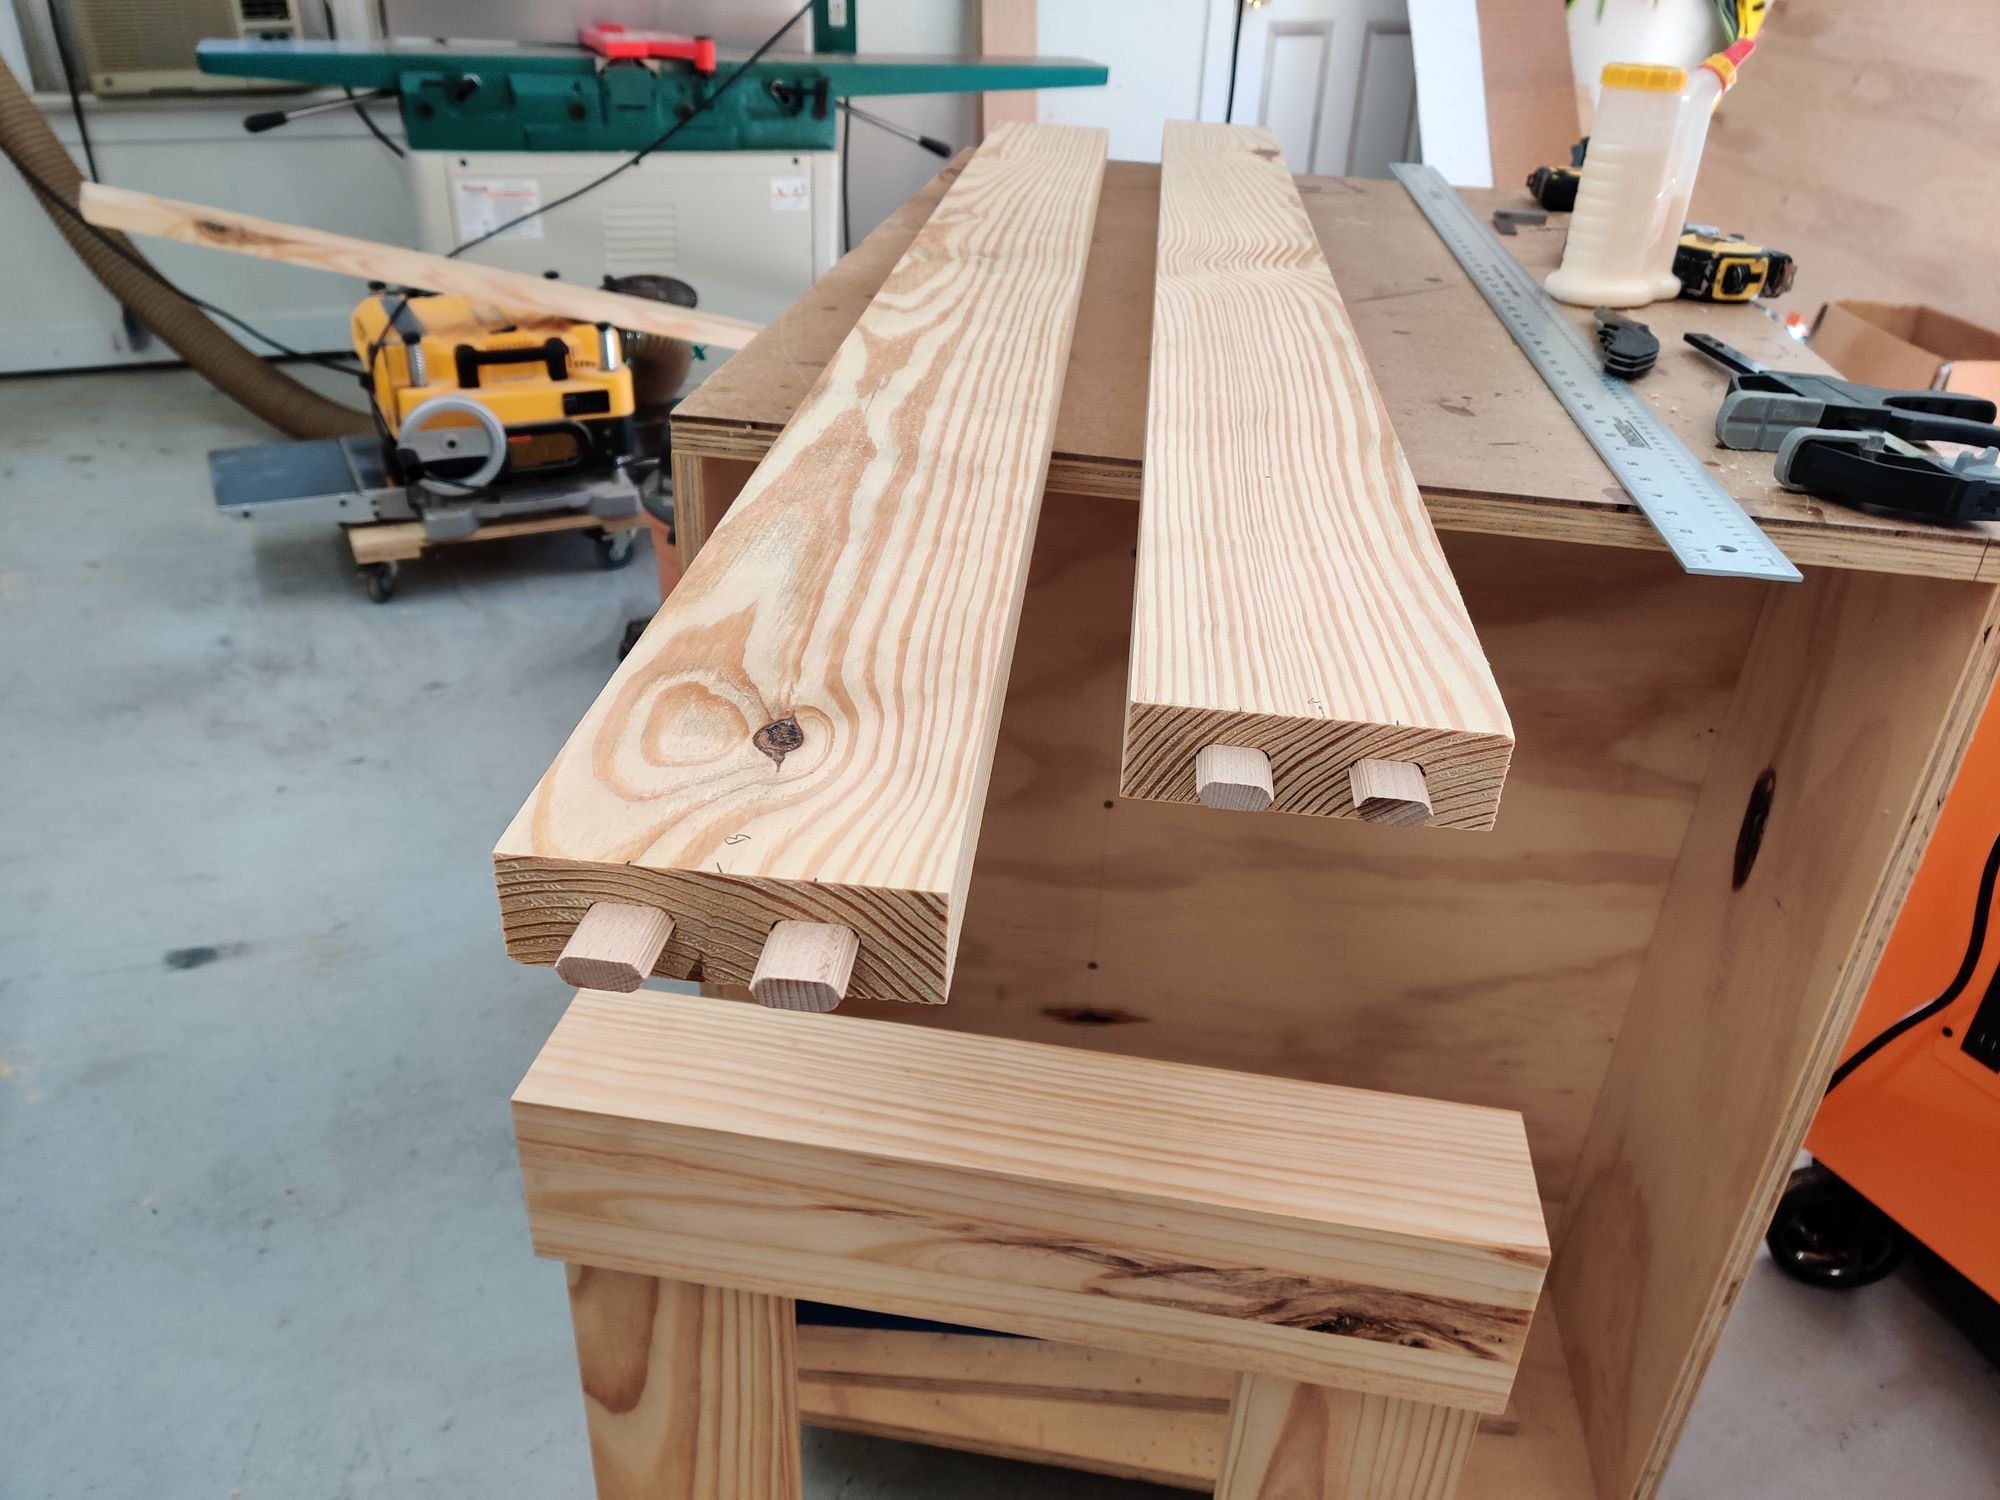
The Festool Domino machine is an absolute joy to use. I had a few test cuts on some scraps before using it on the real thing. Within 30 minutes I had the hang of it using some shims under the machine where required on the table leg faces and had the domino mortices cut in short order.
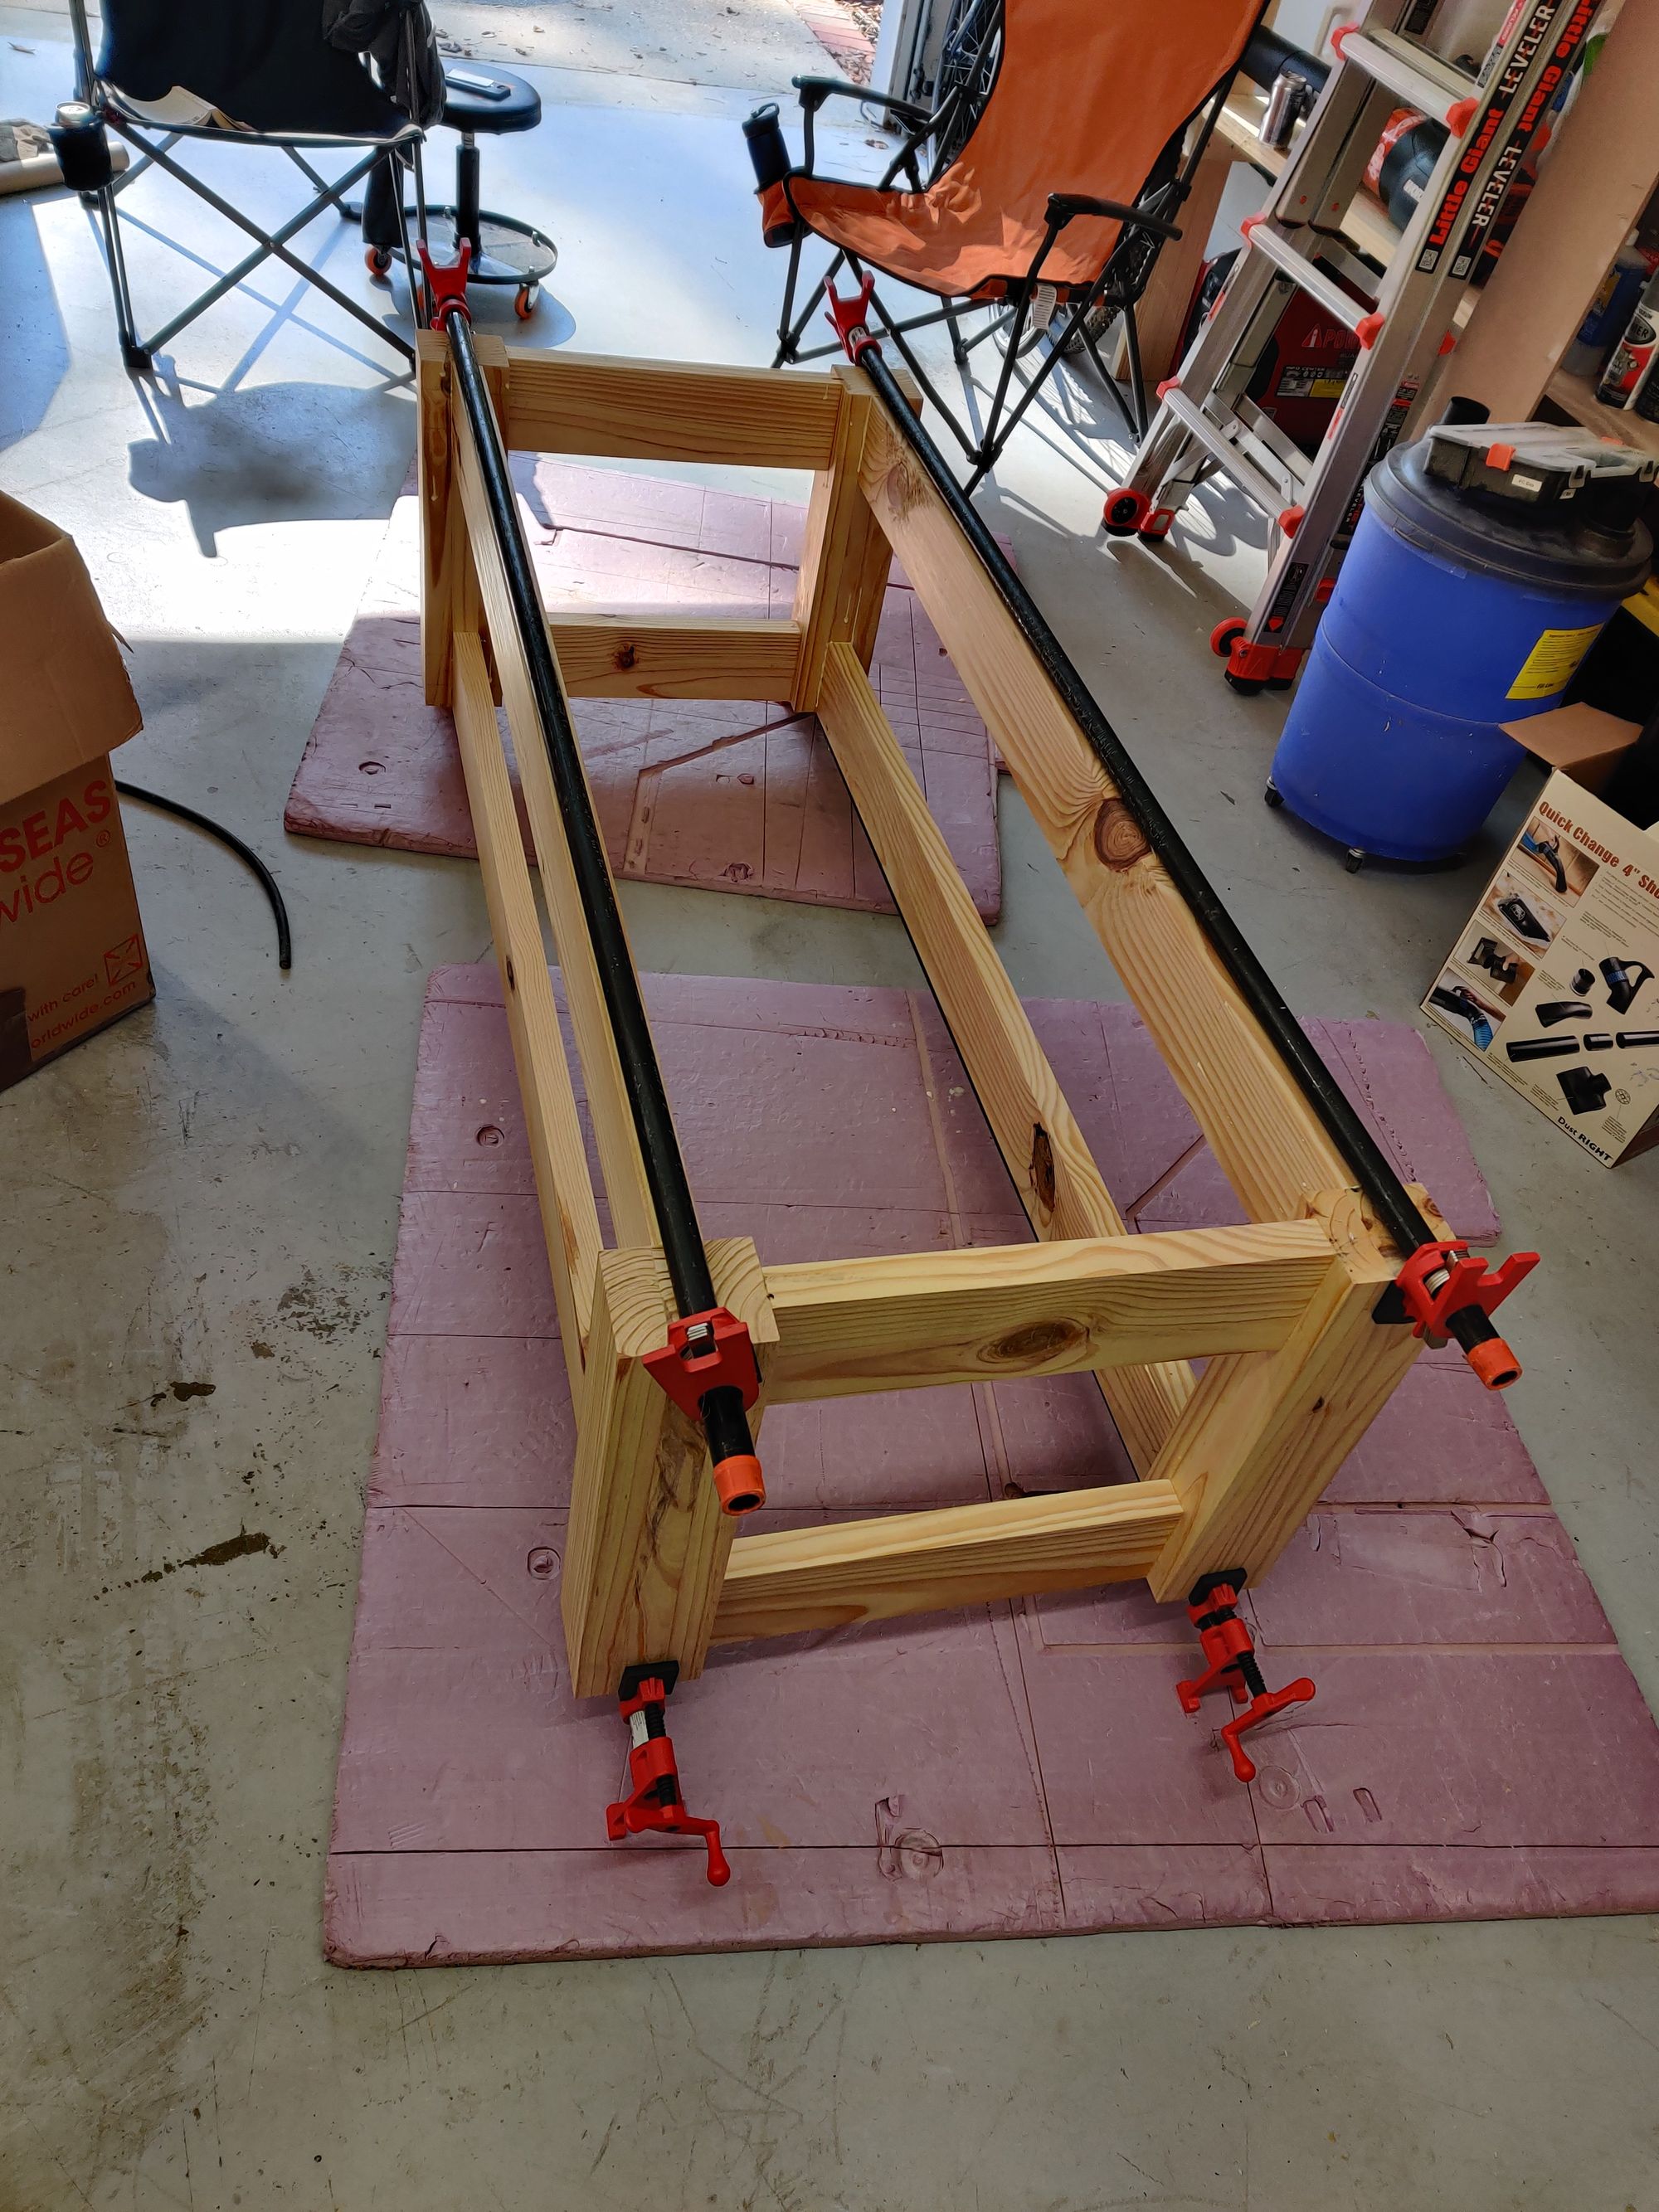
Once the ends were glued up it was time to glue the long stretchers. Pipe clamps to the rescue!
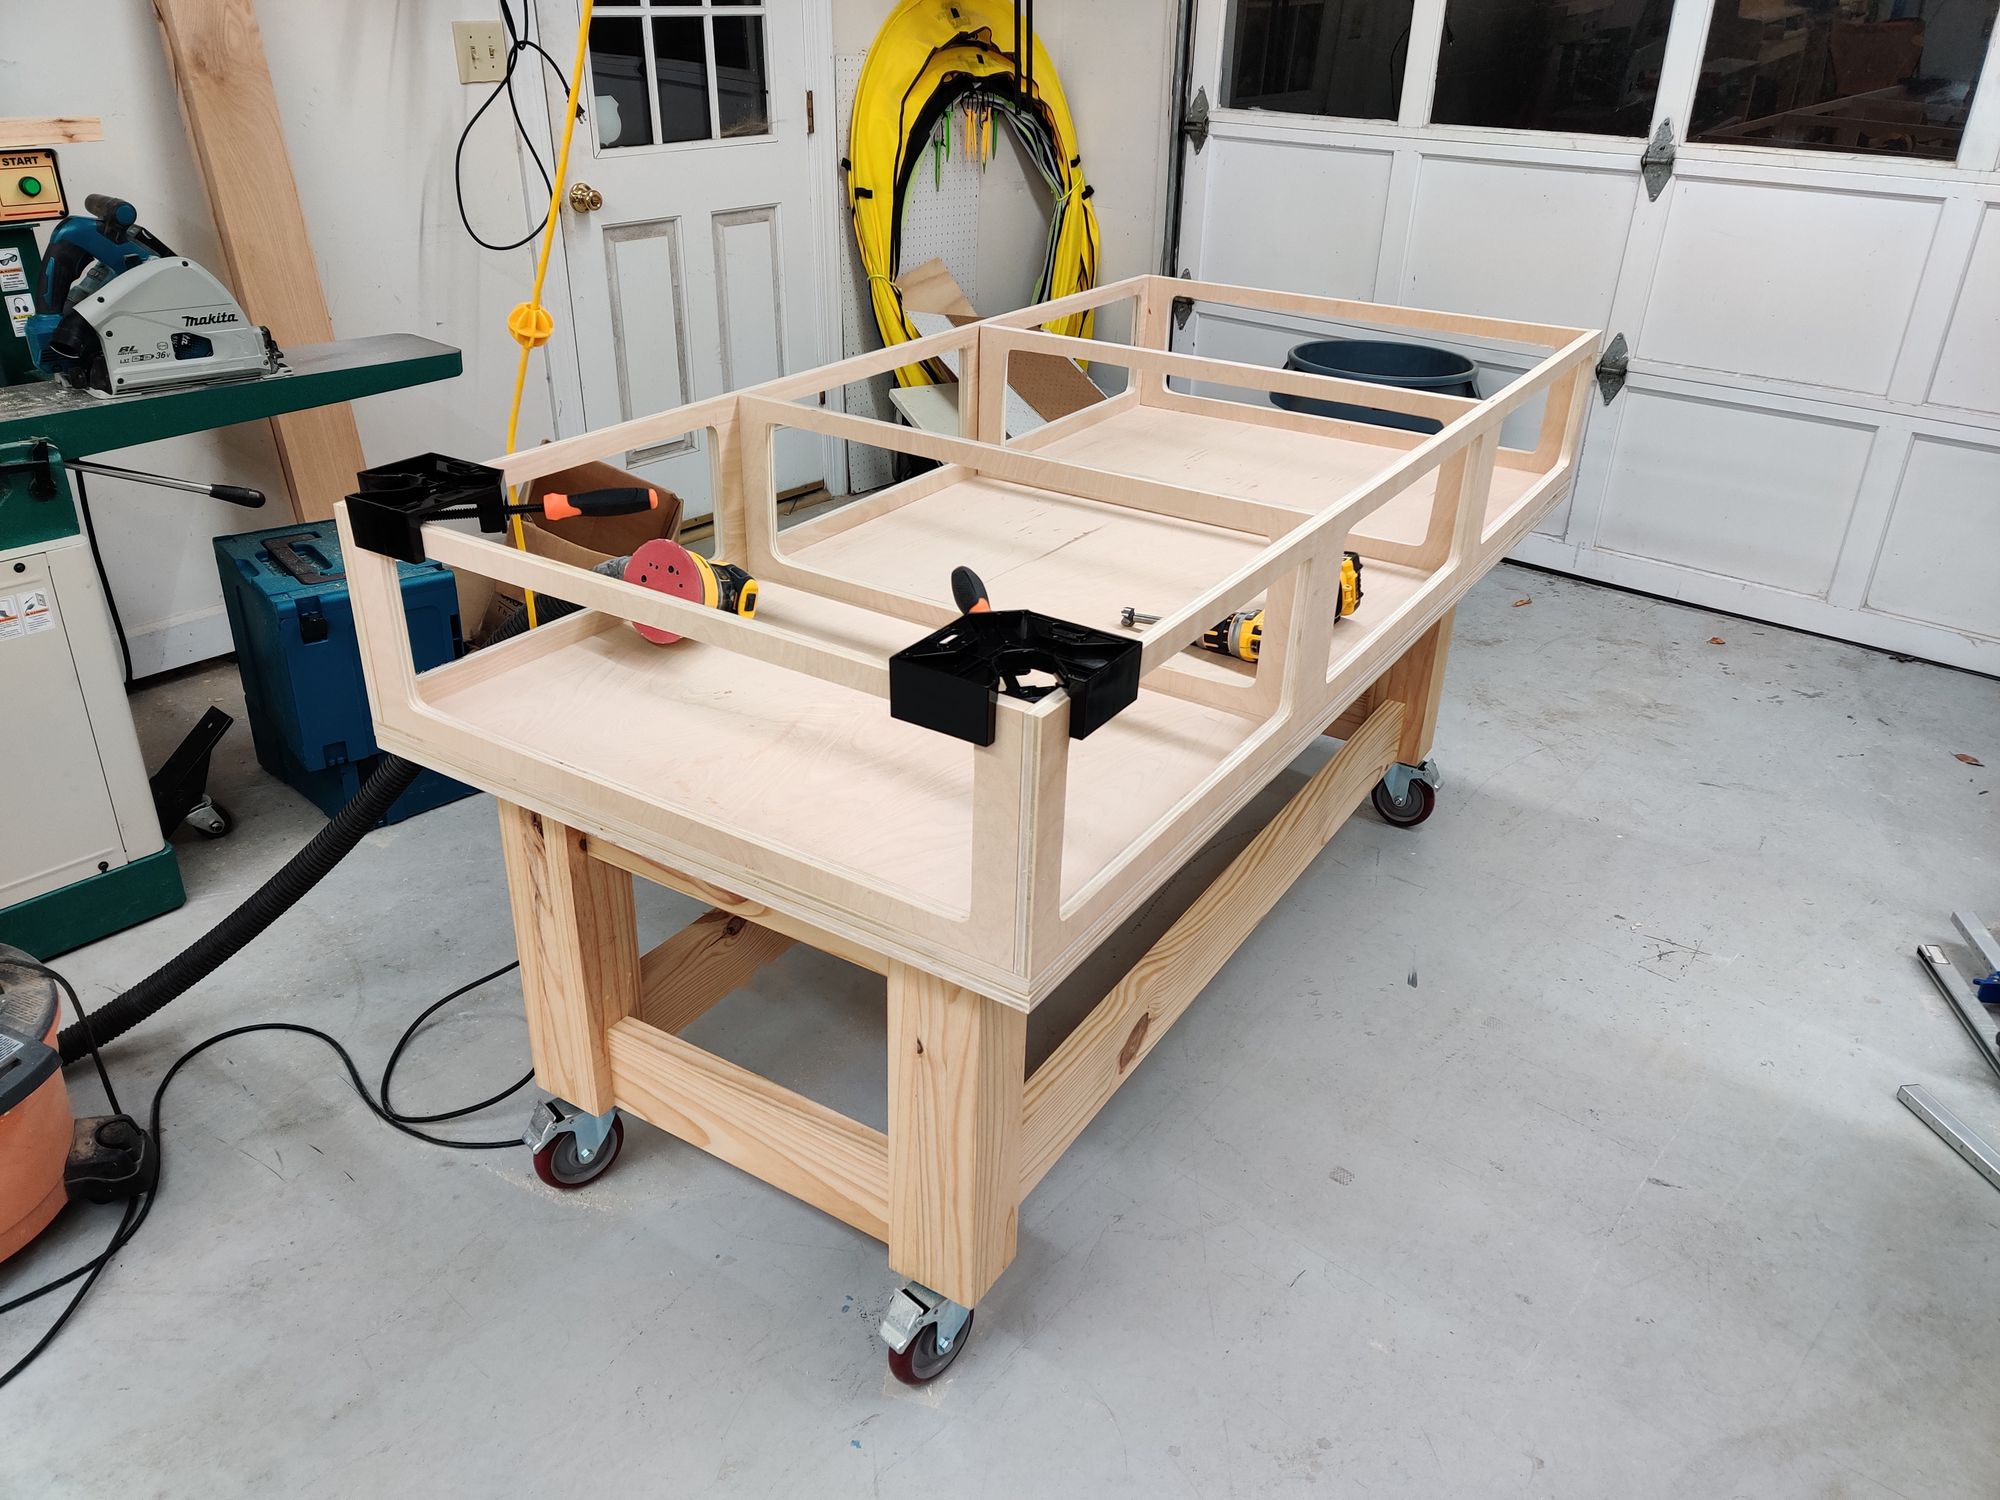
Creating the Workbench Torsion Box
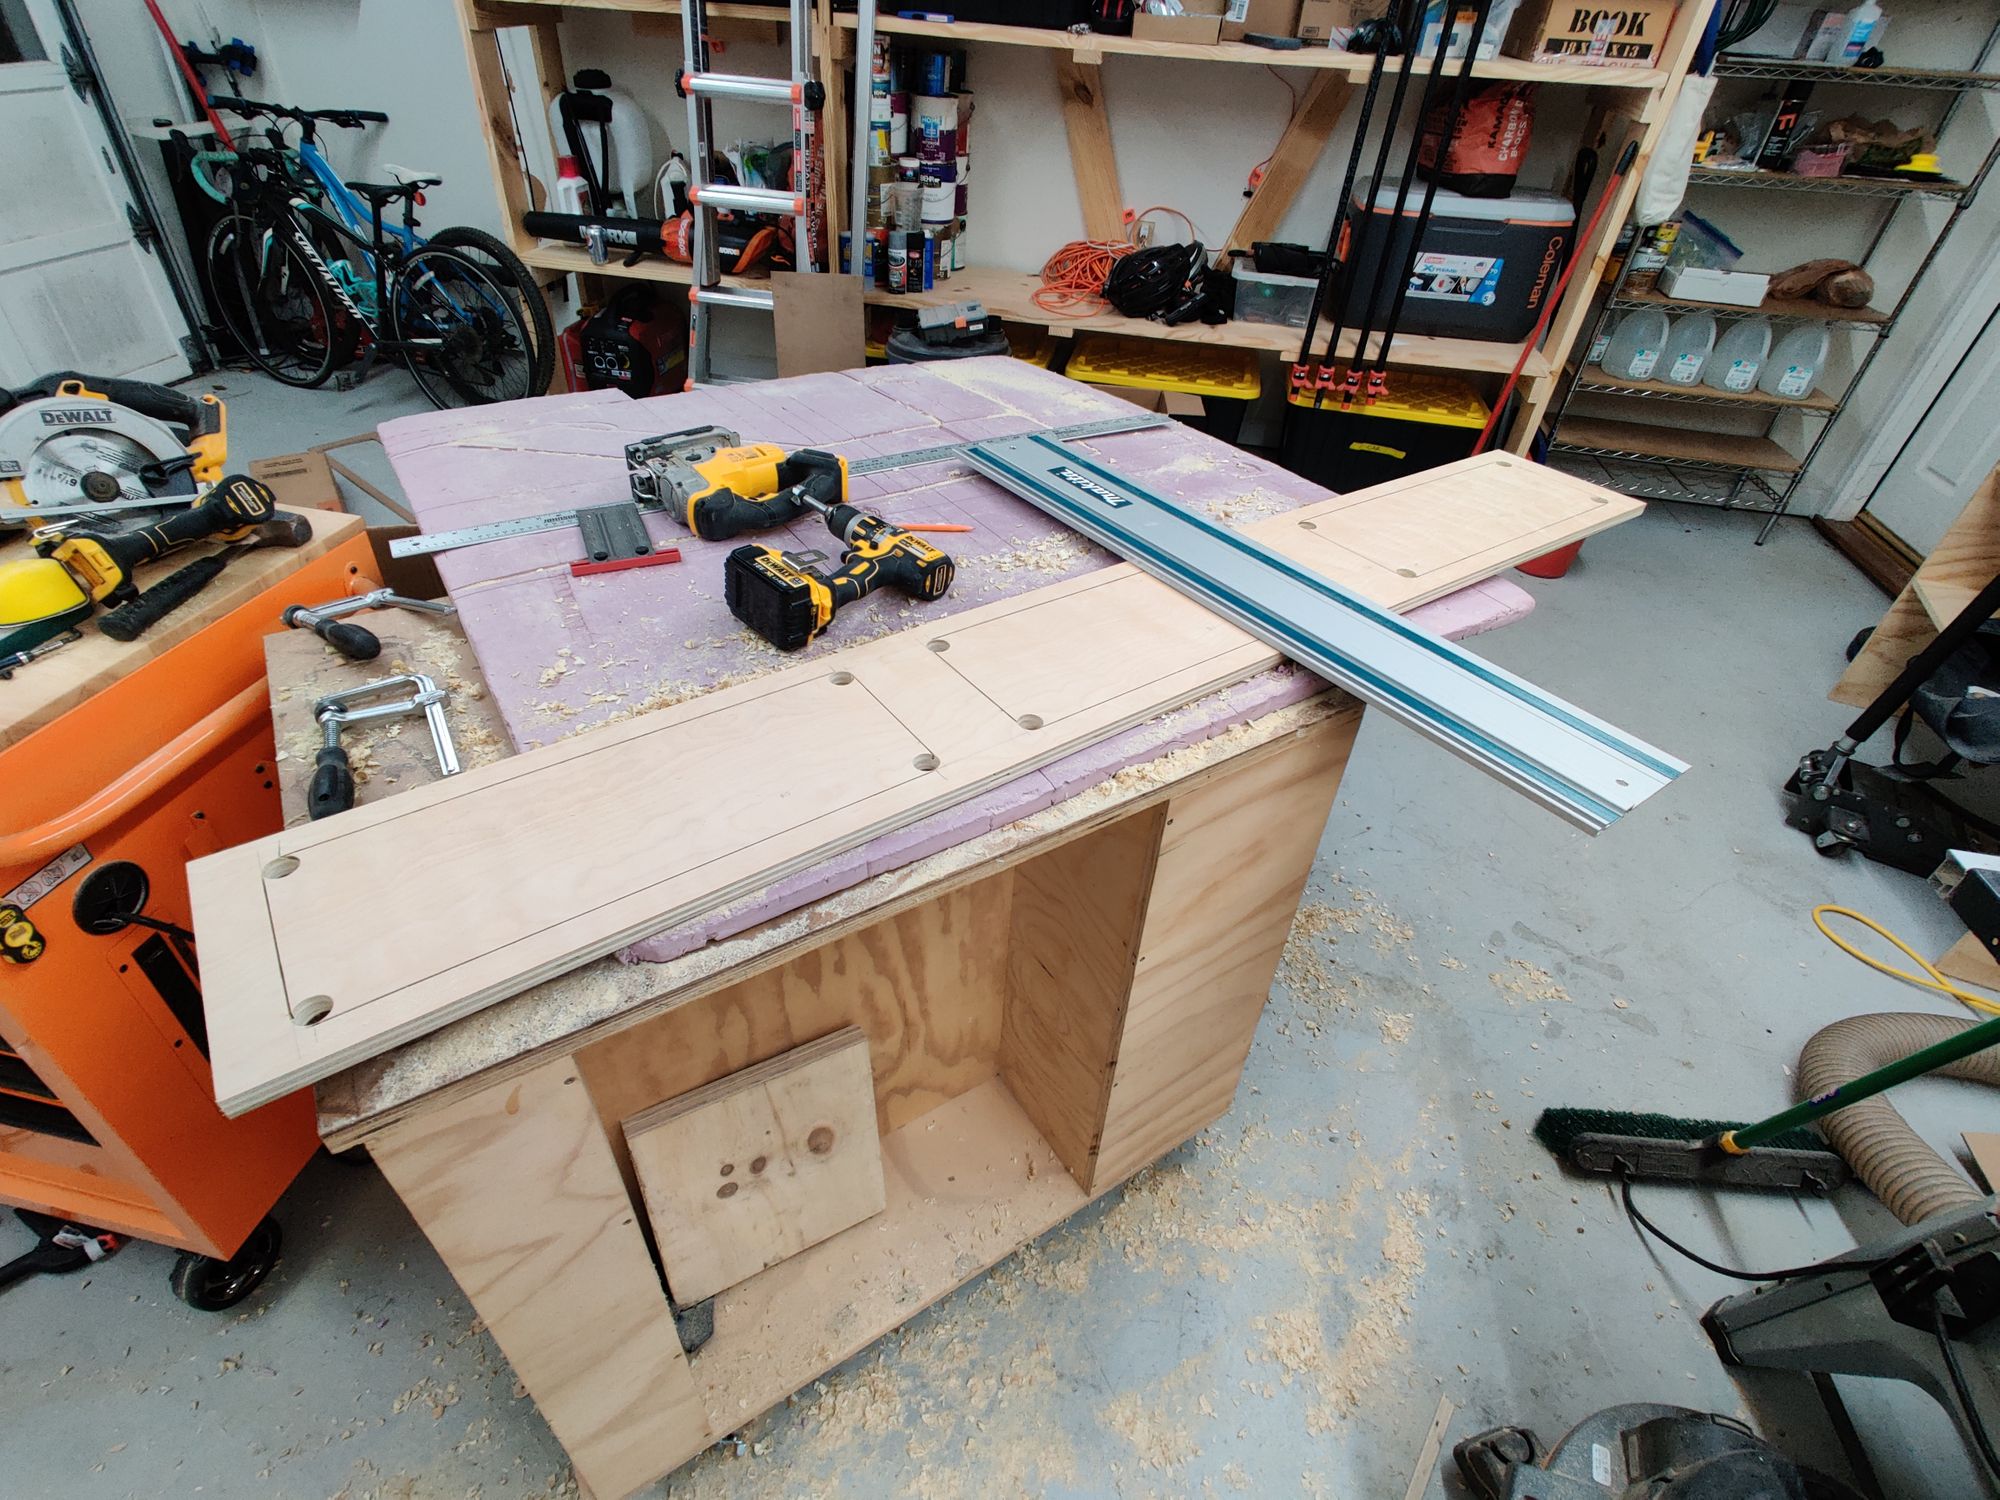
It's really fun turning 2 sheets of 4x8 Plywood into a real thing. To break down the sheets I summoned the Makita Track Saw which made light work of the task.
I won't give too much away so that you still have a need to purchase Ron Paulk's plans. But in his YouTube video that accompanies the plans he shows making a router template to route the holes in the sides of the torsion box. I had a horrible time with a template cutter and opted to use the tracksaw for this job coupled with a 1" forstner bit in the corners.
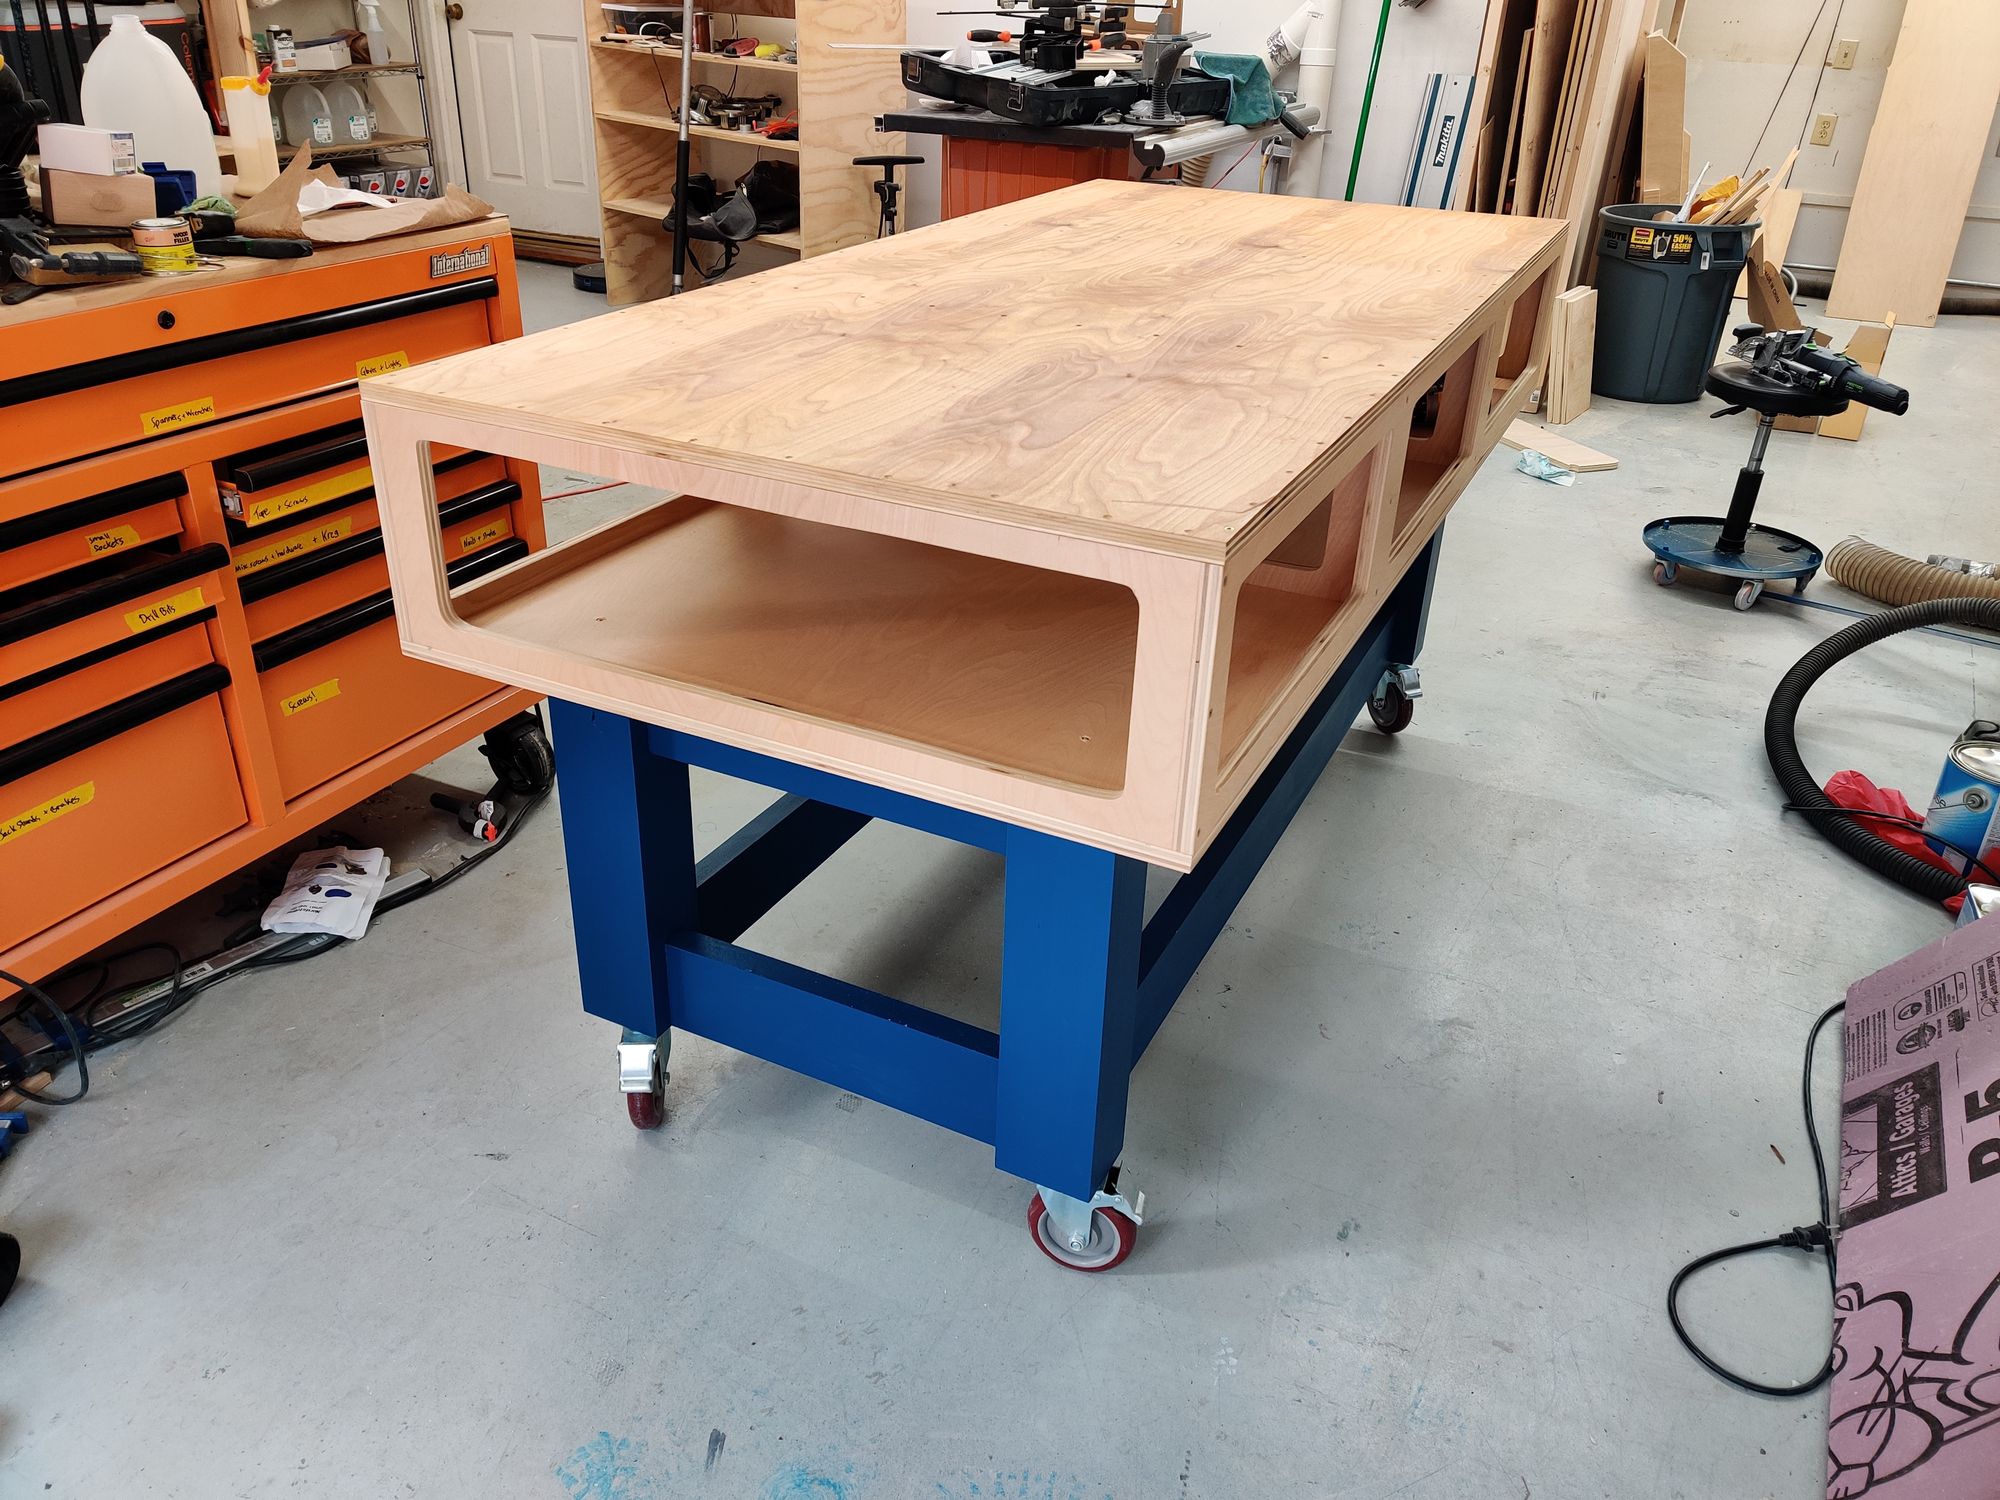
Time for a dry fit to get an idea of the final sizes and see how it feels in person, always a fun moment.
HVLP spraying
This project marked my first foray into HVLP spraying. The Fuji Mini Mite 4 was the unit I ended up purchasing as it should be able to handle everything from finish sprays like Lacquer and Polyurethane to super thick Latex paint (with a little thinning). The options available in this space are rather bewildering at first so take your time and do your research.
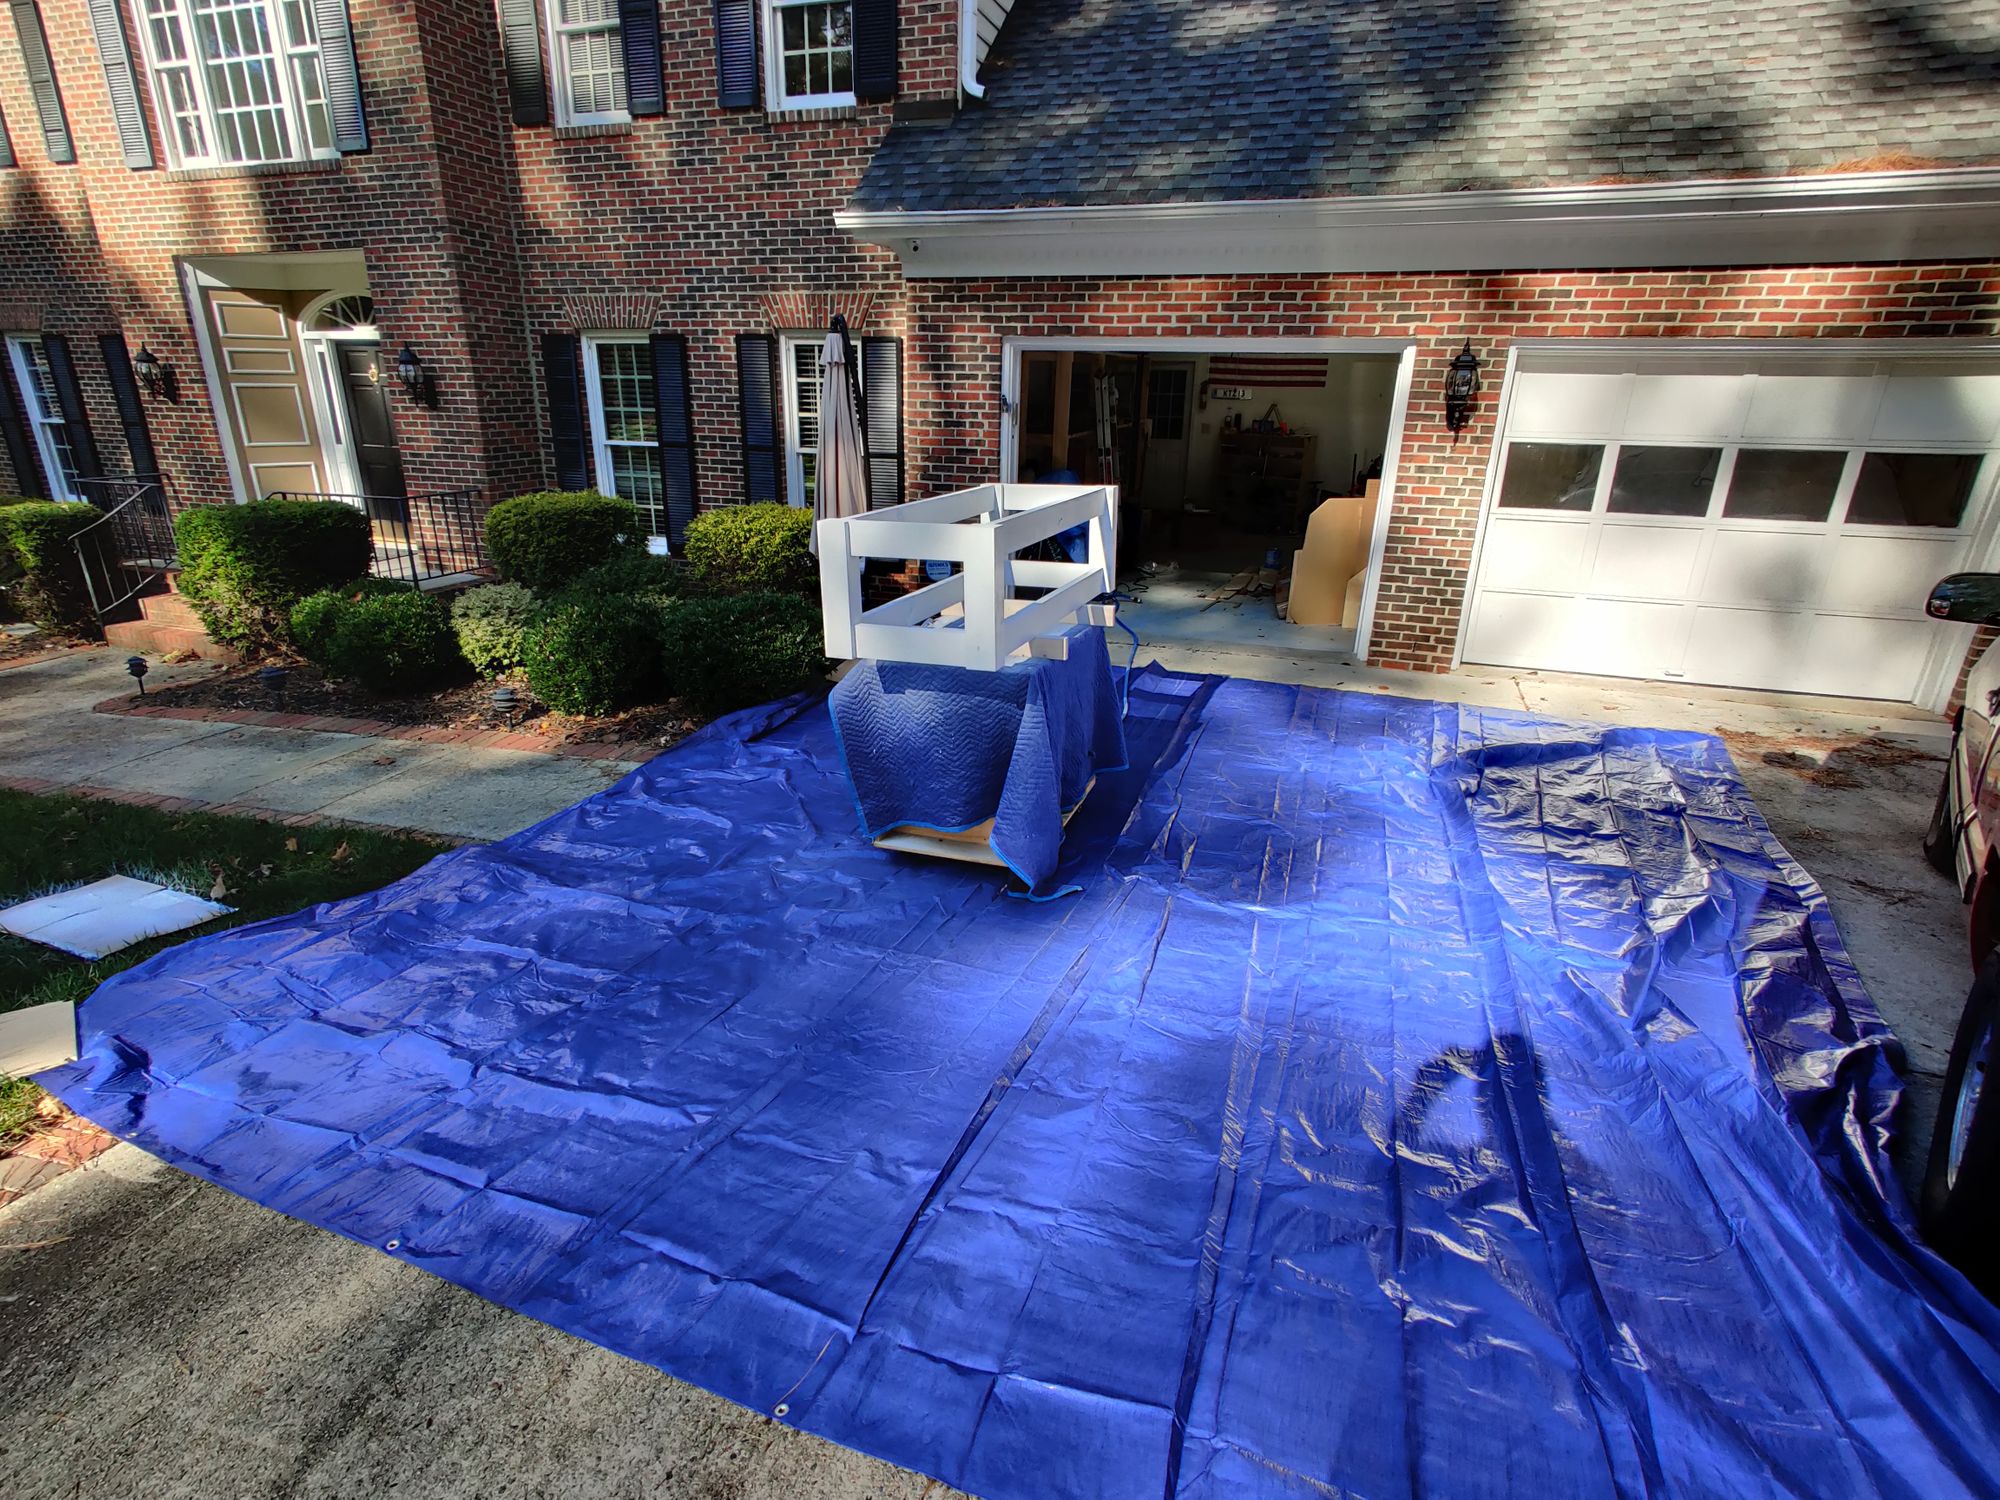
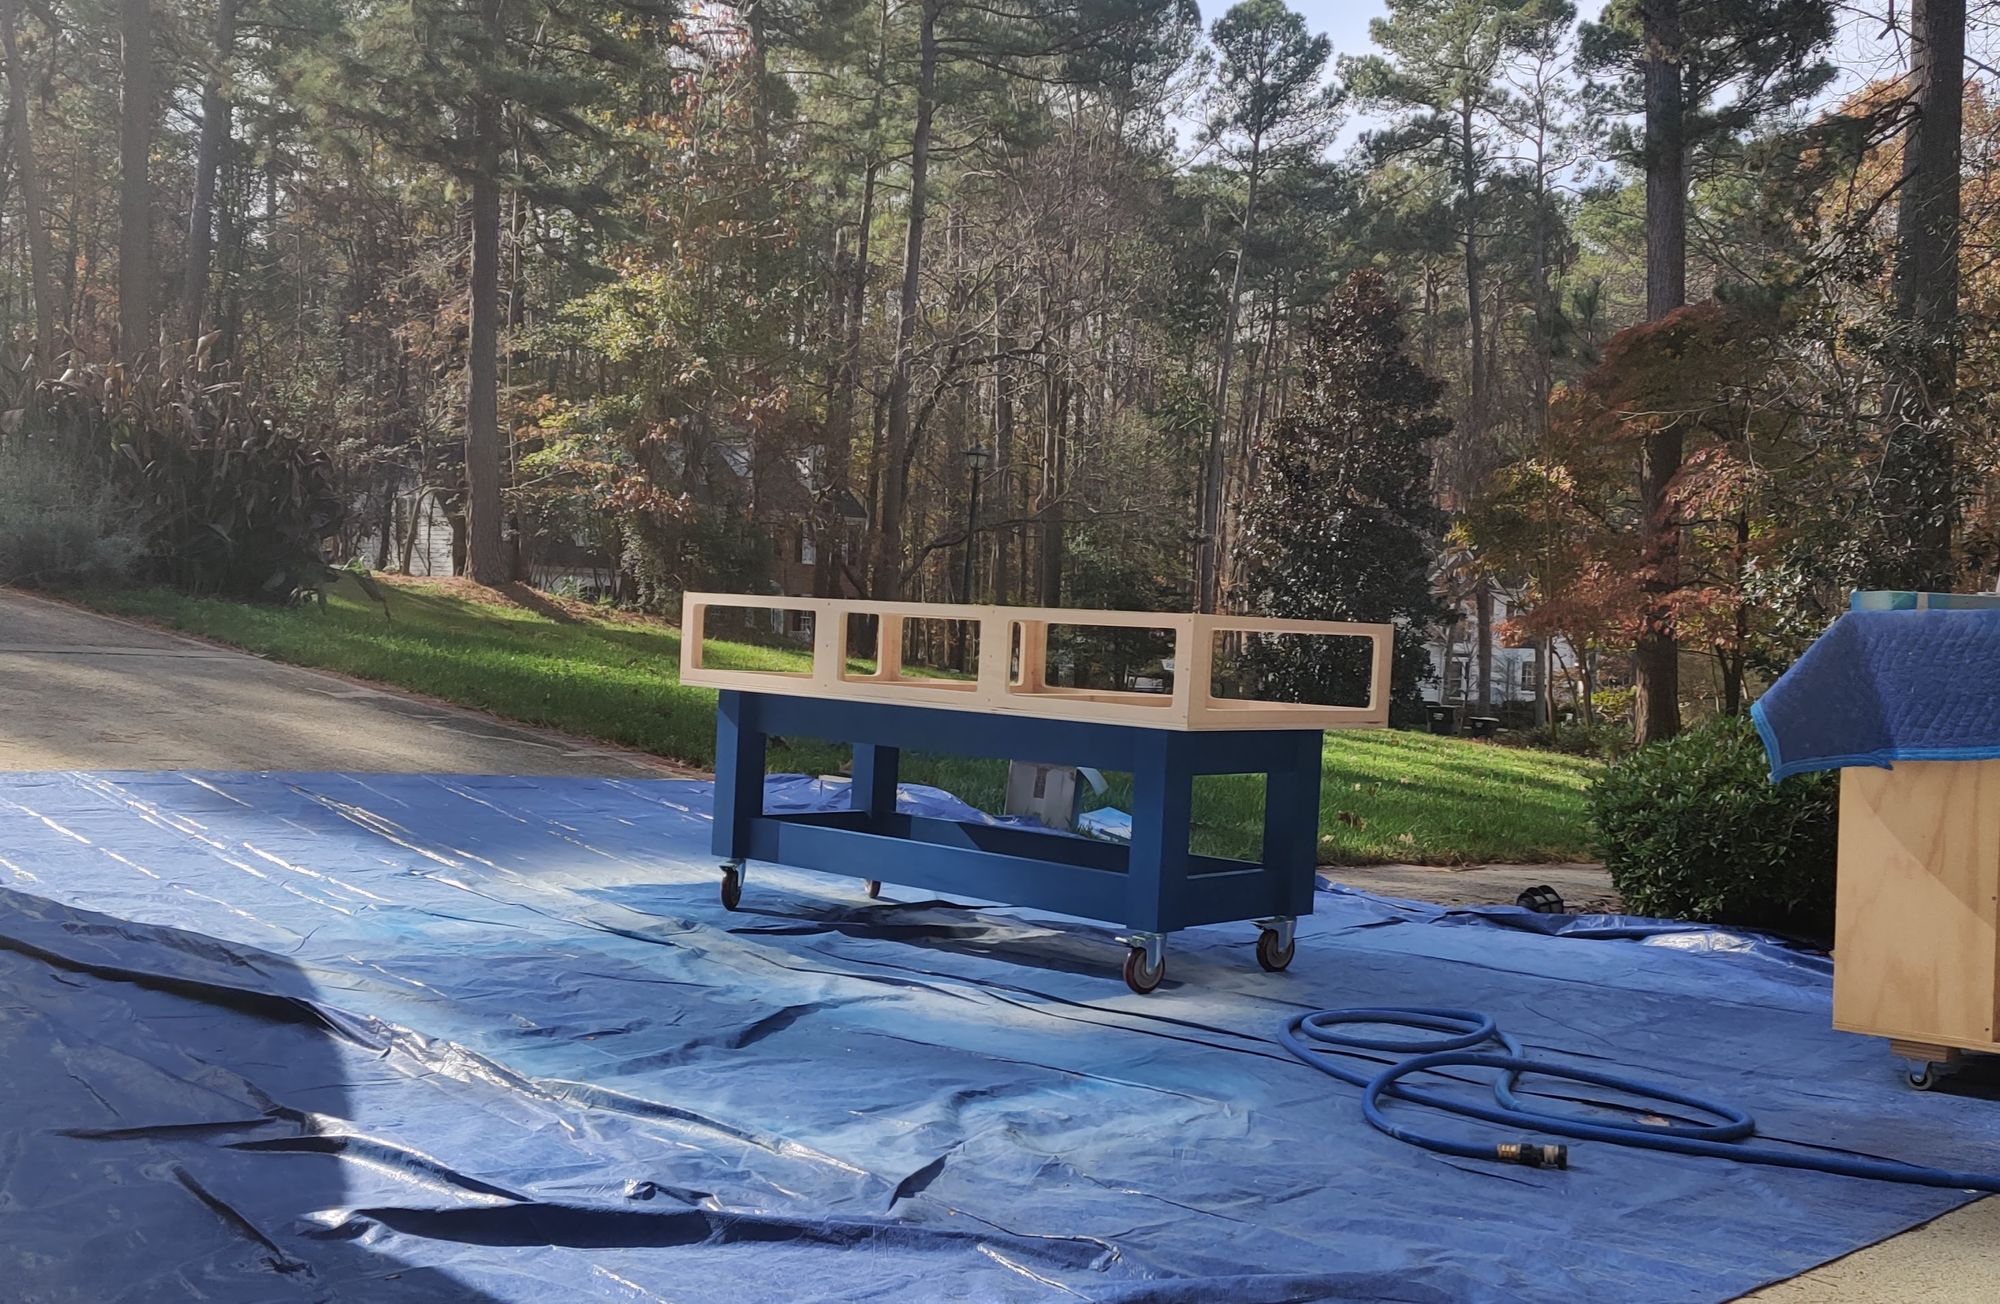
Harbor Freight have a 20ft square tarp for $22 which saved my marriage. The first spray might have over sprayed primer onto the concrete beneath, might. I was lucky and caught it soon enough that a quick pressure wash sorted the problem but the tarp was the real solution.
Unless you have a really well ventilated space expect the paint over spray to go everywhere as a fine dust. Wearing a respirator feels like a non-optional choice to me.
Once the bench was primed with 3 coats of multi-purpose primer from Sherwin-Williams, it was time to put the final colour on the bench. I picked a shade of blue from the Red Bull F1 team media kit, the closest colour that Sherwin could do for me was 'Crackle Blue' and I think it looks absolutely gorgeous.
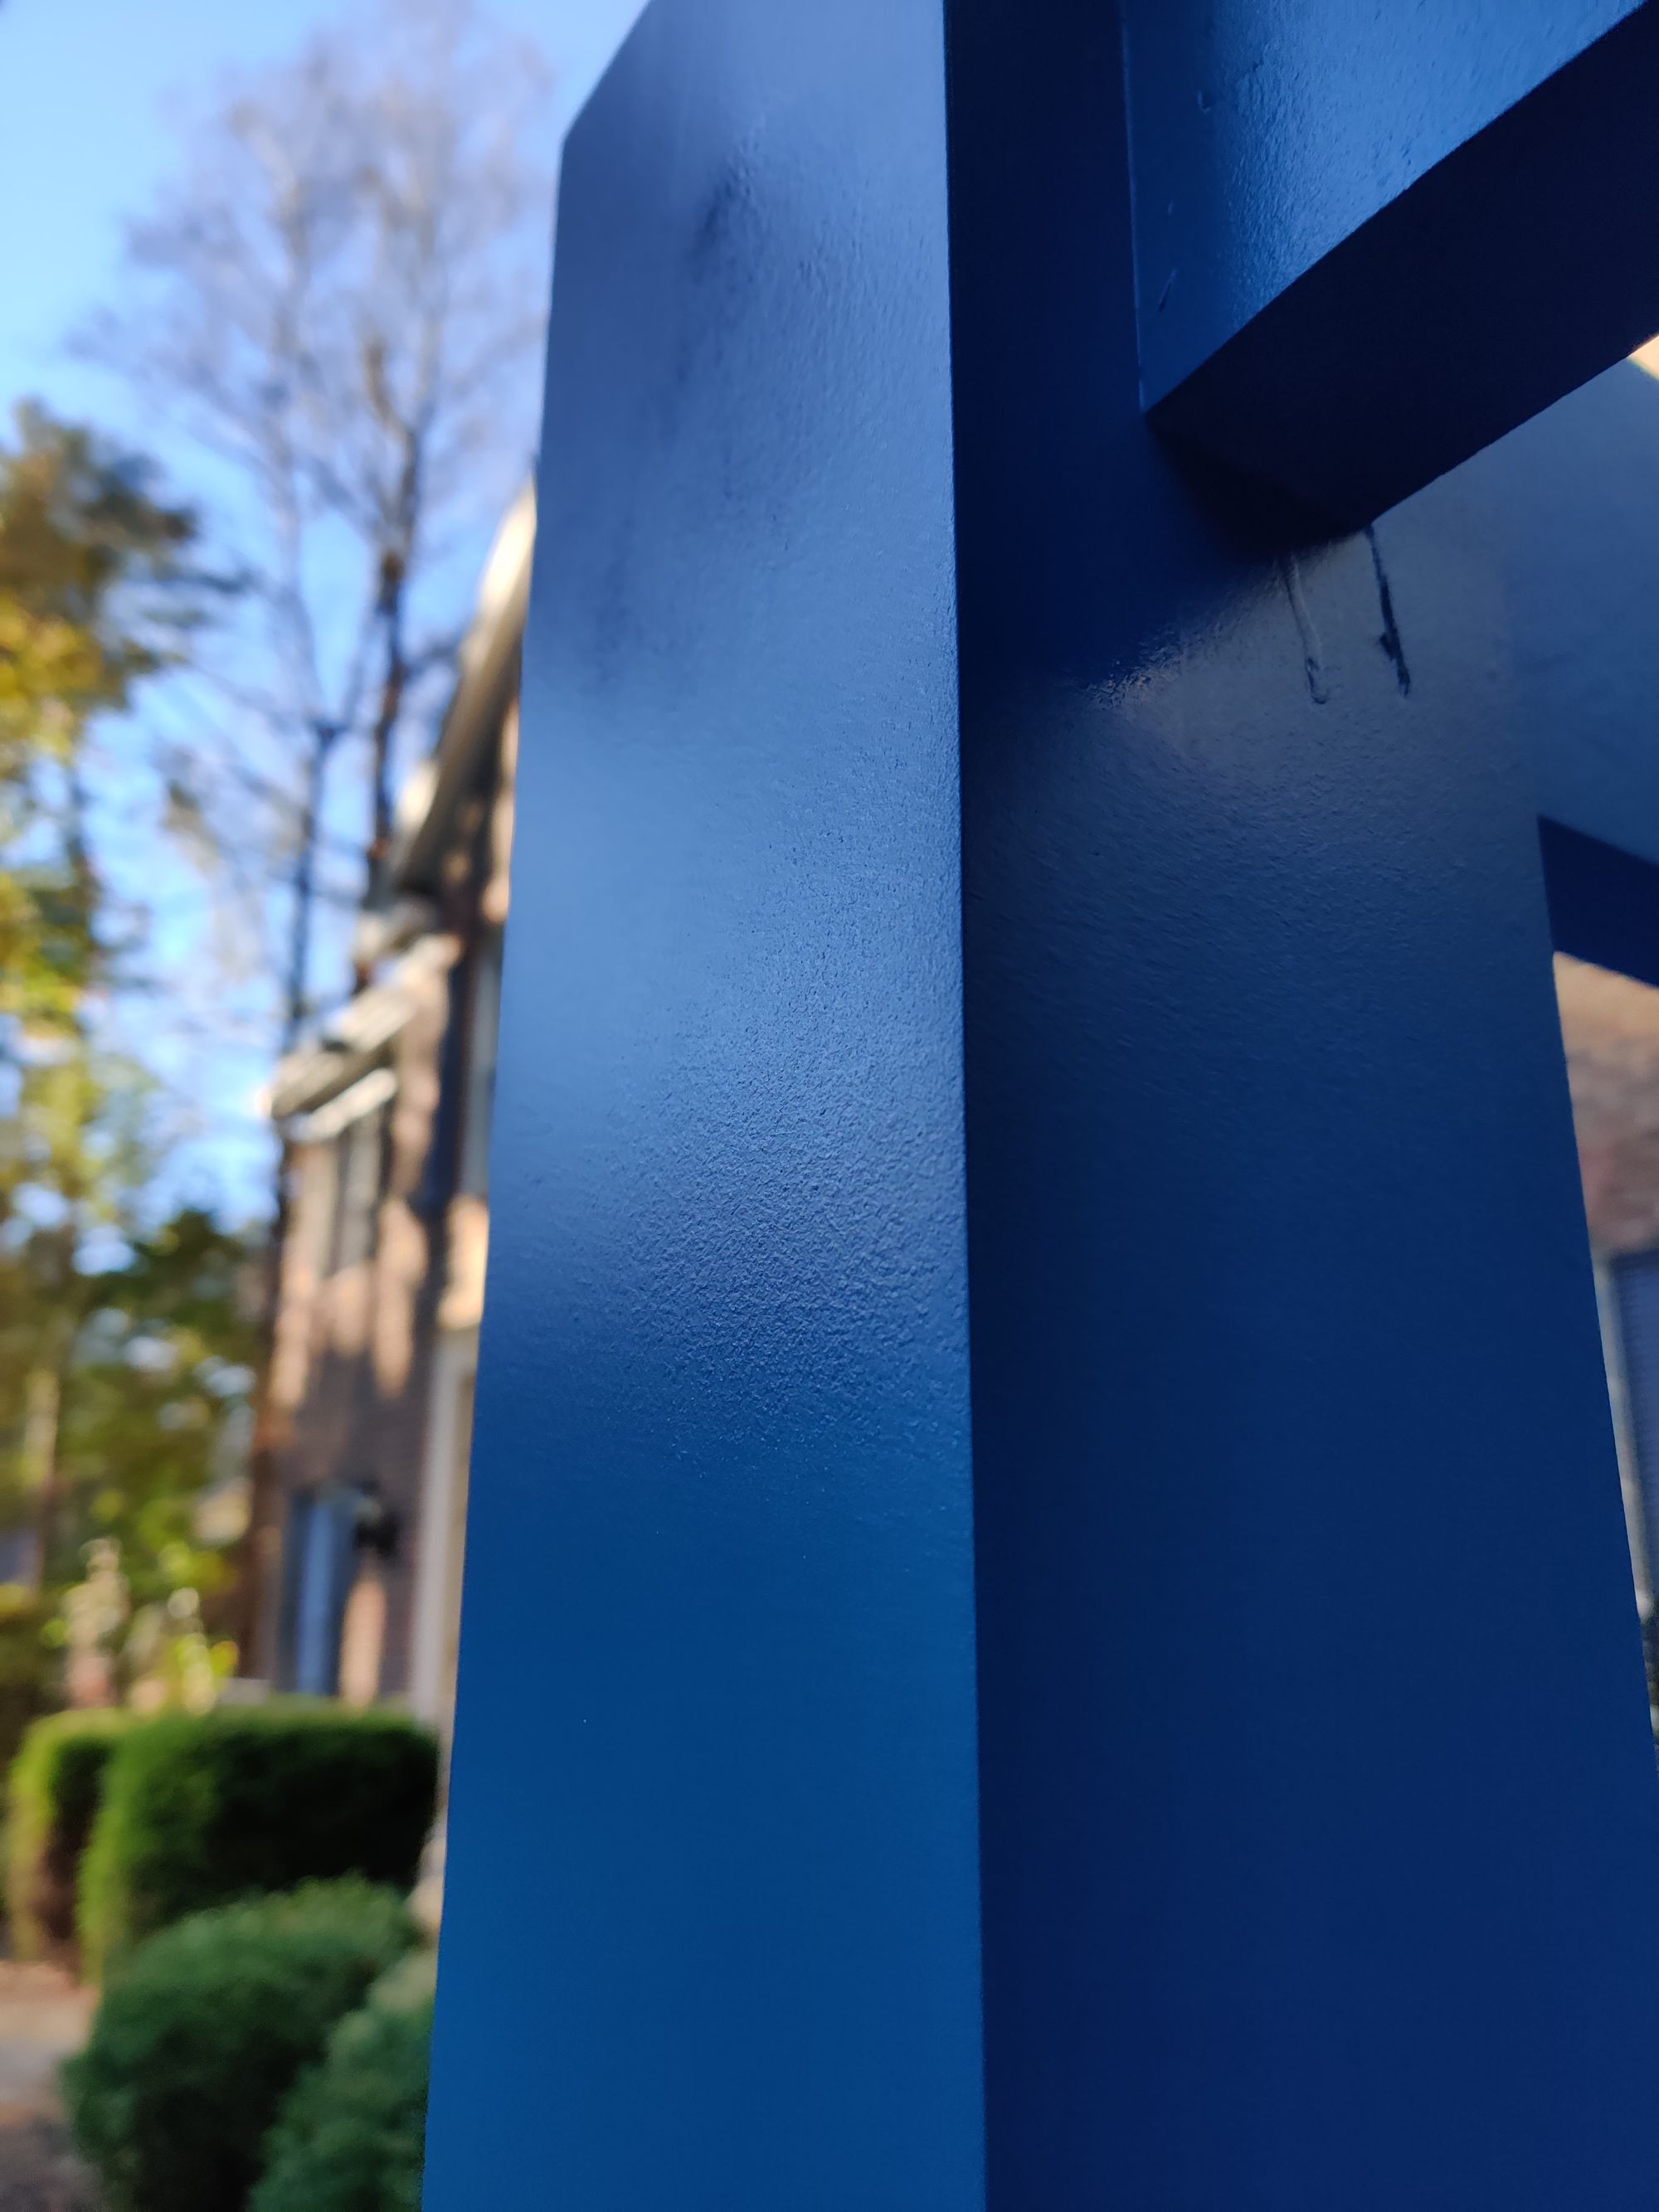
This was my first attempt at spraying anything and after some early drips (which I later sanded out in the corners) I managed to end up with a finish quality that absolutely blew me away. The prevailing wisdom says that once you spray a finish, you'll never want to brush one on ever again - I concur. Just look at it!
I used Latex paint from Sherwin Williams for this. Despite the entire internet saying how difficult Latex paint was to spray, within a few minutes I had the consistency correct via thinning using a bit of distilled water and some Floetrol.
The paint took about 4 to 5 coats to reach this stage. I found that less was more and that more coats equals less retouching and ultimately is less work than a couple of thick coats that either orange peel (the surface looks like orange peel - this is bad) or start dripping.
Once the legs were painted I added a couple of coats of Polyurethane just to attempt to harden the softer Latex paint against knocks and bangs - time will tell how wise that was but it looks so good!
Finishing the top
Again, this was a chance to use the HVLP sprayer but also take my first steps into using Boiled Linseed Oil. I spilt the finish of the torsion box into two halves. The first was to use water based satin Polyurethane on the bottom, sides and insides and second was to use BLO on the top itself.
My rationale is that it is a workbench and Polyurethane creates a durable, but slick finish. I've experienced with Poly based finishes before a high friction coefficient to get heavy items moving but once they're moving, they just keep sliding. It is my hope that with BLO, this is will not be an issue - time will tell.

I flooded the top with BLO and let it soak for 10 minutes before thoroughly wiping the excess off with a rag. It's important to note that BLO rags should be allowed to dry thoroughly spread out, they can be a source of fire if crumpled and put in a bin with other combustibles so take care.
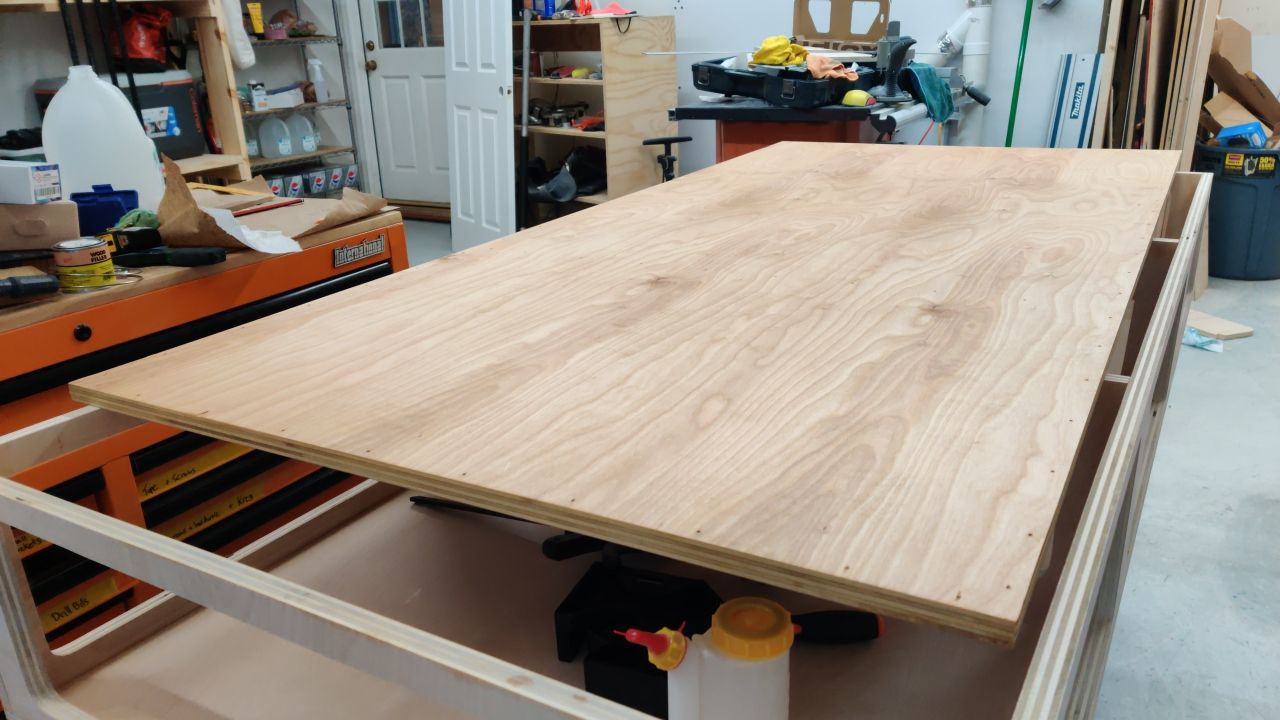
You can see the beautiful sheen the BLO gives the top versus the naked Plywood below. BLO needs 3 days minimum to dry but takes around 30-45 days to fully dry and harden.
Polyurethane on the other hand needs much less, a few hours per coat. I sprayed the insides of the torsion box with 3-4 coats of Poly and sanded very lightly between coats with 220 grit making sure to wipe away dust with a damp rag before respraying.

I found myself just sitting and admiring the finish as it dried, truly beautiful NC Autumnal weather this weekend helped as well.
I was starting to get glimpses of how the final product was going to look. The blue of the legs seemed to be getting darker and richer (it had been a couple of days since it was sprayed at this point).
The HVLP sprayer stands to be the single tool I've purchased, maybe ever, that will make the biggest difference to the quality of the overall finish of my projects. That last 5-10% is what makes or breaks a project. Without the sprayer, I'd have left the legs unsprayed or painted and just gone with naked Pine legs.
Looking back at the pictures as I write this post I realise that it's worth the effort to paint. This bench will really be a beautiful addition to the workshop and make the space a nicer place to be. Plus, when I come to paint furniture for real - one day - I now have some practice under my belt on cheap wood when I had no deadlines.
Final thoughts
There are still a few things left to do before the bench is complete done. I plan to drill the holes in the top for benchdogs like Ron Paulk does and use them as an aide for the Tracksaw. Also a shelf on the bottom of the frame would be nice to store some Systainers as well.
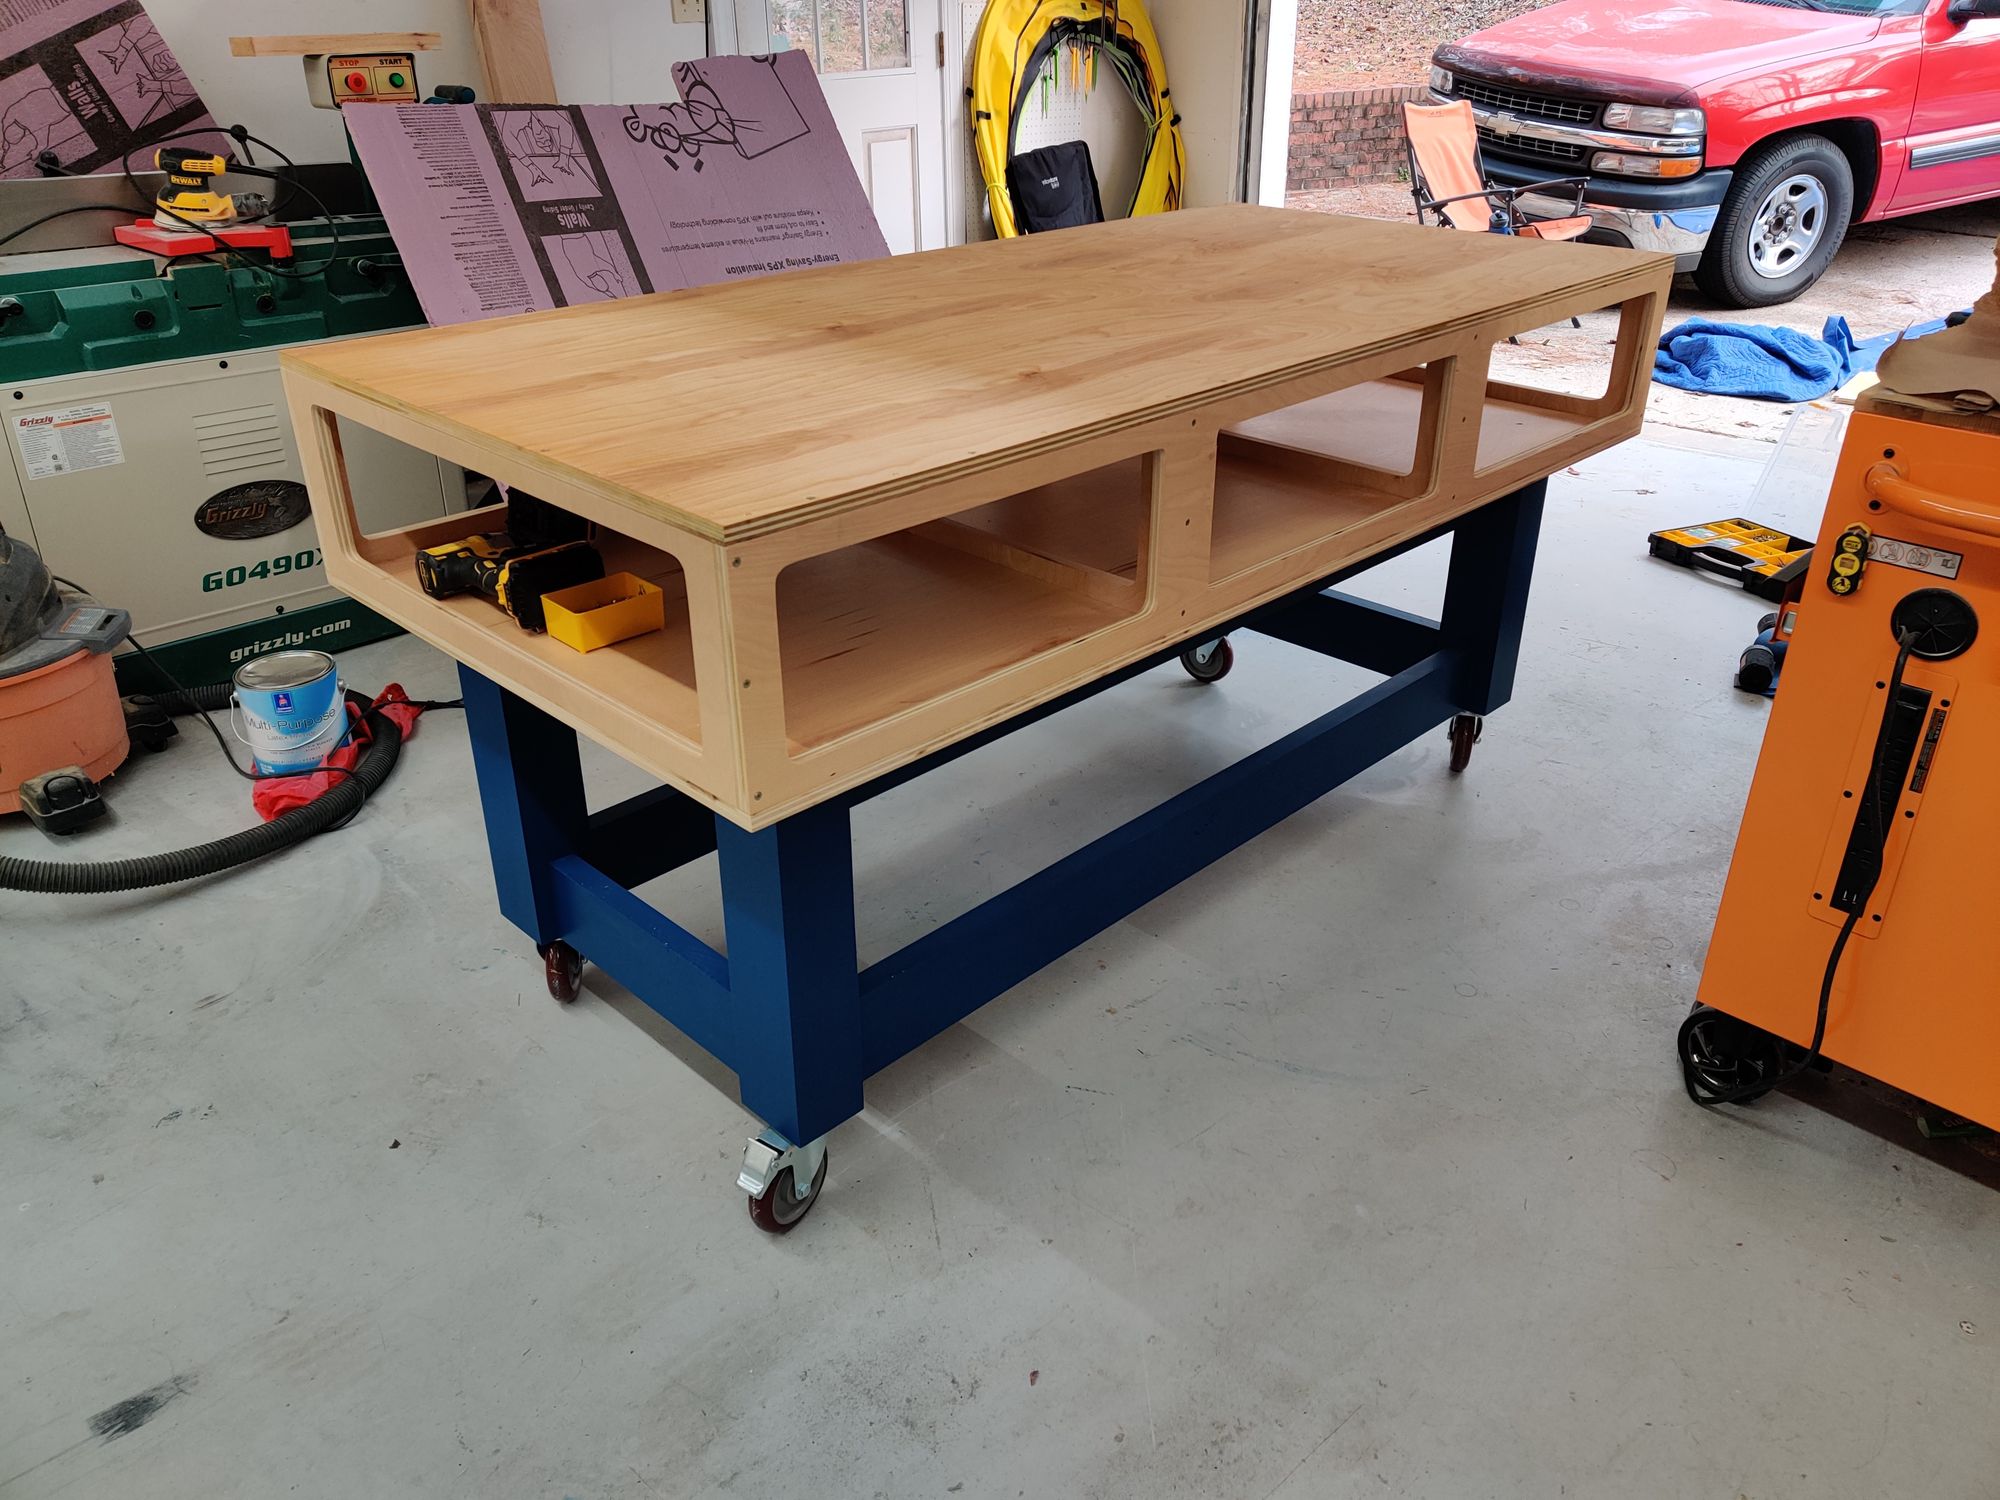
Overall though, I can see this being an absolutely great addition to the workshop. The design allows for the top to be clear for projects and the horrific tool scatter that I'm guilty of on any horizontal surface can be relegated to the inside of the torsion box.
Thanks for reading! Now, time to get to making real projects.